Master’s Level Life Coach (MA Psychology) | Nature-based healing for mental wellness, addiction recovery in parks, on trails, or via telehealth.
Author: Mark
My name is Mark Lees and I was born in Detroit, Michigan and moved to San Diego in 1976. I now live in Oceanside, California. I have a son age 26 who is my hiking parter, and thankfully got me started into hiking four years ago. I have a Masters degree in psychology with an emphasis in Marriage and Family Therapy from Chapman University, as well as a certification from the California Association of Addiction and Recovery Resources as an Addiction Recovery Specialist. For fun and self-care I like to Hike, Starbucks to both energize and relax and see as many baseball games as I can each season. The spirit of this website is the same passion that led me to create HikerTherapy.... "Hiking for the Mind, Body and Soul..."
The Blue Sky Ecological Preserve trail is a well-kept secret of a hike hidden in the shadows of its big brother, Mt. Woodson in Poway. Not only does this trail offer similar scenic beauty as Mt. Woodson, it also has its own lake embedded in the hike as well!
Although unlike Lake Poway, which starts out the Woodson trail, Lake Ramona is at the end of the Blue Sky Preserve trail and in my opinion a much more radiant Lake due to its naturally barren scenic surroundings and a very welcoming and rewarding end to this out and back hike.
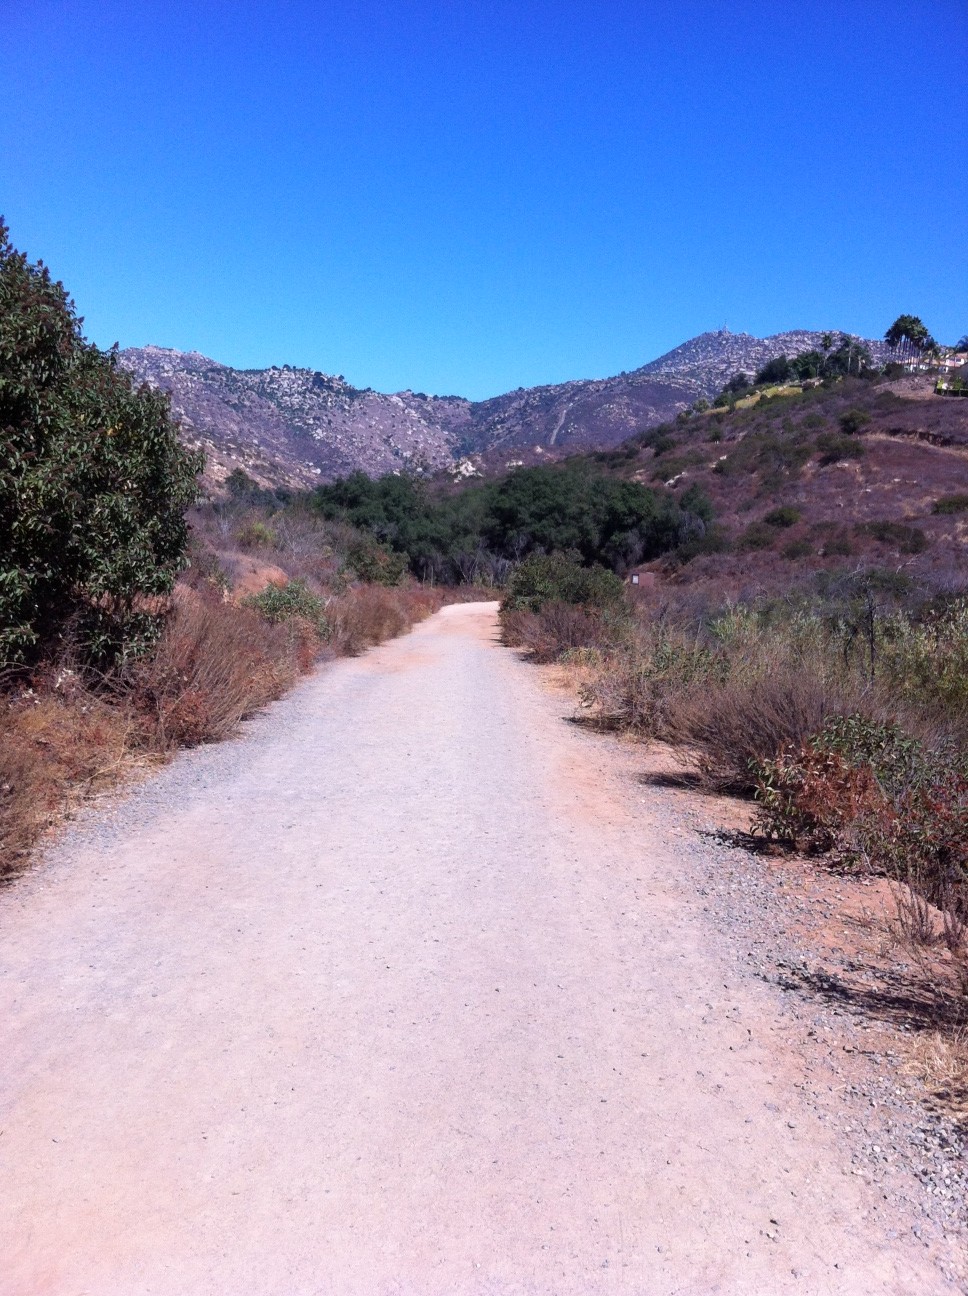
The Blue Sky Preserve trailhead start is well laid out as you pull in off of Rancho Bernardo Rd (which turns into Espola). The trail itself is well marked, wide, and consists of alternating compacted earth and sand, no rocks or gravel.
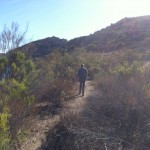
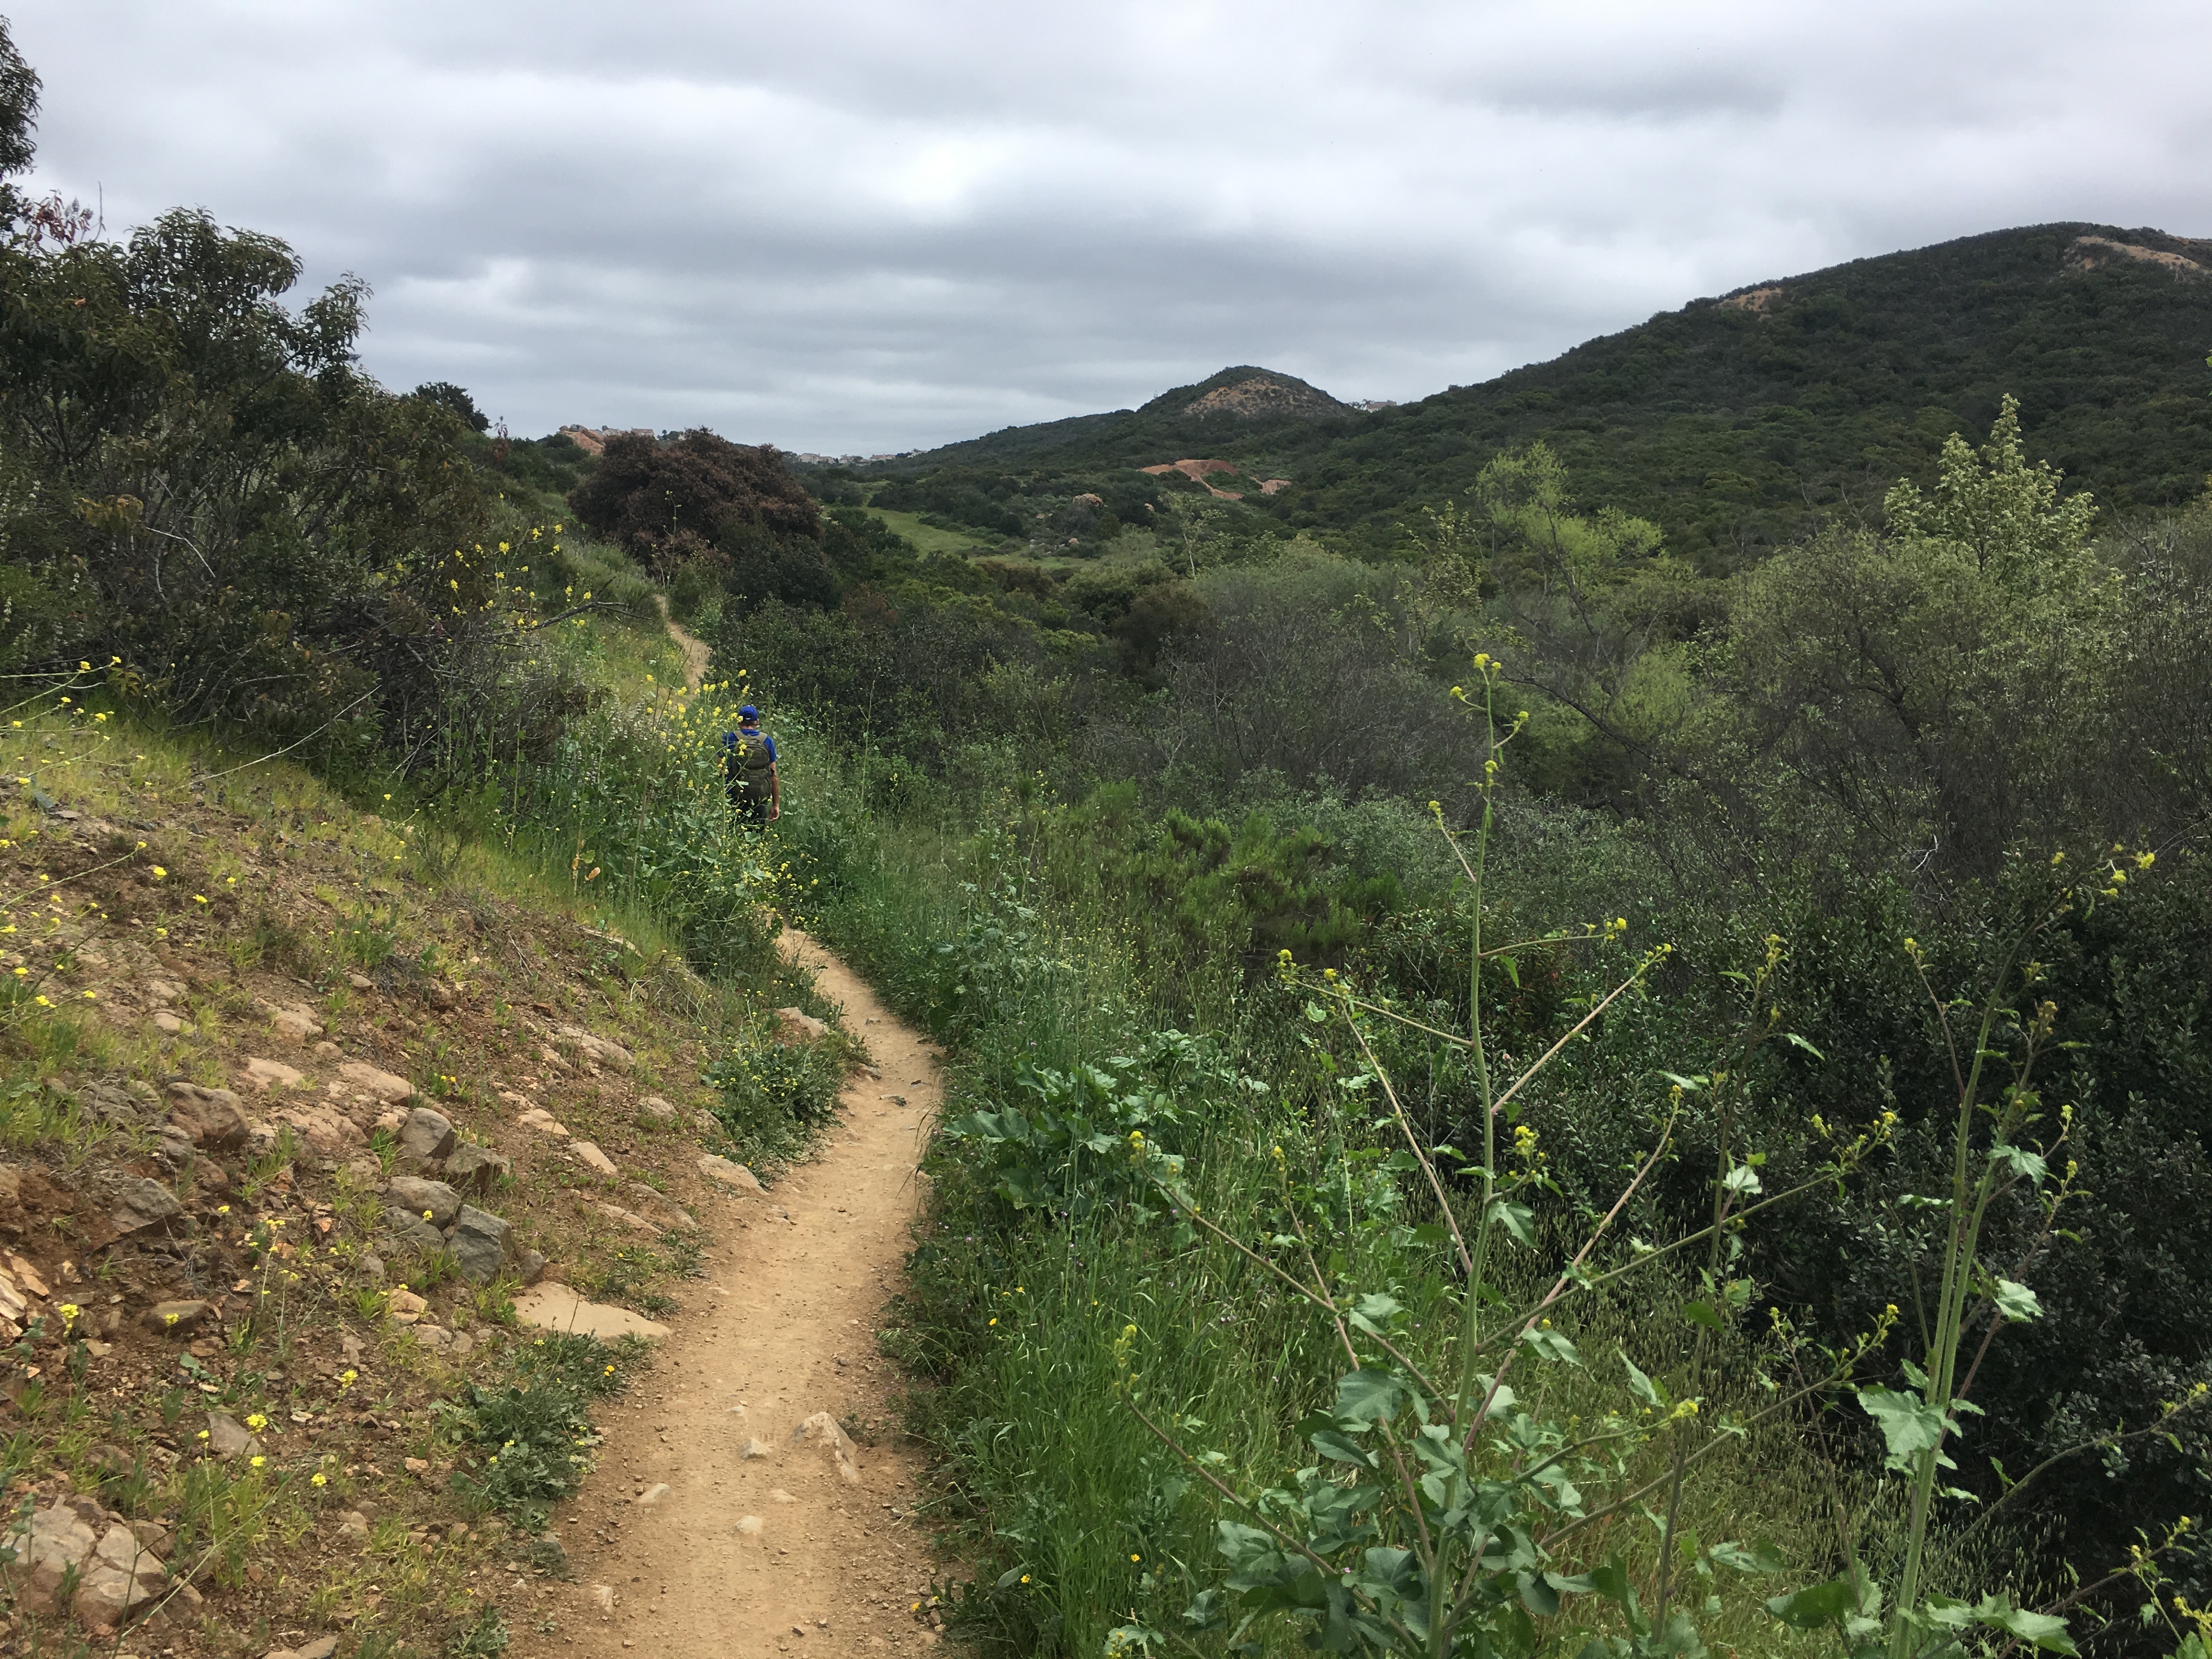
As you start out on the trail you immediately get a feel of a “mountain” hike as the hills and peaks of the area cover the landscape ahead.
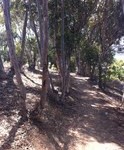
The openness of the trail gives way to a tree-covered path, as many California Live Oaks surround a good portion of the middle of this hike. Signs will guide you as you go along this very flat and fast trail. At about the two-mile mark you will come to the more challenging part of this hike and well within site of the Dam that forms Lake Ramona.
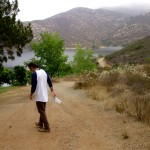
You will begin a steady ascent for the last third of this hike, which leads you to the Dams edge, and a spectacular view of Lake Ramona. Many stop here, but my son and I continued on so that we could find a trail that winds down to the lake.
Trailhead Start
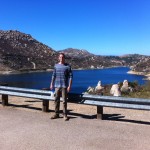
Sam on the Dam!
Down to Lake’s edge
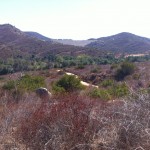
California Live Oak Grove
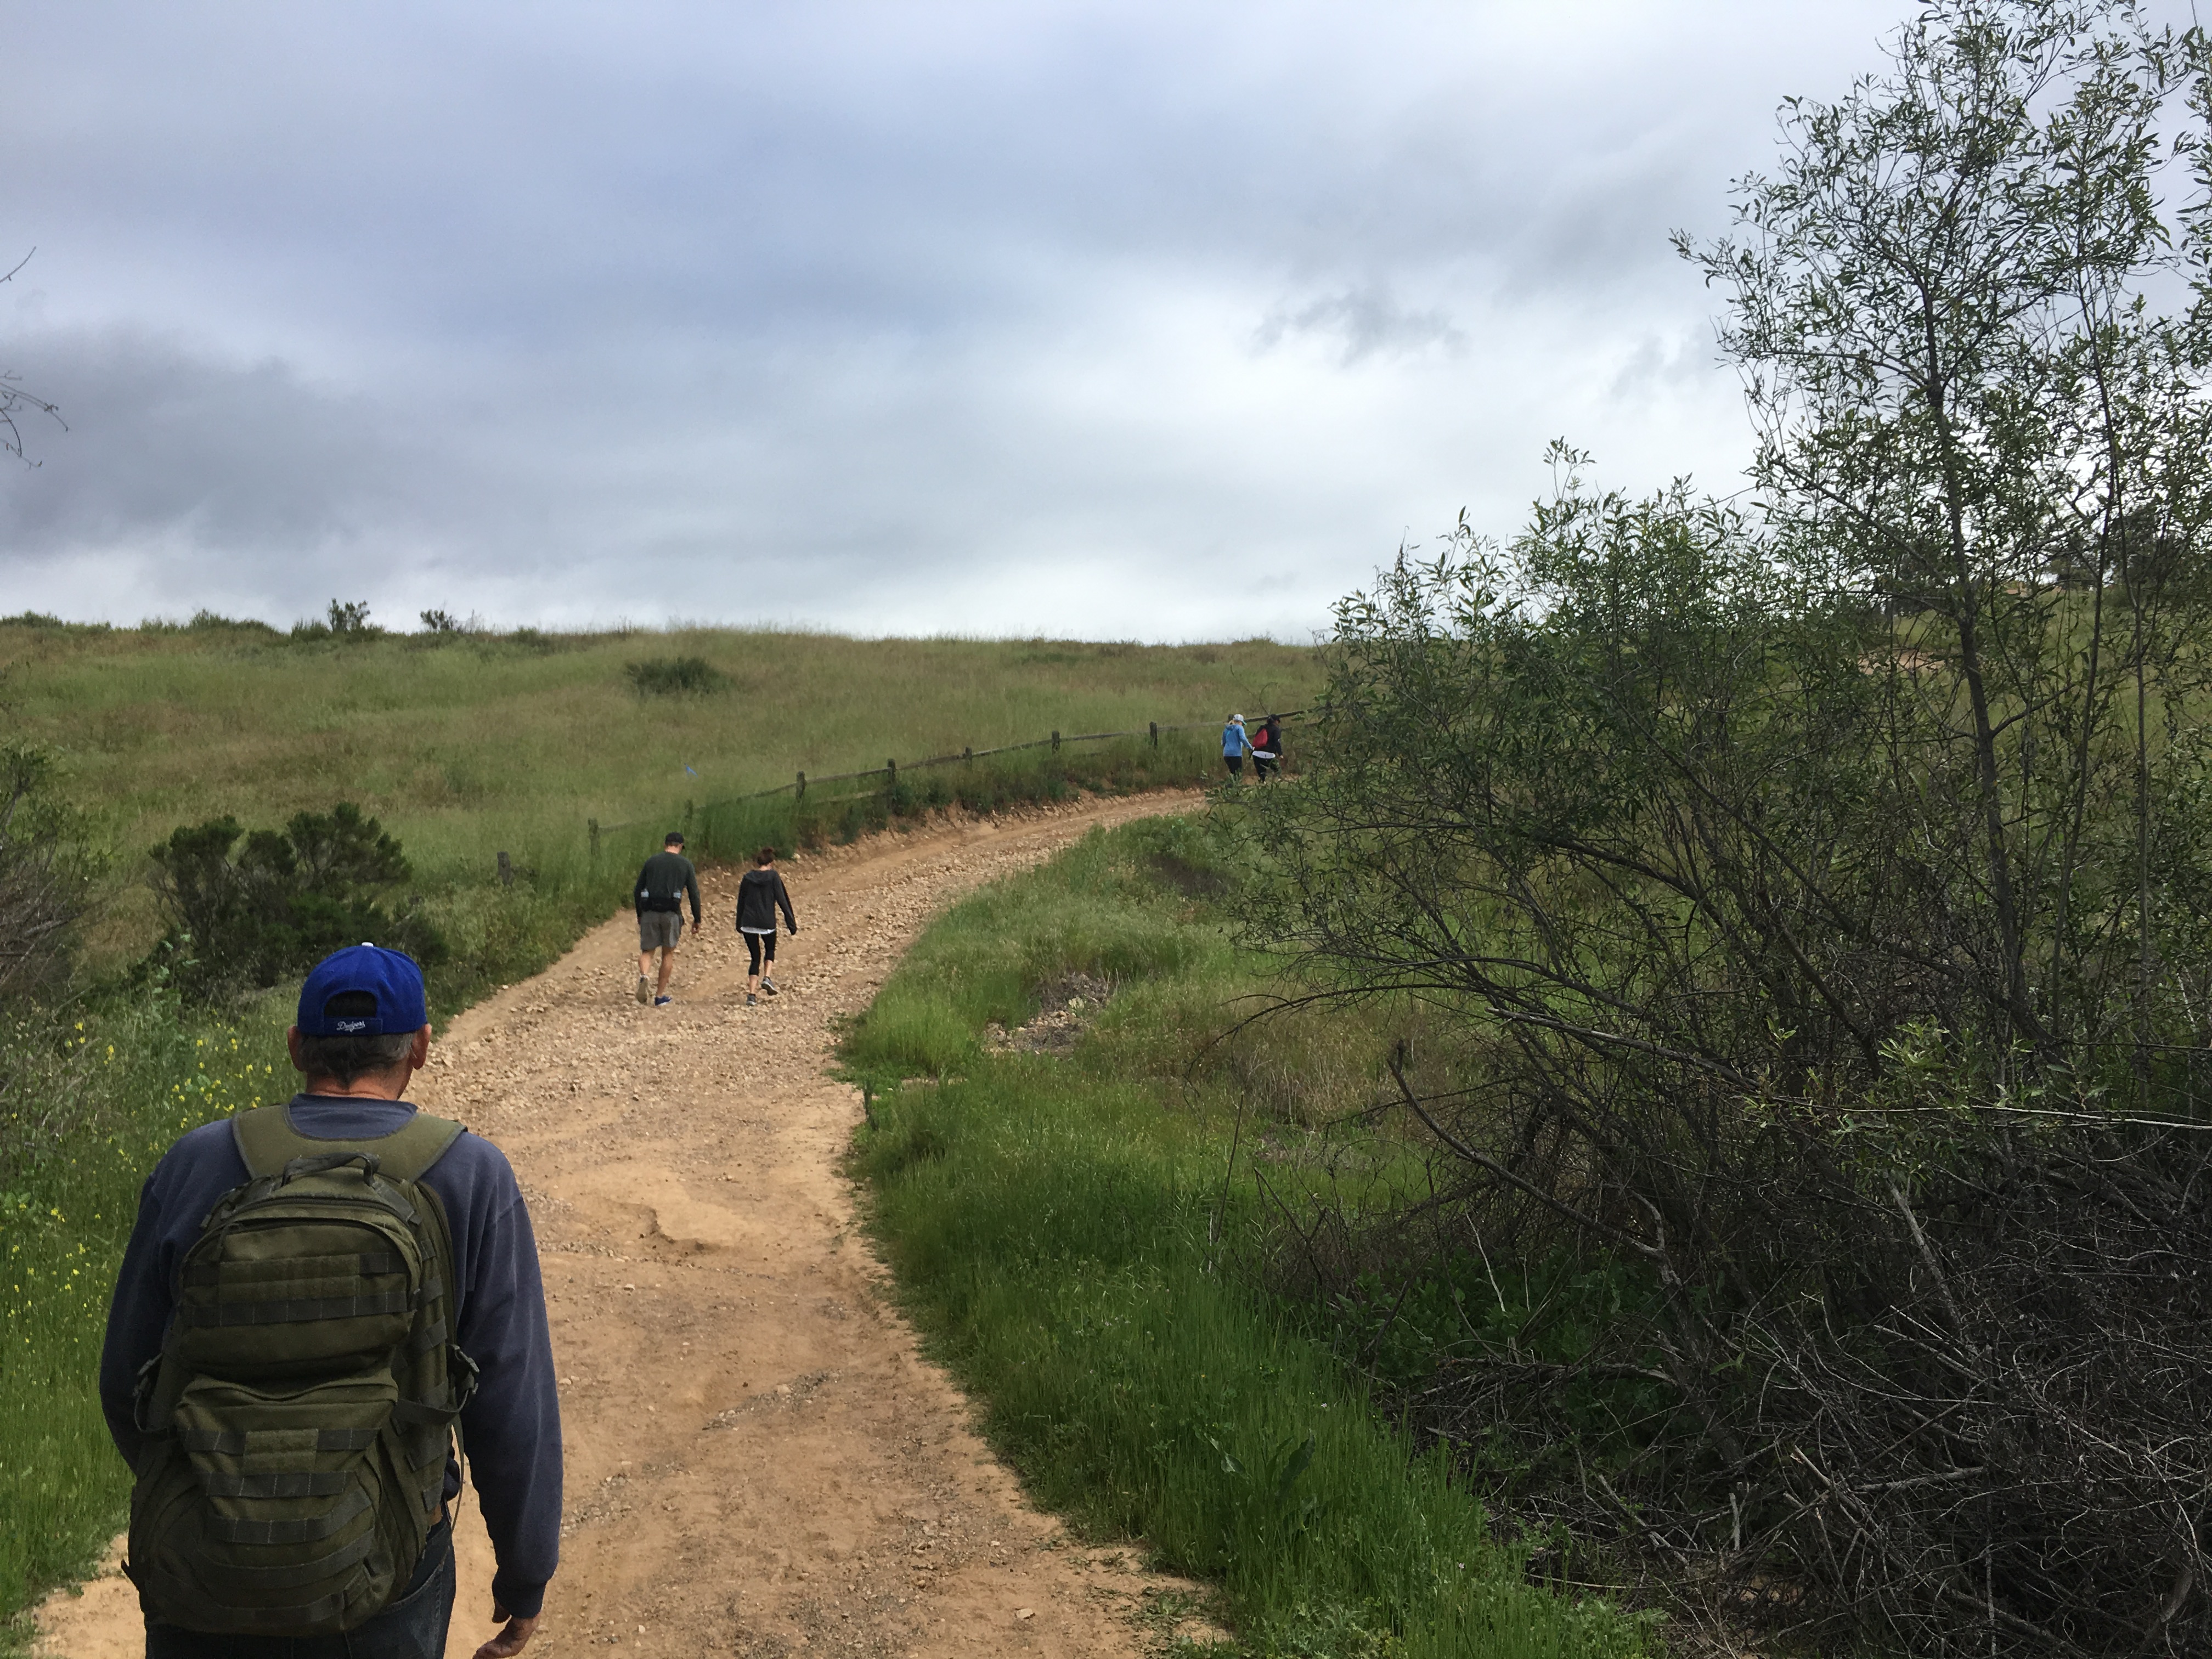
On the way up!
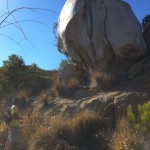
Me and Big Rock!
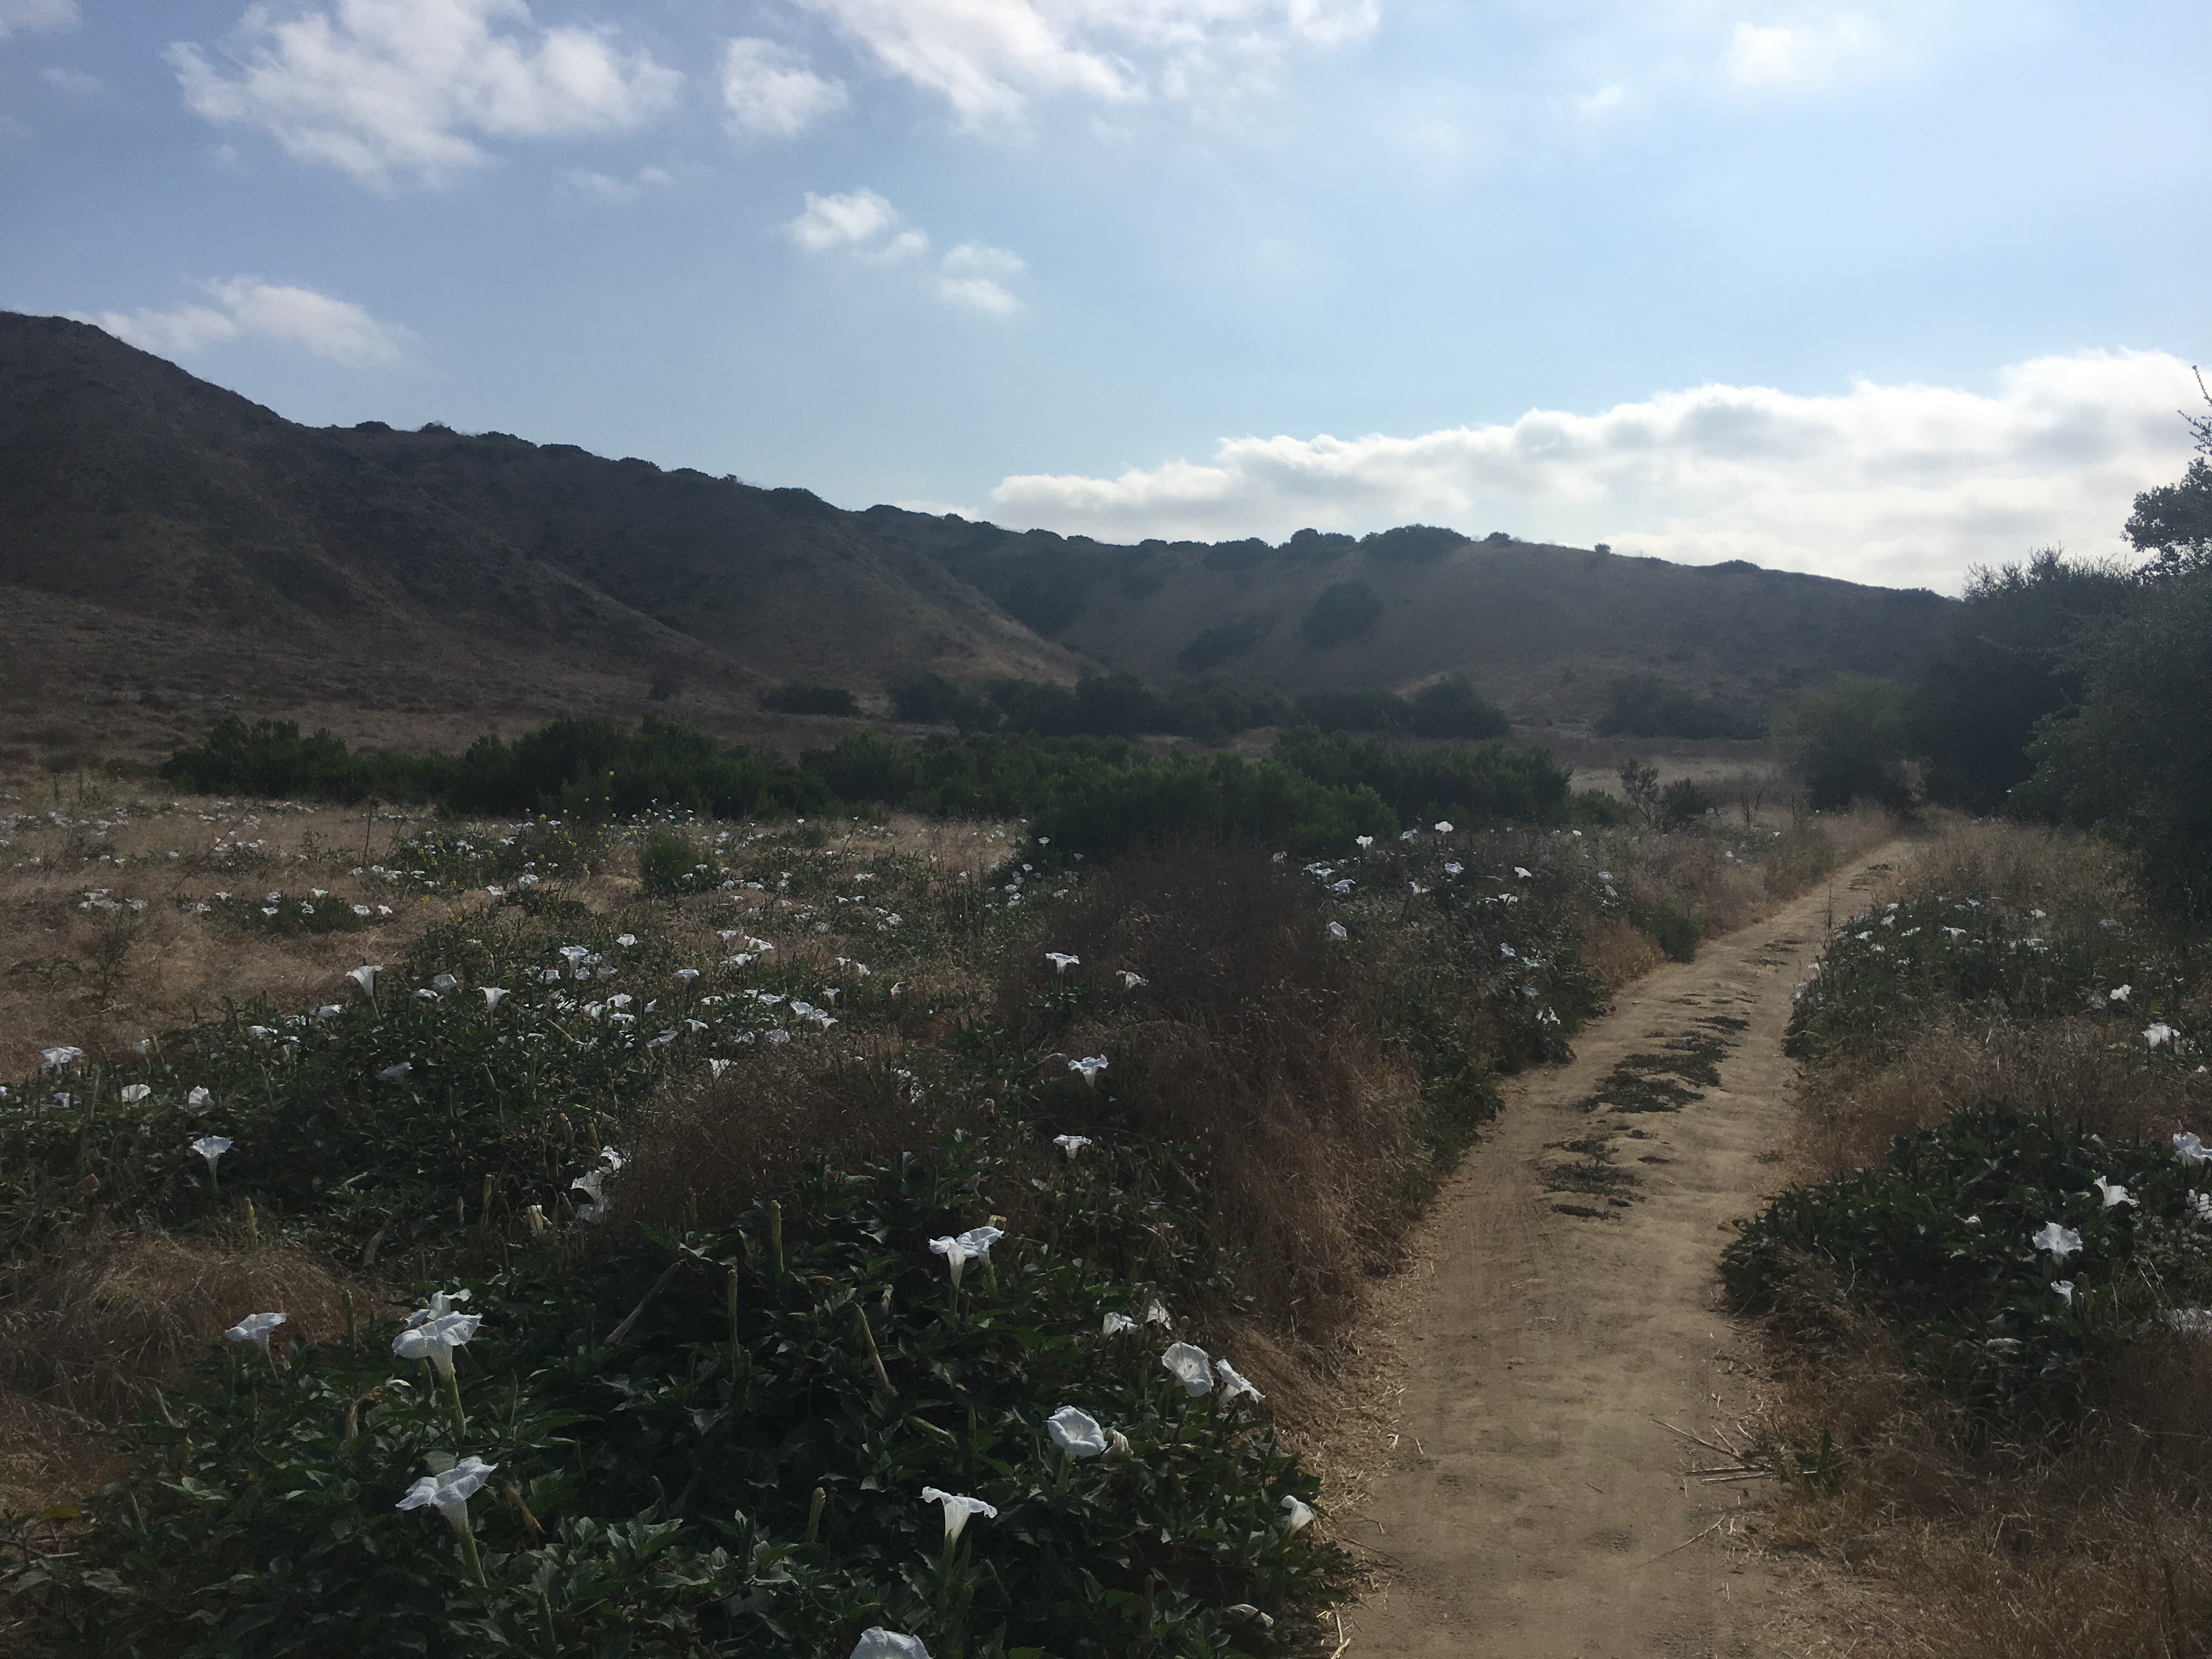
Trail back along Lake Ramona
You can also make your way along the lakes edge along a somewhat formed trail that will lead you back to the main trail and the top of the Dam. From here it is the same trail back the return hike back to the trailhead start. The plant life highlights of this hike as mentioned before are the groves of California Live Oak.
Another highlight of this hike to add to the before mentioned, is the fact that this hike, especially upon the return gives you a detailed view of the Mt. Woodson trail from start to finish. Its an interesting view in that you can see the total distance of the hike which looks much shorter and effortless compared obviously to the enduring nature and length of the trail as compared to when you are in the moment hiking it.
I really enjoyed this hike and all that it offered in first time hiking this trail, scenery, the California Live Oaks. the challenge of the trail as well as the beautiful Lake Ramona.
I walk down the street.
There is a deep hole in the sidewalk.
I fall in.
I am lost… I am hopeless.
It isn’t my fault.
It takes forever to find a way out.
Chapter II
I walk down the same street.
There is a deep hole in the sidewalk.
I pretend I don’t see it.
I fall in again.
I can’t believe I am in this same place.
But it isn’t my fault.
It still takes a long time to get out.
Chapter III
I walk down the same street.
There is a deep hole in the sidewalk.
I see it there.
I still fall in… it’s a habit… but,
my eyes are open.
I know where I am.
It is my fault.
I get out immediately.
Chapter IV
I walk down the same street.
There is a deep hole in the sidewalk.
I walk around it.
The Batiquitos Lagoon trail which is maintained by the Batiquitos Lagoon Foundation is an excellent trail to get the feel of a coastal hike while also experiencing varied terrain and plant life a lagoon offers. There are 5 trailhead entrances to this hike, the main one being off of Gabbiano Way in Carlsbad, which also is where the Batiquitos Lagoon Foundation nature center is located. However, I always chose to use the Bella Lago trail-head start which is located off of Batiquitos Drive. I like this trail-head start because of its ascent through a wooded covered trail.
Although not overwhelming by any means this begining part of the trail does gets the blood pumping as you crest towards the lagoon as well as I-5 and a distane view of the Pacific Ocean.
The trail then dips down towards the main trail which borders the Loggon for the rest of this out and back hike.
Hiking the Lagoon
The trail is well kept, well marked and flat after your initial start. One of my favorite offering’s of this trail is the gentle Ocean and Lagoon breeze that offers a natural air conditioner any time of year you do this hike.
View west to Lagoon and Pacific
This trail is fast, so before you know it you are near the halfway point and physically about as far as you can go on this trail which travels east towards El Camino Real.
Halfway, 2 mile mark
On the return of the hike I choose to pass the point where I joined the main trail from Bella Lago and continue on to the Foundation Nature Center and the Gabbiano Lane trailhead. This added about a half mile to the hike and after I made the return back to the trail that leads back to the Bella Lago trailhead start the total out and back distance to this hike was 4 miles.
This is an energetic scenic hike that offers great views, a coastal feel and a good hike to keep the legs in shape!
Distance: 4 miles out and back
Hike Date and Time: Wednesday August 1, 10AM-11:25AM
Mission Trails Regional Park offers many distinct, scenic and challenging hikes each with their own personality and the Fortuna Mountain Saddle does not disappoint in this area.
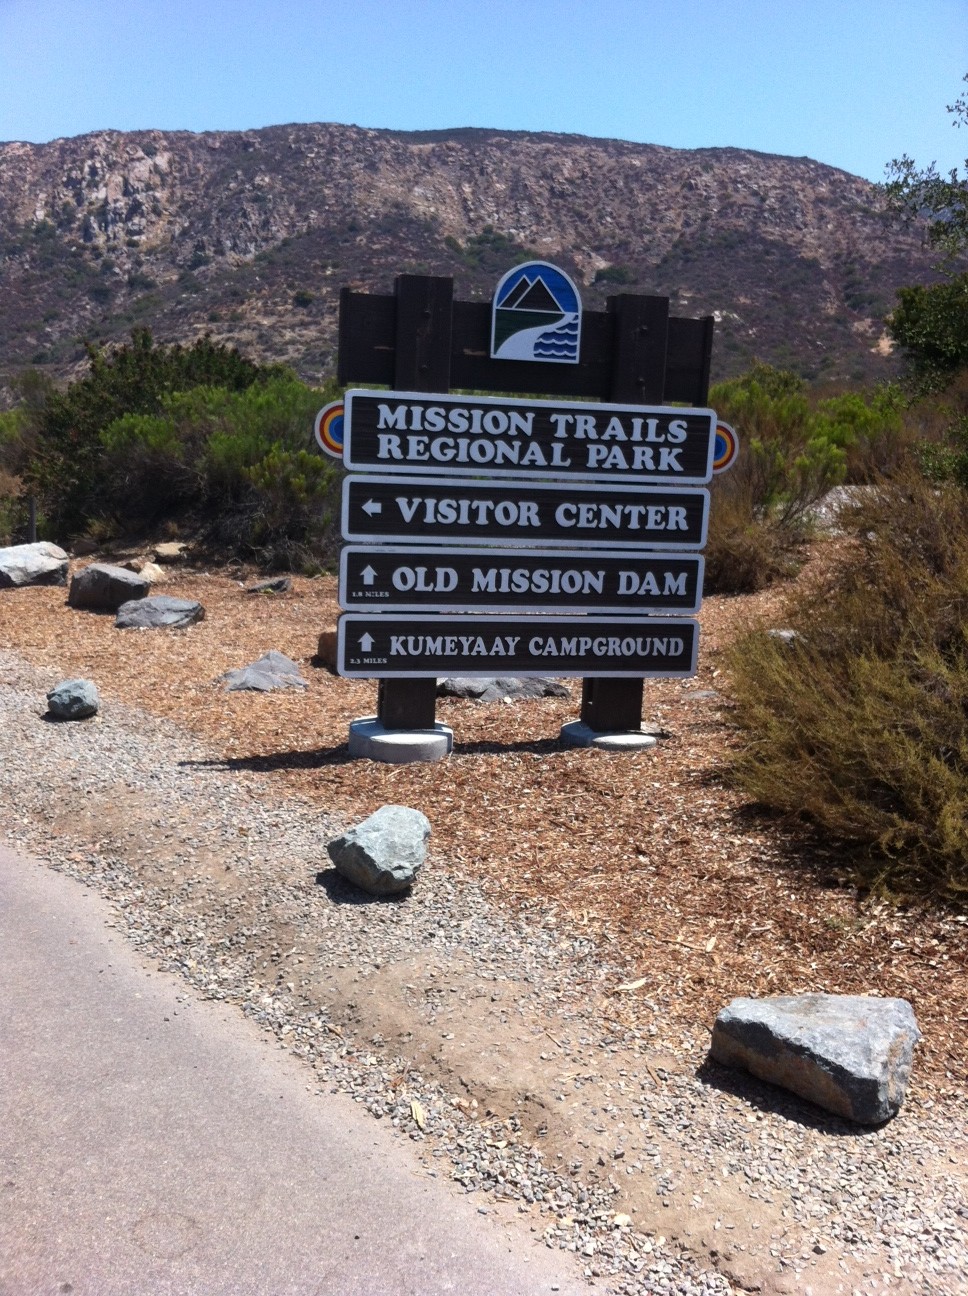
The Fortuna Mountain Saddle includes both North and South Fortuna Peaks. While you can do each at separate times, why not take in the beauty and the challenge of both trails on the same hike. The loop to do both starts from the visitor center entrance and covers nearly 8 miles. You can park your car on the service road area and walk a short distance to the trailhead start, you will see the Mission Trails Regional Park sign on our right.
Sign landmarks the start!
Off we go!
The trail to the saddle starts out on the South Fortuna trail and is well marked and consists of well-packed earth covered in a sandy beginning. The relatively flat trail loops around through dessert brush with a great view of your destination, the South Fortuna Summit off in the distance. The trail widens with a sloping hillside on your left and a wooden fence on your right.
Great view along the road
Soon you will get to the Jackson Crossing area of the San Diego River. Here trees and cover give this area of the trail a forest feel. You will walk along a concrete wall to cross the river and head up the trail to the road.
Sam at Jackson Crossing
This is where the trail gets fun as the road ascends at a rather steep incline which will get your heart pumping, lungs puffing and legs burning! The road switches back a few times and before you know it you will be at the top of the hill near the Twin Towers where the trail returns to a rocky sandy consistency and winds on gentle slopes and soft inclines through brush, small trees and rock. On this day we hiked it was in the low 90’s, so as always make sure you have plenty of water. The heat is much less a factor when you are well hydrated which keeps your energy level up.
This road is a heart pounding burner!
The trail opens up as you hike along a well-compacted stone and earth trail surrounded by dried brown low lying brush. Off in the distance you see the steep slope to the South Summit and the much talked about “Stairs†that lead you up this wickedly steep side of the mountain. As you hike towards the steps the landscape and geography take on a real dessert feel as the dirt gets redder and the trail itself is much more stone and rock.
The Stairs
As you head up towards the “stairs†large boulders dot the scenery. The stairs themselves are made up of wooden steps that lead you up towards the summit of South Fortuna Mountain.
Once at the top don’t be deceived you are still have a bit farther to go to get to the summit but the hard part is over and the challenge well worth it as the panoramic view of Mission Trails and the vista of San Diego is gorgeous. At this point I was pretty gassed, but after sucking down half a bottle of Gatorade and getting back my breath I was ready to push onward towards the summit. After a short hike we were soon at the South Fortuna Peak where a sign and cluster of rock landmarks your accomplishment. From here you get a good view of the winding ascending trail over the
saddle to the summit of North Fortuna. So far the distance traveled is about 3 miles with just about a mile separating both summits.
Sam on South Fortuna Summit
After a short break, some fried chicken and more water we were off to the next peak!
The trail over to the North Fortuna summit is layed out in front of you and very plain to see from your starting point at the South Fortuna summit. The trail is mostly rock and ground up earth and wide. The trail dips, twists and turns until the final ascent the last ¼ of a mile up the slope.
Once you reach the summit you will see the sign marking that point and the wonderful view it offers of all the peaks in the Mission Trails system; Cowles, Pyle’s, Kwaay Paay and besides the North Fortuna you also can see the South Fortuna summit from here.
North Fortuna Summit
Walk a bit more up the trail and you will come to a very large boulder and two marine ammo boxes which contain journals where you can sign in and write about your experience on the saddle!
Write about our adventure at the North Fortuna Summit!
Hiking back can be as adventurous as you make it. You can retrace your way back over to the South summit and head back down the stairs or you can do what we did and followed the SDGE power lines trail back down. Distance wise all ways that lead back are about the same mileage or about the 4 miles it took you to ascend the saddle. However, the SDGE trail was steep and very rocky so be careful. Soon you will meet up with a trail that leads you back to the visitor center via the road you took to ascend up to the Twin Towers. Signs will guide you!
The views back are just as pleasing and beautiful as they were on the ascent. By now the heat was taking it’s toll and we (my son and I) were pretty worn out after our return to the visitor’s center and our completed 8-mile hike. Again, make sure you brig plenty of water, something to eat to restore your electrolytes and as always be on the watch for wildlife.
Didnt see this on the trail
We did not encounter any snakes on the hike but keep in mind that the Missions Trails system is rife with rattlers but so long as you don’t bother them they wont bother you. I recently read that the majority of snakebites occur when the hiker starts to improvise the trail or the hiker hassles the snake, both not smart!
The Mission Trails system has become one of my favorite places to hike as well as home of more strenuous level hikes than any other area in the county. For variety, a good workout and a pleasing accomplishment I highly suggest hiking the Saddle and taking in both the North and South Fortuna summits!
Directions: From downtown San Diego: Take 163 north to I-8 East. Merge onto I-15N and exit on Friars Road East. Follow Mission Gorge Road for 5 miles to Jackson Drive and turn left into the parking area. If you miss this left turn, you can also park in the parking lot for the Visitor Center.
See More Photos at Trail Shots
Distance: 8 miles out and back
Hike Date and Time: Saturday July 21, 12PM-3: 30PM
One of the most scenic and geographically diverse hikes in San Diego County is Mt. Woodson, near Lake Poway. It is also one of the longer and more strenuous hikes to do and requires a half-day. On this early morning Monday start a few other hikers were on the trail but nothing in comparison to what the weekends bring in regards to the number of folks who hike Woodson. The early morning start also provided a cool temperature of roughly 65 digress which was perfect for taking on this challenging hike. The trailhead we started at is on the Lake Poway west end in the recreation area parking lot. There is a rest room near the trailhead to help you landmark the start. The trail starts out taking a slight dip and then climbs with the scenic backdrop of Lake Poway on your left and the summit of Mt. Woodson straight ahead.
The trail then begins a steady and blood pumping incline ascent. The scenery is a mix of brush and boulders with sloping hillsides on either side. The trail itself consists of compacted earth and sand and is very easy on the knees and feet. Markers along the way alert you of your destination as well as distance hiked and remaining to get to the summit. As we hiked on, the gray of the morning gave way to mixed blue skies scattered with wispy clouds. At this point in the hike, at about the 1.5 mile mark, the trail steepens into a series of switchbacks; I’m reminded of the Cowles Mountain trail for a good visual example. Im also reminded at this point in the hike why I like Mt. Woodson besides the natural beauty; it’s trail diversity! The last 1/3 of this hike the trail gets much rockier and the surrounding scenery turns to massive boulders amidst the plant life and brush.
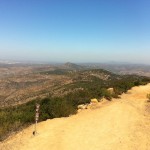
The views are amazing as the open land, hills, and winding roads dotted with houses and ranches provide a stunning overhead panoramic, much like you might get from being in an airplane.
This is the second time I have done this hike and the difference between the two astounds me. Im in much better hiking shape, equating to “less sucking it up” which leads to more moments to enjoy the nature, scenery and rewards of this trail. As you get to know the personalities of each hike you can better absorb the nuances of the trail and expectations along the way. However, even the same trail can offer up something new, and a first time experience, the second time traveled. This happened on this hike as we took the viewpoint cutoff to get in a little more challenge and a different view as well as some “rock climbing.
As in life, its always a good idea to change it up, take on a new route and see the same things in a different way. This is especially a good idea if you find yourself not being challenged or getting comfortable with the status quo. Having said that, for the most part that is why I like to hike anyways, if offers me a place of serenity, peace and of being mindful, or in the moment which keeps me present. Hiking also provides me an “escape” from the stresses of the day and to get a new outlook on a familiar or ongoing situation, problem, or event that needs to be considered differently.
As we approach the summit of Woodson its peak is shrouded in a wispy overhang of clouds/fog that offers a magnificent view to our destination and goal! Potato chip rock appears on our left, which marks the 3.6-mile part of our hike. However, we do not consider our goal of being at the summit’s peak until we go an additional .2 mi up the road and to the right where a pine tree grove appears. Again, yet another scenic diversity this hike offers and my favorite part of the trail, a view through the pines to the landscape far below.
After spending a few moments here, we headed up the trail past Potato Chip Rock to our “break” station to sit, rest, snack and take in the views from the summit peak. This high above view included looking over a vast sea of white clouds that stretched out as far as the eye could see.
At this point my son and I suggested we get up and move on or we may just sit here the rest of the day, a very rewarding choice but we do need to get to the “Chip.”
Although strenuous and demanding, the Mt. Woodson trail is a must on the upper tier hikes in San Diego County to add to your “Need to accomplish” list. A must to do after this hike and a way of rewarding your accomplishment is a visit to a fantastic smoothie shop at the corner of Twin Peaks and Espola Rd.
Great fresh homemade smoothies!
Distance: 7.5 miles out and back
Hike Date and Time: Monday July 2, 2012 7:30am-11:30am
Hike-ability: Strenuous
Water: 50 oz plus 1 liter of Gatorade
Temperature: 60’s
Directions to trailhead: Exit I-15 go east on Ted Williams Pkwy to Twin Peaks road turn right to Espola Road turn left to Lake Poway Road turn right. You will pass water district on your right as you drive up hill. On weekends you have to stop at gate to pay $5.00 fee. Weekdays you do not. Drive to the right into parking area to far end, you will see restroom house on your left, park here. Trailhead is behind the restroom house. Have fun!
Hike Date and Time: Thursday June 21, 2012, 3:30-5:30PM
Hike-ability: Easy
Water: 50 oz plus 1 liter of Gatorade
Tempature: 70’s
Directions to trailhead: Exit Interstate 805 at Mira Mesa Boulevard/Sorrento Valley Road. Take either I-805 frontage road (Sorrento Valley Road on the west side or Vista Sorrento Parkway on the east side) 1 mile north to Sorrento Valley Boulevard. Turn right and continue 1 mile east to the western staging area for Los Penasquitos Canyon Preserve. Park in the parking lot
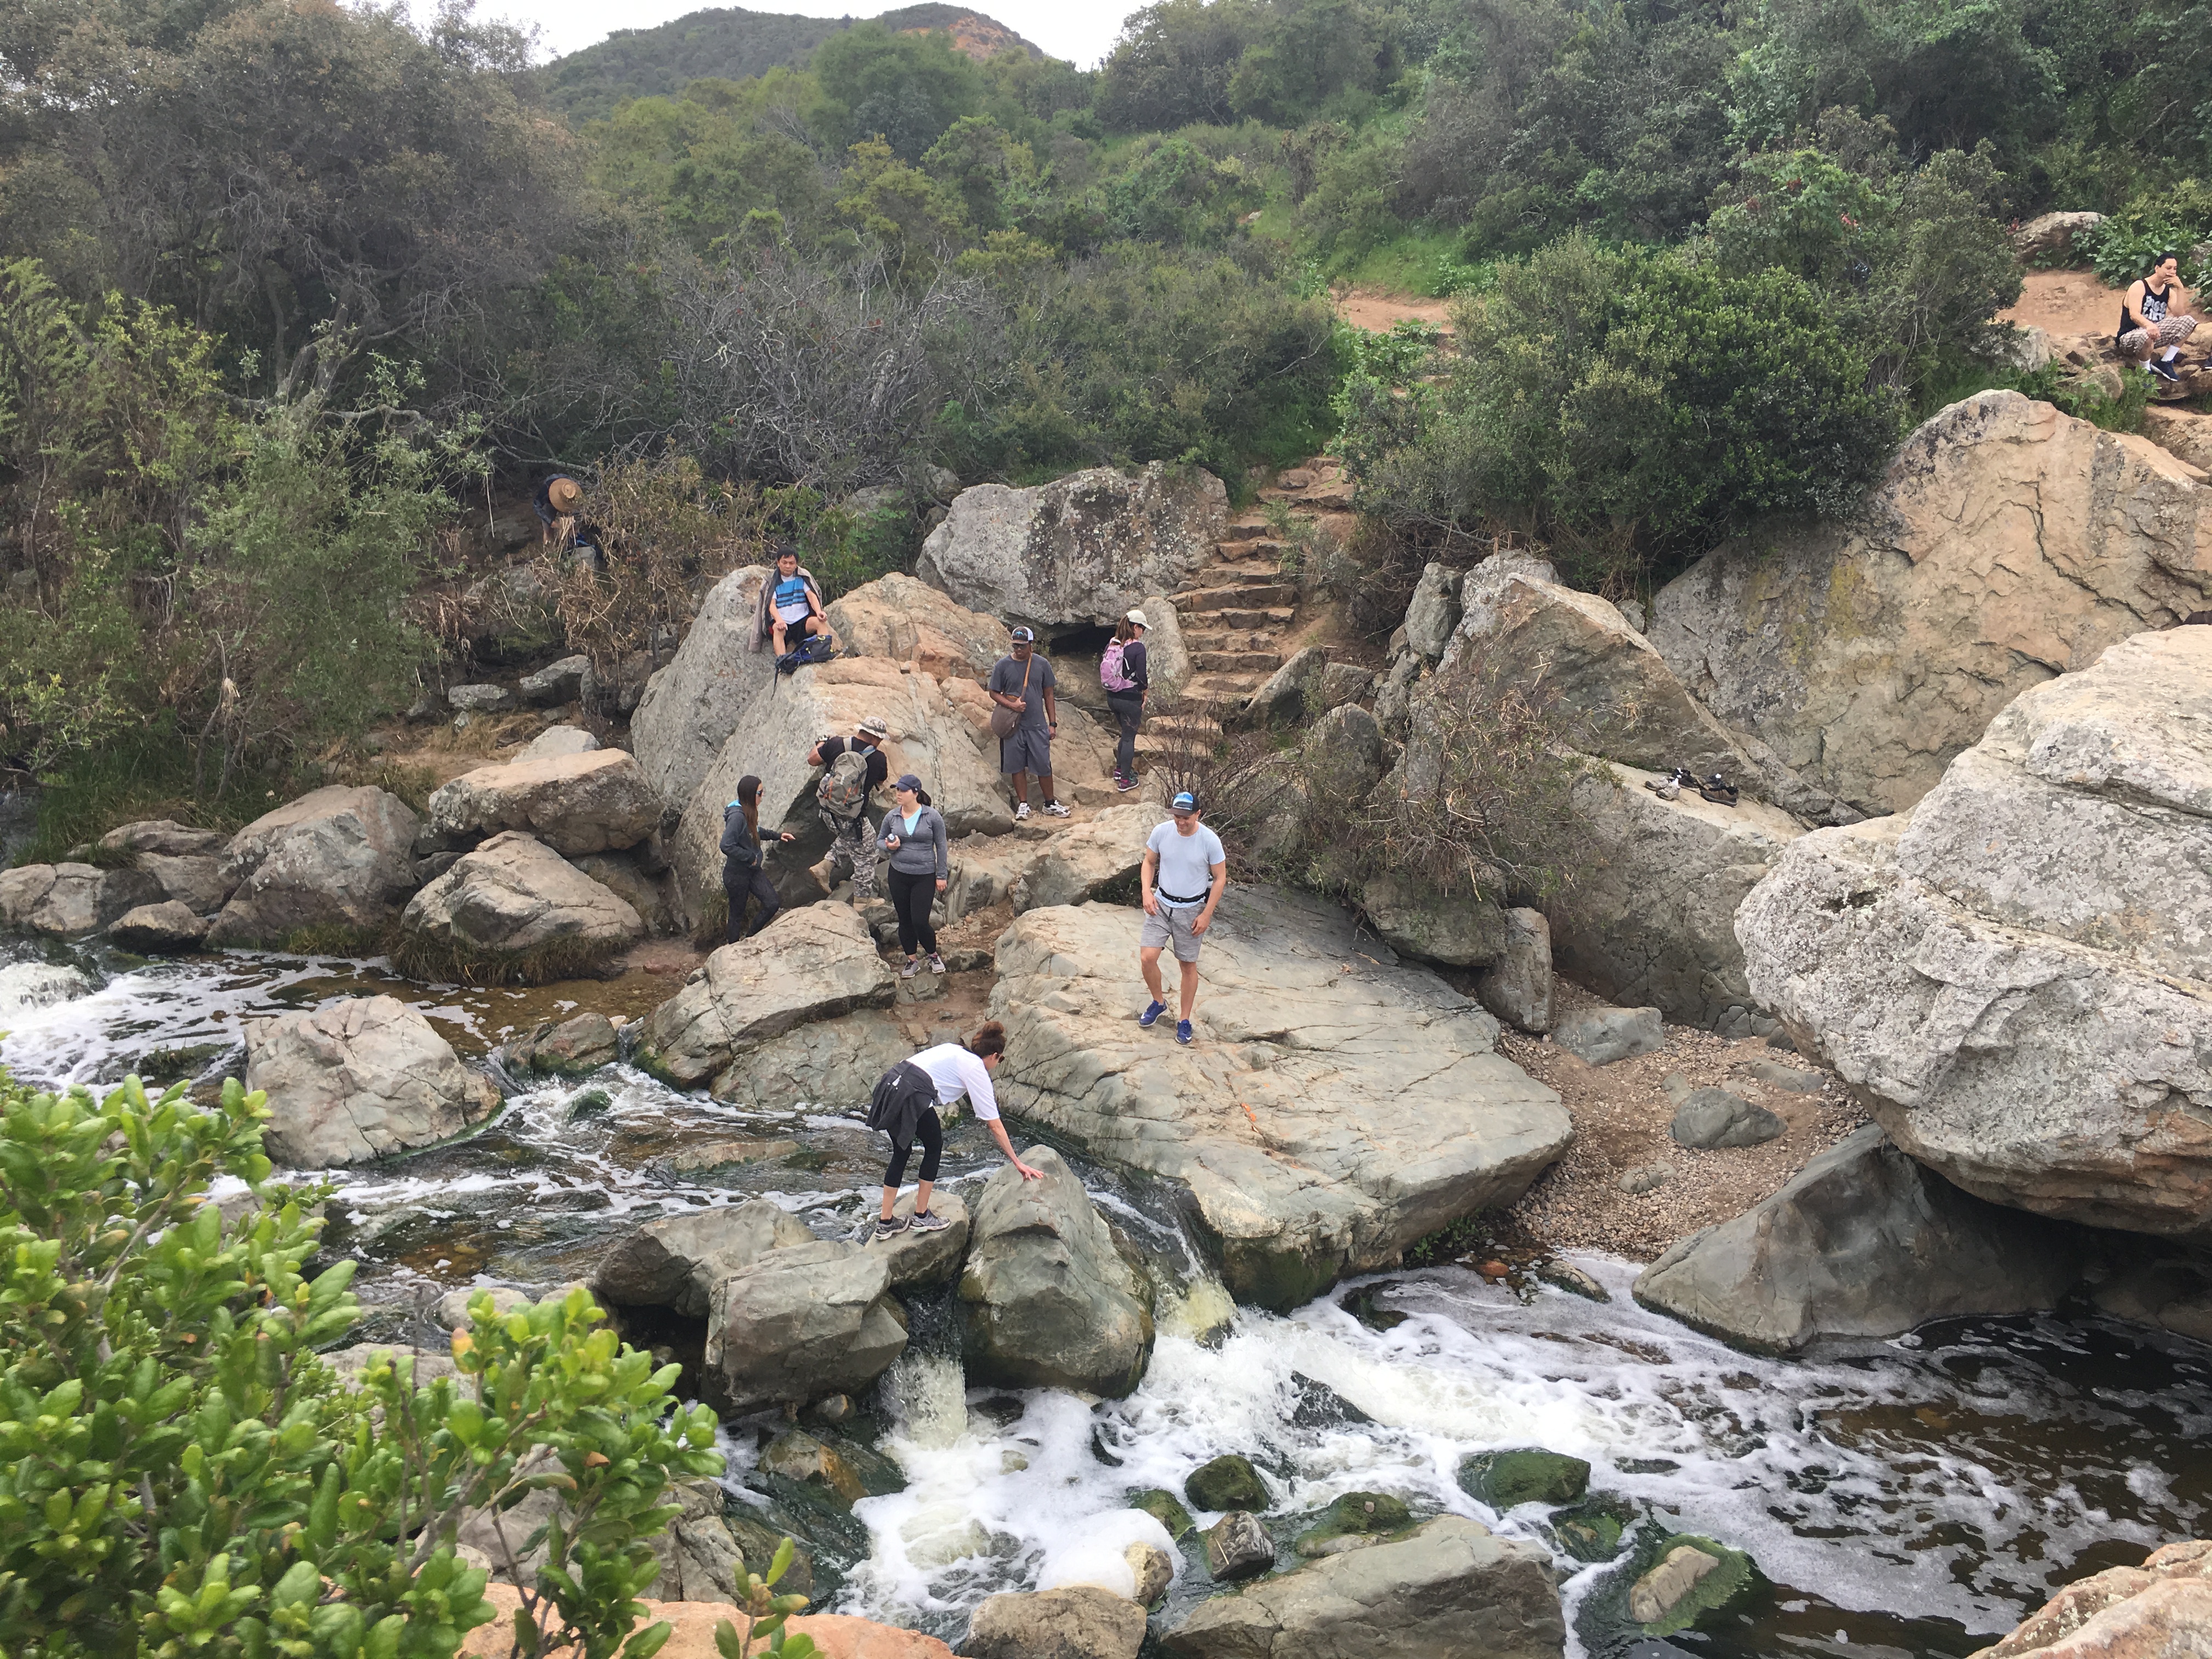
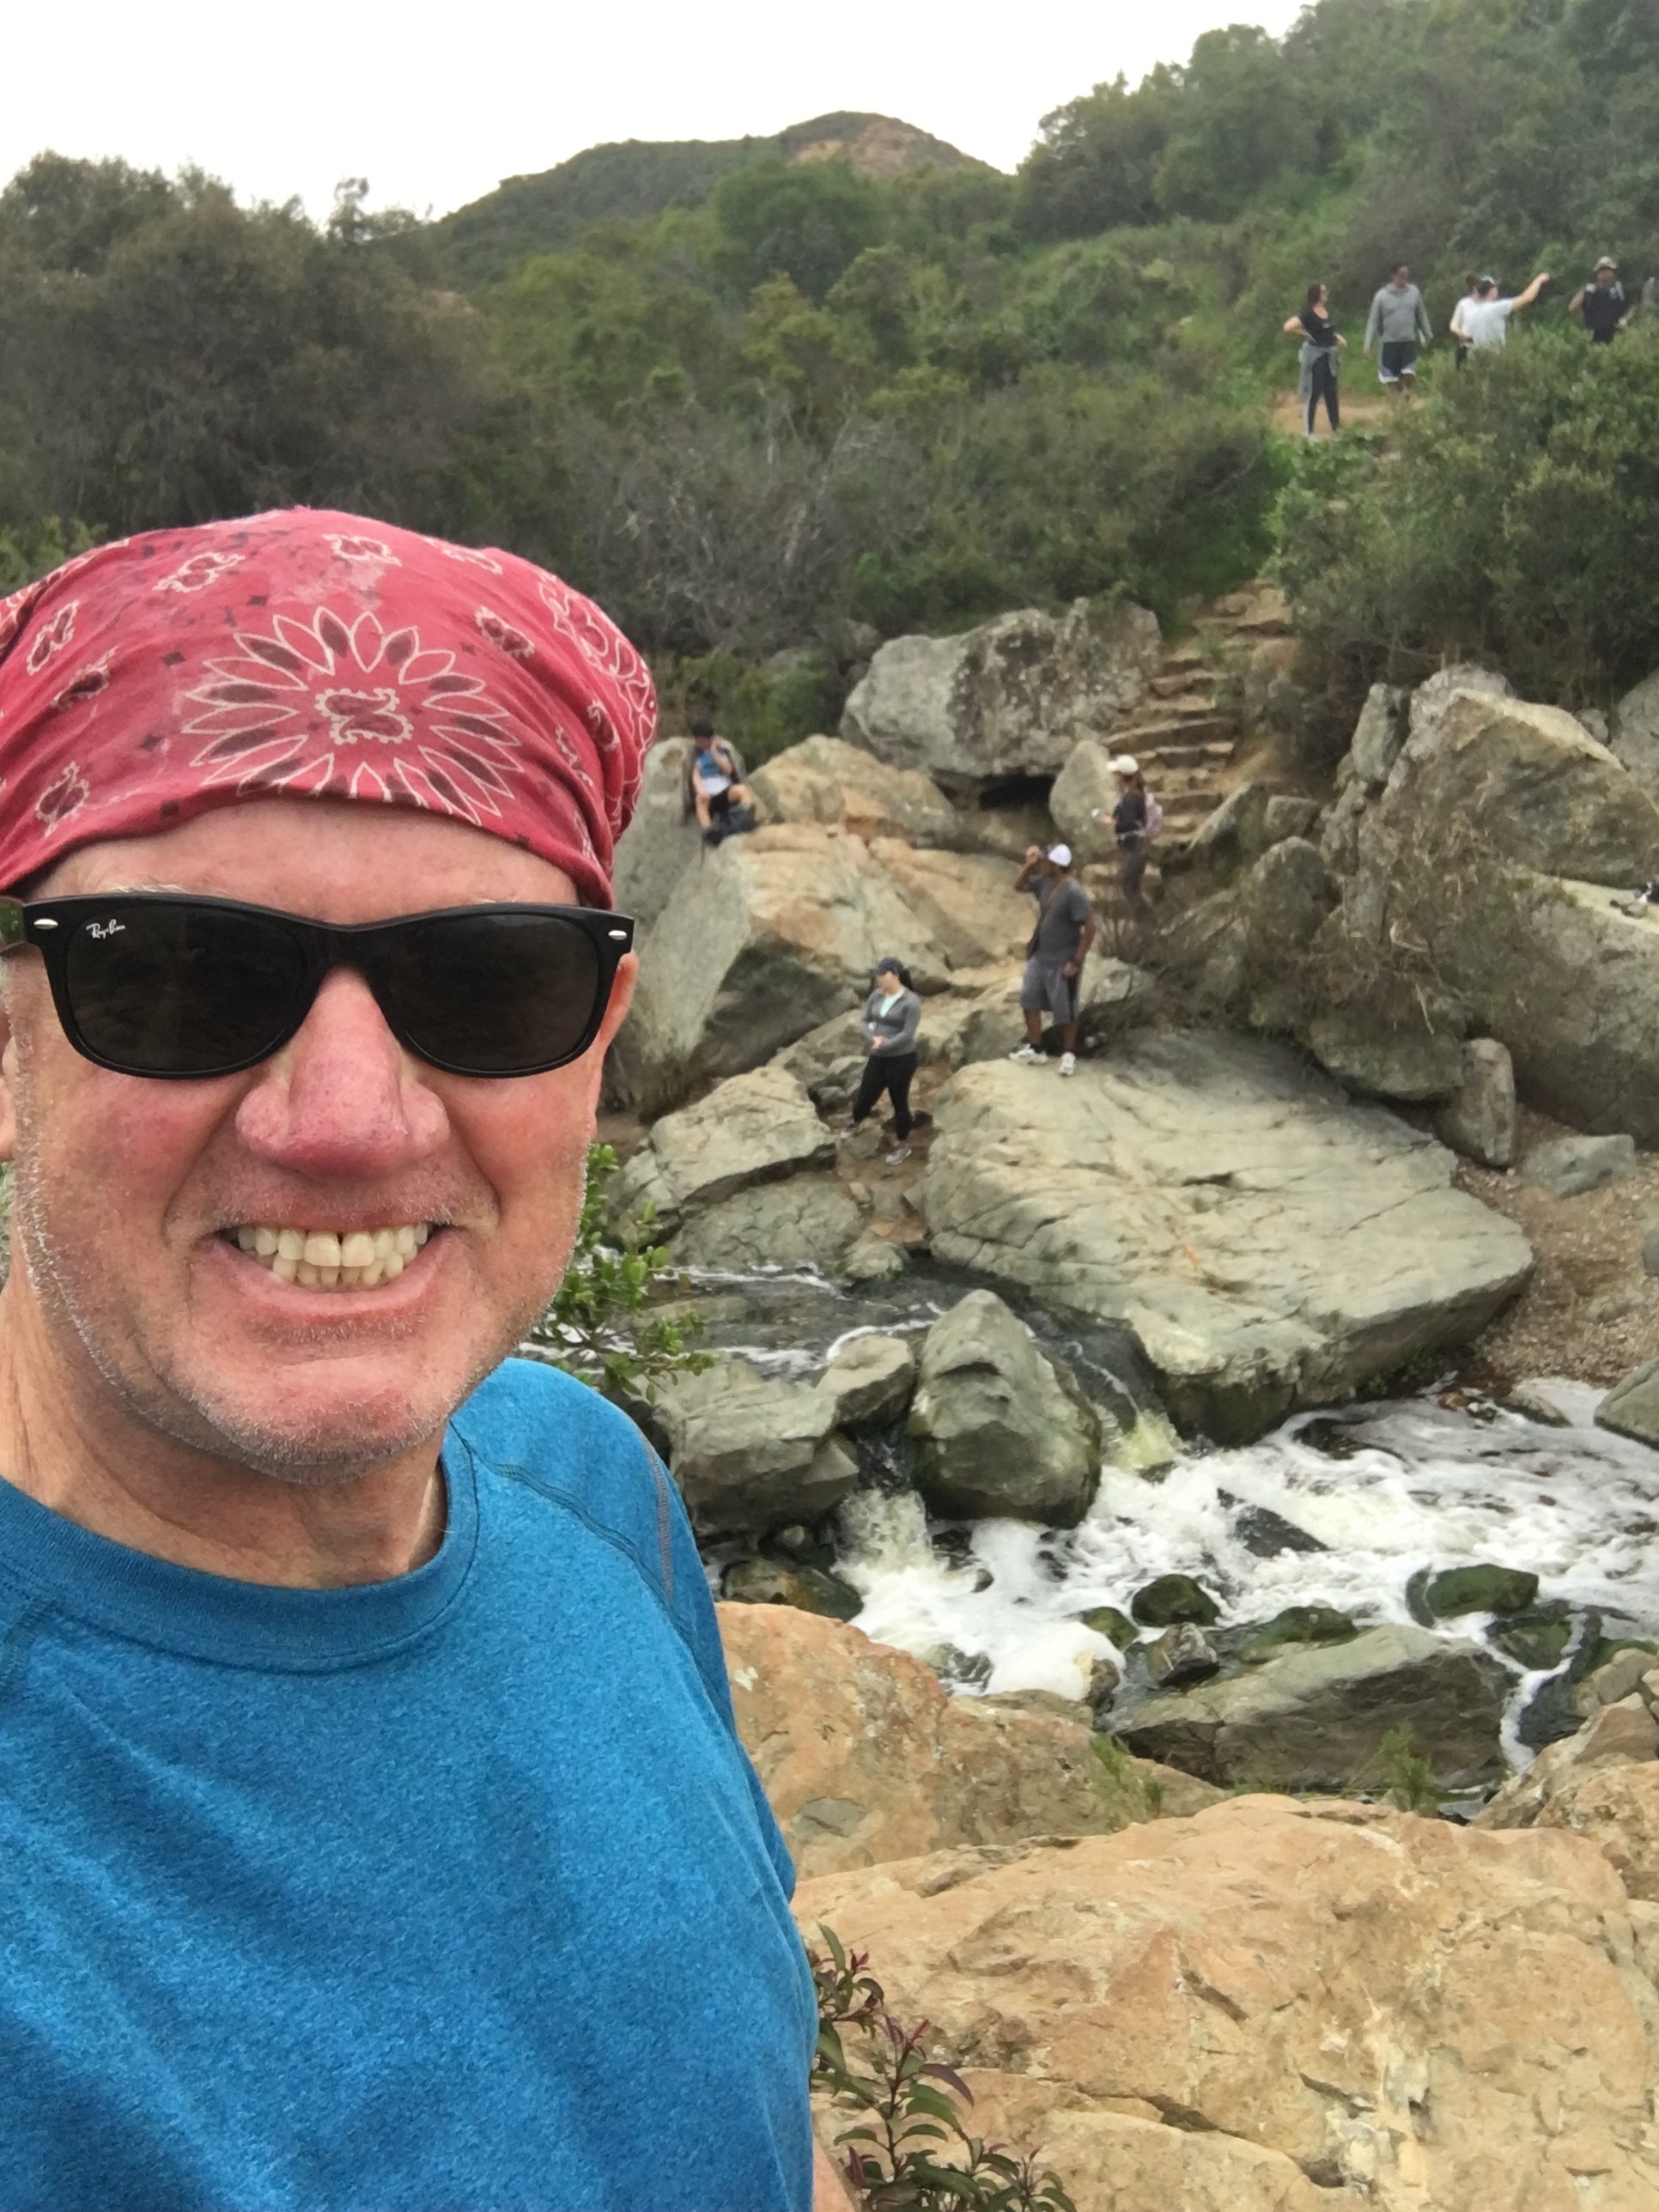
The Los Penaquitos Canyon trail (map) offers a fun hike tucked amidst the freeways, houses and traffic of Sorrento Valley. The Los Penaquitos Canyon Preserve is 4000 acres stretching approximately seven miles from the I-5 and 805 merge to just east of I-15. It’s hiking trail offers a peaceful and tranquil hike surrounded by native beauty that lead to not only historical sites, and a graveyard, but a reward and destination of a waterfall at trails end.
The natural beauty of the preserve includes many different plant and tree species and wildlife as well. On this particular hike we saw a Mule Deer, Peregrine Falcon and numerous rare bird types. This hike started out rather adventurous as about a mile and a half in we realized that we had taken a wrong turn and ended up in Lopez Canyon, a first in that over the past 7 months hiiking I hadn’t gotten lost! However,
it was on our “lost” hike in Lopez Canyon that we saw a very good sized mule deer charge from the brush across the dried up rocky river bed we were hiking. Luckily we ran into our “hiking angel” and she set us straight, Im sure afterwards wondering “man these guys are lost and way off the path.
After being righted and back on our way I realized how much like in life, we can get off the “right path” but can adjust our journey and be once again on course. After all hiking like life is all in the journey, one step at a time!
This Way!
As you start and wind through the trail you will soon come upon an education board and clearly marked sign that says WATERFALL 2.7 (mi) with an arrow pointing left. The trail dips from there going west under Sorrento Valley Blvd. The trail than continues with markers along the way showing you direction and mileage. This trail is also a main trail for mountain bikers as well, and on this day we saw many more of them than hikers
The trail is wide, very well kept, and meanders through rolling hillsides, which at this time of year were a light golden brown. Springtime would be a beautiful time to hike this trail, as I’m sure the abundance of wildflowers would be in full bloom. Interestingly, we came across numerous patches of pumpkins, which were growing wild as well as a staple plant in the canyon, the Yerba Mansa.
The fun thing about this trail is despite a few soft climbs much of the trail is flat and steady. The only time this trail takes an upward climb of any note is in the beginning of the trail and when you come to the waterfalls at the 2.7-mile mark. This last hill is where our trail biking friend ran across, almost literally, a good size rattlesnake laying on the trail.
Waterfall 2.7 mile mark Los Penasquitos canyon Hiker Therapy
The falls represent a midpoint for not only the trail we were on but also for the hikers that took the East Approach trail of the canyon.
Over the past 7 months I have been on many hikes each with their own personality, challenges, natural beauty, distance and reward. However, except for the Mt. San Antonio (Mt Baldy) hike, The Los Penasquitos Canyon trail has been my favorite hike to date and I look forward to doing this hike from the East Approach in the near future!
If you are looking for a sleeper hike that wallops a big punch for a “short” hike then the Kwaay Paay trail is for you! The Kwaay Paay trail is part of the Mission Trails Regional Park system that consists of many trails all offering varied experiences and challenges. The Kwaay Paay trail may be the most physically challenging hike I’ve done to date! Mt. San Antonio challenges you mentally, Mt, Woodson challenges your stamina but Kwaay Paay, although very simple in design, offers quite the workout amongst a background of scenic beauty. Most of the challenge of this hike lies in its steep ascent that starts out relatively flat but steadily increases in steepness the further along the trail you go.
Let the Climb Begin!
The trail itself is very well marked, well maintained and is mostly compacted dirt spotted with rocks, and most of the trail is quite wide. However, the closer you get to the summit of this trail the narrower as well as steeper it gets! The summit offers a great view of The Fortuna Mountains, Cowles Mt. and Pyle’s Peak.
On the descent be careful of the steepness of the trail and the rocky path, not only do you risk slipping and falling but turning an ankle is a concern as well! The Kwaay Paay trail is not for those adverse to a good “burn” on the legs or push on the lungs! On this day hiked the trail was lightly traveled as we passed only 10 others who were on the trail! I really enjoyed this hike due to the physical challenge, the beauty of the trail and surrounding hills/mountains, and the perfect length of trail that matched the physical demands it presented!
We live in a fast-paced society. Hiking slows us down.†— Robert Sweetgall
More Photos at Trail Shots!
Summit View!
Distance: 4 miles
Hike Date and Time:Tuesday June 12th. 12-2PM
Hike-ability: Physically challenging and strenuous! Highly suggested for experienced hikers only!
Water: 40oz
Tempature: 80
Trailhead:There are a few trailhead starts to the Kwaay Paay trail but the one chosen was at the Equestrian Staging area parking lot. Exit right off of Mast Blvd in Santee if you are going east on California 52. The entrance to MIssion Trails Regional Park is right off of the exit ramp Entrance to trailhead is near back of Equestrian Staging area.
If you are looking for a hike that offer’s you three amazing varied experiences in one, then the Palomar Observatory Trail is the hike for you!
This trifecta trail offers a great aerobic workout, beautiful scenery, and at trails end, one of the truly magnificent scientific wonders in the country, the Palomar Observatory, which houses one of the largest telescopes in the world.
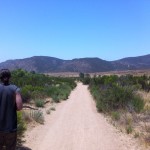
Although “only†4 miles in length, this out and back trail is a good aerobic jaunt with an elevation gain of 900 feet up Palomar Mountain in the backcountry of San Diego County, east of Interstate 15. The drive in itself to this hike is an adventure offering landscape that passes through vast open fields bordered by orange groves, hills dotted with avocado orchards and the nearby Palomar Mountain Range which is a high peninsular mountain range in northern San Diego County of Southern California.
There are numerous hikes in the Palomar Mountain area, but the trailhead to the Observatory Trail is in the observatory campground, which is 3 miles from the intersection of S6 & S7. The entrance to the campground is on the right hand side of the road. Drive to the back of the campground, where you will see a brown fence and park bulletin board, which marks the trailhead start. The trail is very straightforward, pardon the pun, and leads you all of the way to the Palomar Observatory gate.
One of the differences about hiking in the backcountry versus the coast or coastal mountains, is there is a good chance that you will see a mountain lion or rattlesnake along the way. Part of me very much wanted to experience seeing either one, the other part of me was VERY glad I didn’t. Backcountry hiking also offered me a different experience as far as terrain as well. Most of my previous hikes have been in a “open” environment on trails that are rocky, cree or gravel covered surrounded by rock, boulders, coastal and dessert type vegetation.
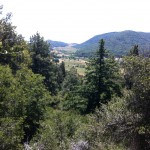
The Palomar Observatory trail is dirt and pine needle covered and moves through a wooded forest like terrain, which at times takes on a feel of “mystery.” But the smell of pine and the various sounds emanating from the stillness of the forest offers a very tranquil, peaceful hike. The vegetation along this trail reminded me of what much of my home state of Michigan is like as you go off into the wilderness. The presence of gnats buzzing about, while at times annoying, does not take away from the pleasurable experience this hike offers.
As you approach the trails end the alabaster white dome of the observatory starts to appear on your right signaling that you are near. One of the fun things of hiking for me is to see and chart your progress as far as your timing and physical fitness.
Although this hike offers it’s own set of challenges such as the elevation, this is a fairly easy hike. I covered the 2 miles from trailhead start to the observatory gate in 46 minutes, the quickest I have done 2 miles, fast but not at the expense of enjoying the hike, afterall the peace and mindfulness of the hike are a great part of the journey for me as well.
Focus on the journey, not the destination. Joy is found not in finishing an activity but in doing it. -Greg Anderson
This is a good hike to change it up that not only offers the physical fitness and mental health benefit of a hike but you get the bonus benefit of learning about the Stars! Have a great time!
Distance: 4 miles
Hike Date and Time:Thursday June 7, 2012 11:30AM – 2:00PM
Hike-ability: Easy moderate, the elevation gain and attitude make a difference on your breathing if you are not used to it, even if you are it still does!
Food and Water: Sandwiches for lunch, an orange and about 50 oz of water.
Tempature: 80’s
Trailhead: From Interstate 15, near Fallbrook, drive twenty-one miles east on Highway 76. Turn north on Road S6 (South Grade Road), continue 6.5 miles to the junction with Road S7, then continue three miles north along Road S6 to the Observatory Campground (located across from the Forest Service Sign on the right side of the road). The parking area for the trailhead and the amphitheatre is located toward the back of the campground “loop” and is signed. A Forest Service Adventure Pass is required to park at the trailhead.
The beauty of hiking is that it is a sport that requires very little in cost, special equipment or uniform. However, three essential considerations that contribute to your comfort and physical well being when you hike are a must; 1. Quality Hiking Shoes 2. Water 3. Food
FEET!
If there are any pairs of shoes in your closet that require quality and comfort it is your pair of hiking shoes. There is absolutely nothing worse than being 1-2 miles out on your hike and your feet already are screaming! Blisters and crunched toes are not fun.
The two most important things to look for when buying a hiking shoe are size and how it feels when you are hiking down hill. For me, anytime I’m hiking down hill the hike becomes much more physically challenging and this is especially true for the feet! When trying on a hiking shoe make sure you can walk “down hill.” A good outdoor recreational retail store will have a mock “mountain” in their shoe department which will allow you to test how the shoe feels going down hill.
Regarding the size of the shoe, If it feels uncomfortable in the store, it’ll really hurt on the trail, if it feels good in the store you should be good on the hike! When sizing your shoe remember that your feel swell after you have been on the trail awhile. If you are a size 11, chances are you will need at least an 11.5, maybe even a 12 when you try on a shoe at the store. Sock thickness plays into this as well, I prefer a very thin or no sock when I hike, that way when my foot swells a thick sock will not add to what the shoe needs to hold. You can also bring a pair or two of socks with you on the hike and change them as needed.
There are many brands out there, Merrill, Patagonia and Vasque all are quality names, however a shoe that feels good for one may not for another in the same brand. It is imperative that you shop for your hiking shoes in person, not online and not by someone else doing the buying for you. If you are getting hiking shoes as a gift, make sure you are at the store to try them on.
Another suggestion I would offer when buying a hiking shoe is DONT GET CHEAP! Quality absolutely does matter when it comes to hiking shoes and like most things of quality, the better the quality the higher the cost. The good news is a good quality pair of hiking shoes should last you awhile, at least two hiking seasons.
Hiking shoes come in low cut, mid cut and boot style. If you require more ankle support and hike rough trails, I would highly suggest a hiking boot, less rocky more compact trails usually only require a low or midcut shoe. Having said that every trail can offer you a turned ankle, so as always be careful as to where you step.
A good rule of thumb regarding the feet on a hike is to always bring with you over-sized band-aids for blisters, moleskin to cushion the front of the shoe if needed and make sure your toenails are trimmed down short so that your toes are not jammed up against the end of your shoe, especially going downhill.
HEAT!
When recently watching the morning news, a segment came on about hiking safety and tips by the San Diego Sheriff’s Search & Rescue Department on how to be prepared when you hike. First on the list of tips was to respect the heat when you hike and make sure you have enough water and are always hydrated as you hike. In fact, I was surprised to learn that the Sheriff’s Search & Rescue team are called to Cowles Mountain and Torrey Pines hiking trails many times due to emergency issues as related to heat and dehydration. Cowles is always hot when I hike it and a hike where I always consume a lot of water.
Heat plays a tremendous factor when you hike, it not only dictates how much water you should be consuming but the hotter it is the more likely your energy level will be tested. It also requires you take precaution against the sun and be prepared with sunscreen.
As far as how much water to take on a hike, a good rule of thumb is to drink 12-16 oz per hour, more the warmer it gets. On a recent hike to Mt. Woodson, which was roughly 7 miles and took nearly 5 hours on a 75 degree day, I drank nearly 100 oz of water, the Mt. San Antonio hike, which was 11.2 miles took 10 hours and low 80’s required 150 oz of water as well as a bottle of gatorade. Both hikes also required lot’s of sunscreen.
EAT!
Fuel is a must in order to sustain energy on a hike. Fuel equals food! While you are hiking you should try and eat 300-500 calories every hour. Your body has a hard time digesting food while you are hiking, so make sure that you eat and drink small amounts more frequently. Load up on carbohydrates before you hike, potatoes for breakfast do very nicely the day of a hike. I always pack a lunch on any hike over 4 miles. Shorter hikes I take an orange or snack bar. Longer hikes I take all three. I heard someone mention on the Mt. Woodson hike that they expended 2000 calories of energy. I know when my son and I did a recent hike at Mt. Woodson, half of our motivation in getting to the summit lies in the awaiting lunch of tuna fish sandwiches, potato chips and a York Peppermint patty! We also brought along mixed nuts and oranges and as mentioned earlier plenty of water. A quality backpack is always a good idea, especially on long hikes so that you can carry all your essentials. especially food and water.
By paying attention to these three hiking musts, the Heat, your Feet and the need to Eat, you will assure that you maintain optimal phsical condition that will lead to a comfortable hiking experience and a healthy you!
A hike I absolutely would suggest is the Cowles Mountain to Pyle’s Peak trail. By adding the Pyle’s Peak link to the hike you will be increasing the difficulty of the hike but you will also be adding a sense of peacefulness and beauty as well.
Hiking much like life, if it’s easy it more than likely lacks reward!
I would say that 95% of those who hike to the summit to Cowles, end the journey there, descent aside. In fact on my way over to Pyle’s only two other hikers shared the trail. I attribute that to the fact that the added piece of the Pyle’s Peak is relatively unknown as well as an additional challenge.
This is my second attempt at this hike, heat and lack of water shortened the journey from Cowles Mountain to Pyle’s Peak back in March 2012, when the temp was in the 90’s. One thing I have learned in the past five months of my hiking adventures, bring enough water and even more! So getting to the destination of Pyle’s Peak via Cowles Mountain has been in the back of my mind as a peak to conquer!
Cowles Mountain Trail
The “main” or most popular trail-head to Cowles can be reached at Golfcrest Drive and Navajo Road. visitor’s center is located there with information, Restrooms and water. However, to avoid 90% of the crowd I always choose the east trail-head off of Barker Way. This trail has twenty-five switchbacks over 1.05 miles to its intersection with the main trail that continues to the summit of Cowles, which is at 1592 feet and makes it the highest point in the City of San Diego.
The trail up Cowles is at times rocky but for the most part is compacted earth that is well traveled and marked. After the 1.5 mile climb to Cowles Mountain summit, a short walk down the service road to the Pyles Peak trail-head begins just a hundred feet short of the summit marker. sign on the left turns you down some steps which leads to the Pyle’s Peak trail-head sign. The trail beginning actually ascends for about 1/4 of a mile before beginning an elongated up and down hike. This portion of the
Cowles/Pyle’s hike for me signified two distinct hikes within a hike. Whereas the Cowles Mountain ascent called upon my strength and stamina, the Pyle’s peak portion of the hike though challenging in spots, offered me a sense of calm and serenity.
Isn’t that how life is as well? At times we are challenged by the day to day, being pushed to our limits, but then we are given the opportunity to stop, recharge and slow down the pace.
As you come across a sign that says “Viewpoint” you have about a 1/4 mile to go to the summit of Pyle’s Peak. The trail to Pyle’s branches off to the right and begin’s a pretty steep incline to the summit. Once you come the crest of the “hill”, you have made it, you have reached Pyle’s Peak which is land marked by a very good size boulder!
Summit Of Pyle’s Peak!
This hike will offer you a lot of variance, other’s who share your desire to hike, and a physical fitness challenge along with a strong sense of accomplishment and mental health well being.
Distance: 6 miles
Hike Date and Time: Tuesday May 29, 2012. Started at 10:40AM returned at 1:40PM 3 hours
Hike-ability: Cowles Mountain was my very first hike and although I was in good shape, I was not in hiking shape compared to now. Then I would rate it a moderate hike, now I would rate it a easy moderate hike. Very doable either way.
Food and Water: This hike always seems hot to me whenever I go. Temperature was around 80 degrees, bring lot’s of water. I had 50 Ounces of water and bottle of gatorade. I also brought an orange and lunch.