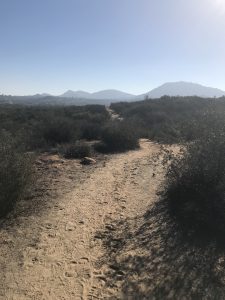
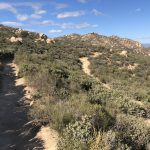
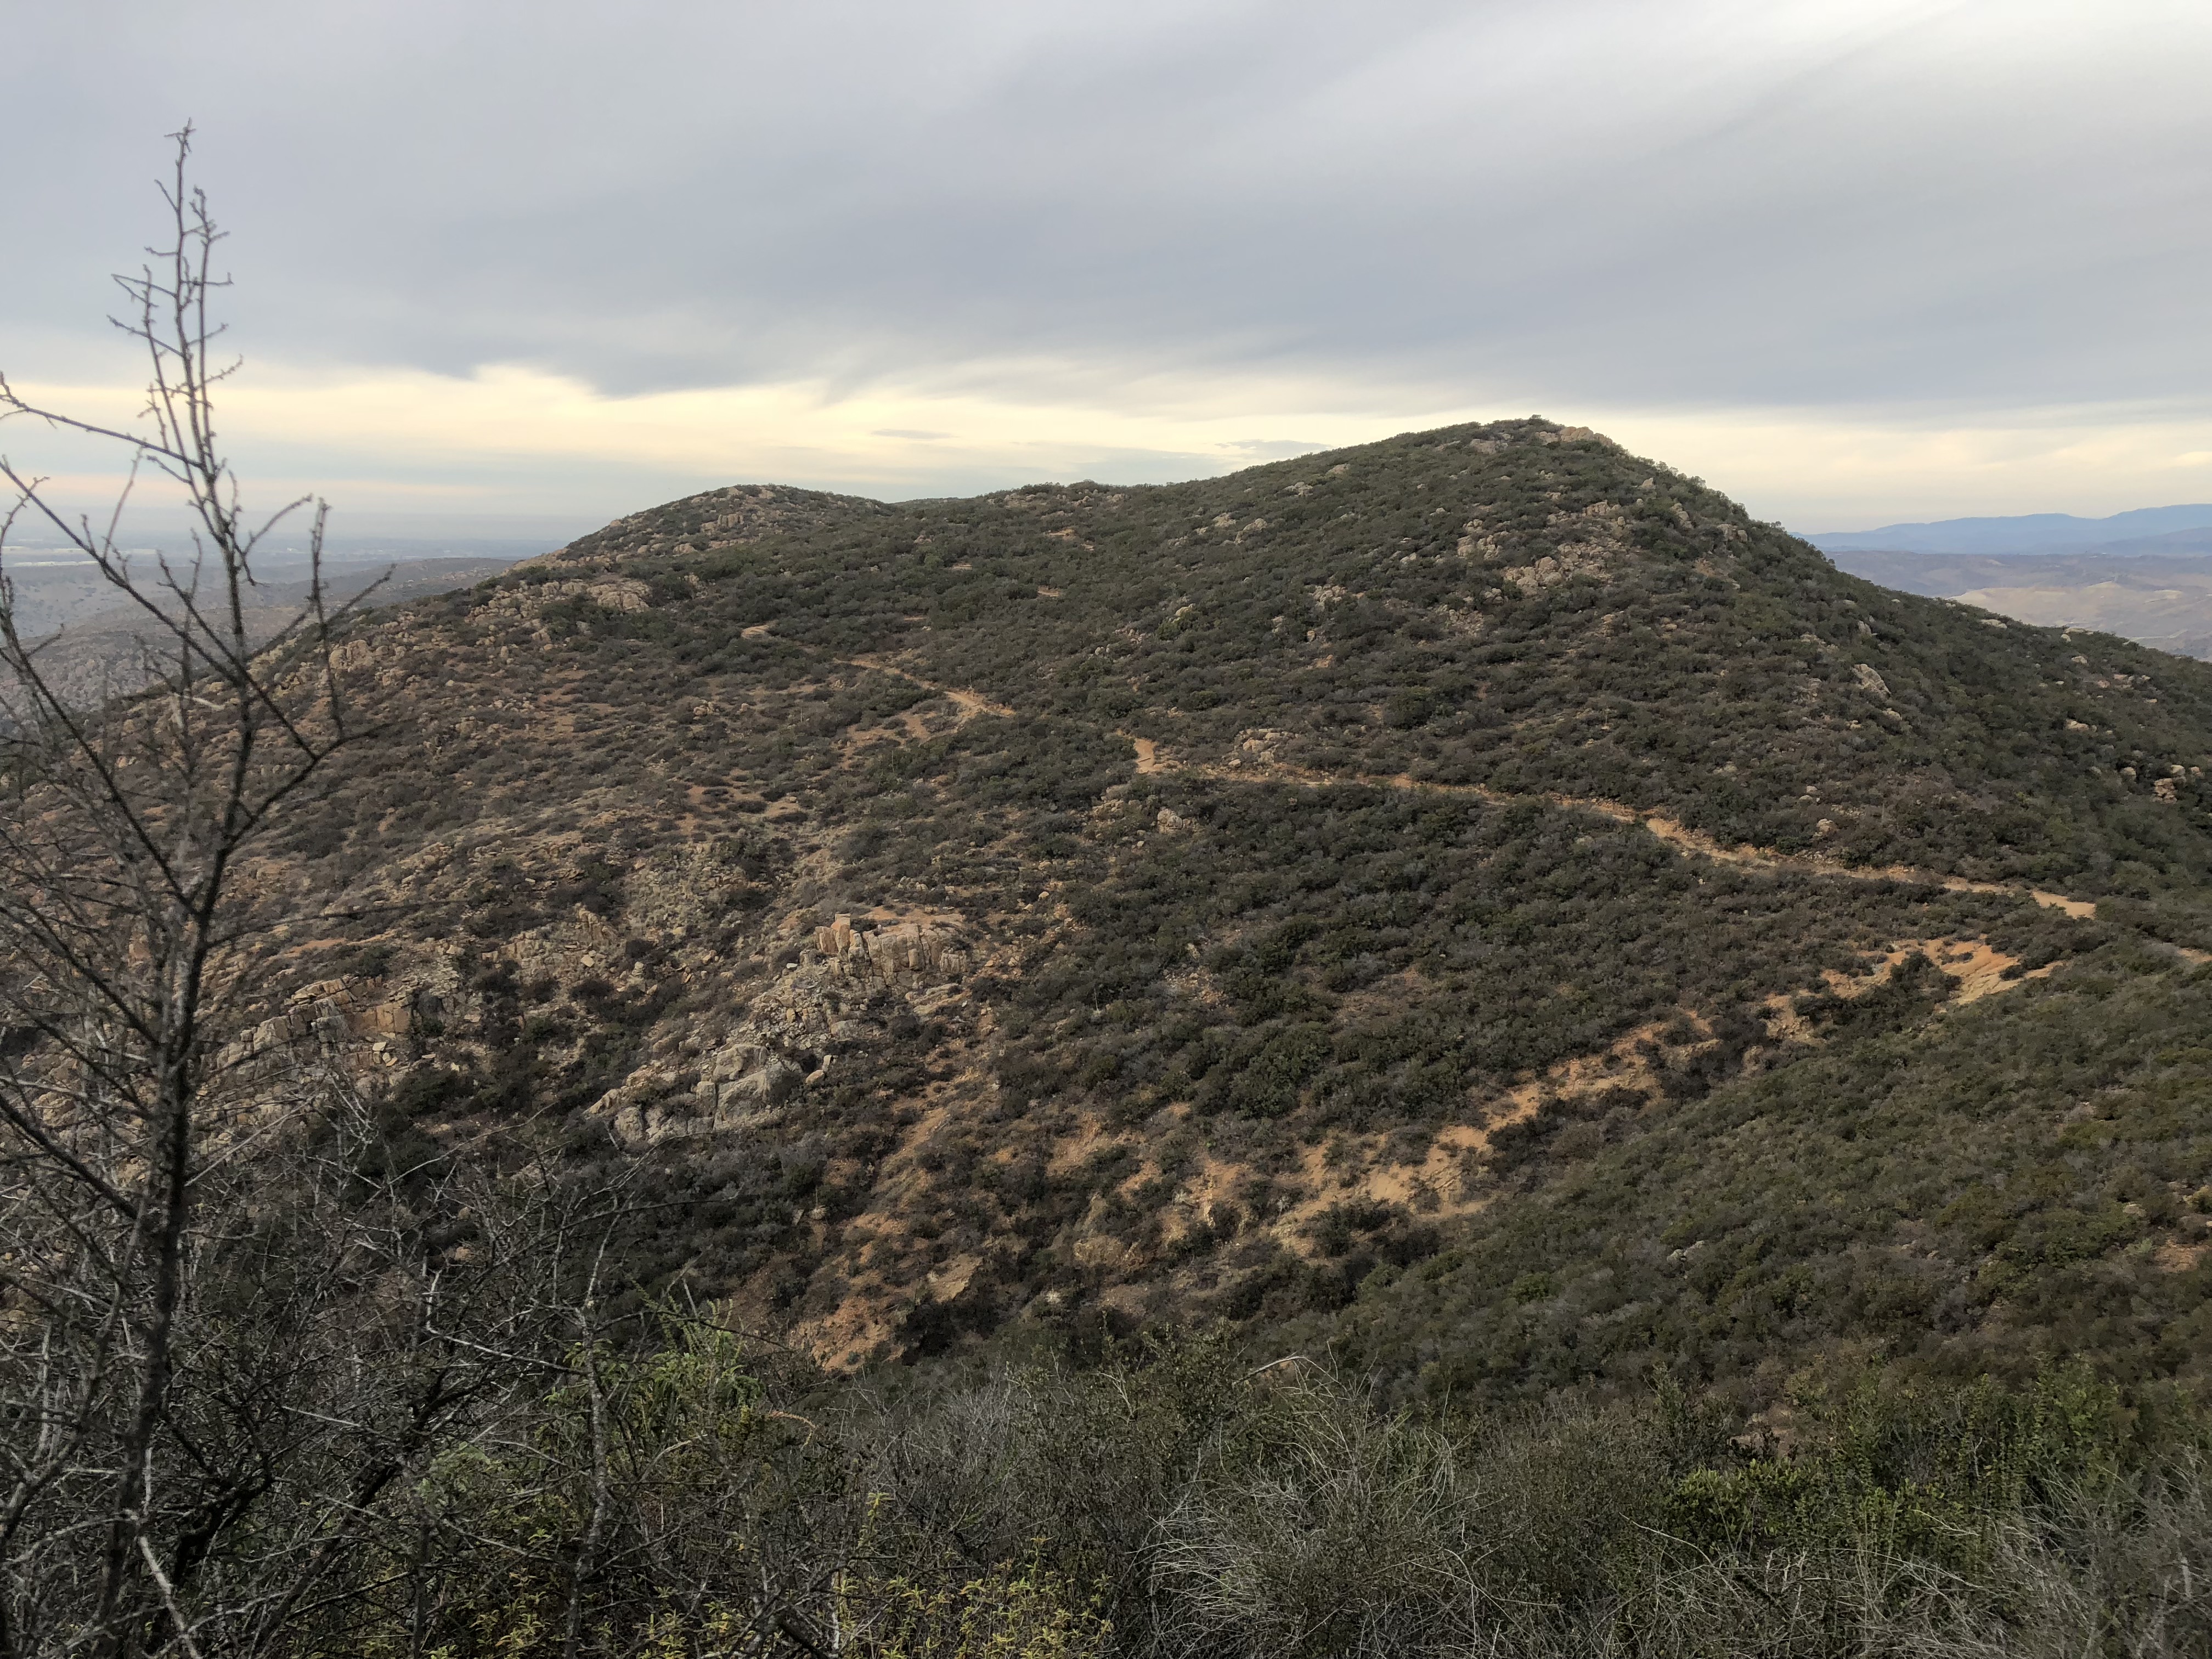
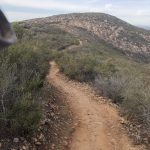
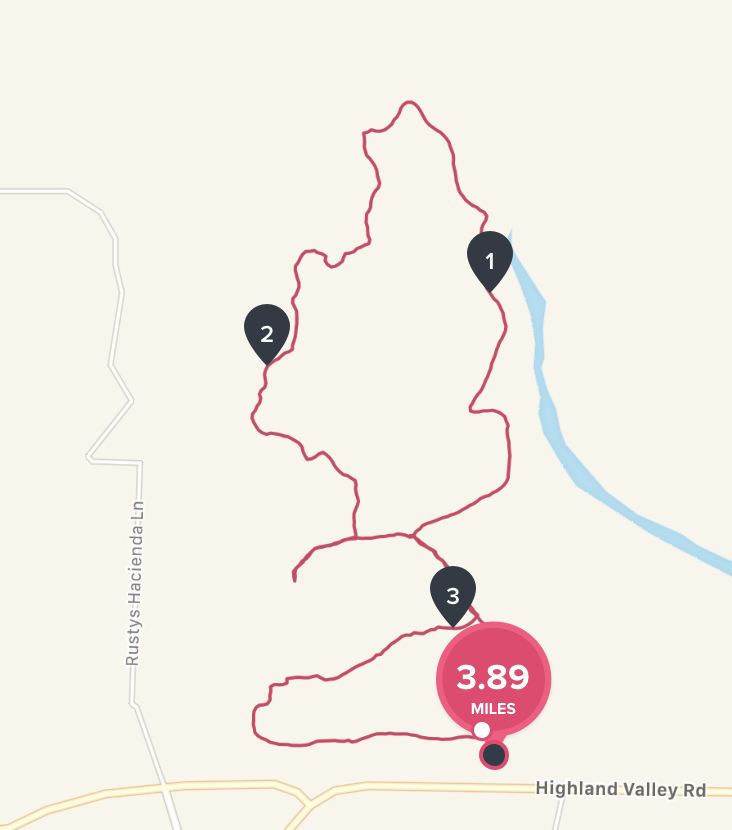
This scenic trail system consists of 2 separate trails tied together by the main trail to offer a 4 mile hike through the grasslands of Ramona. The journey out to the Preserve is almost as adventurous as the hike itself through the winding twists and turns of Highland Rd if coming from I-15 as I did.
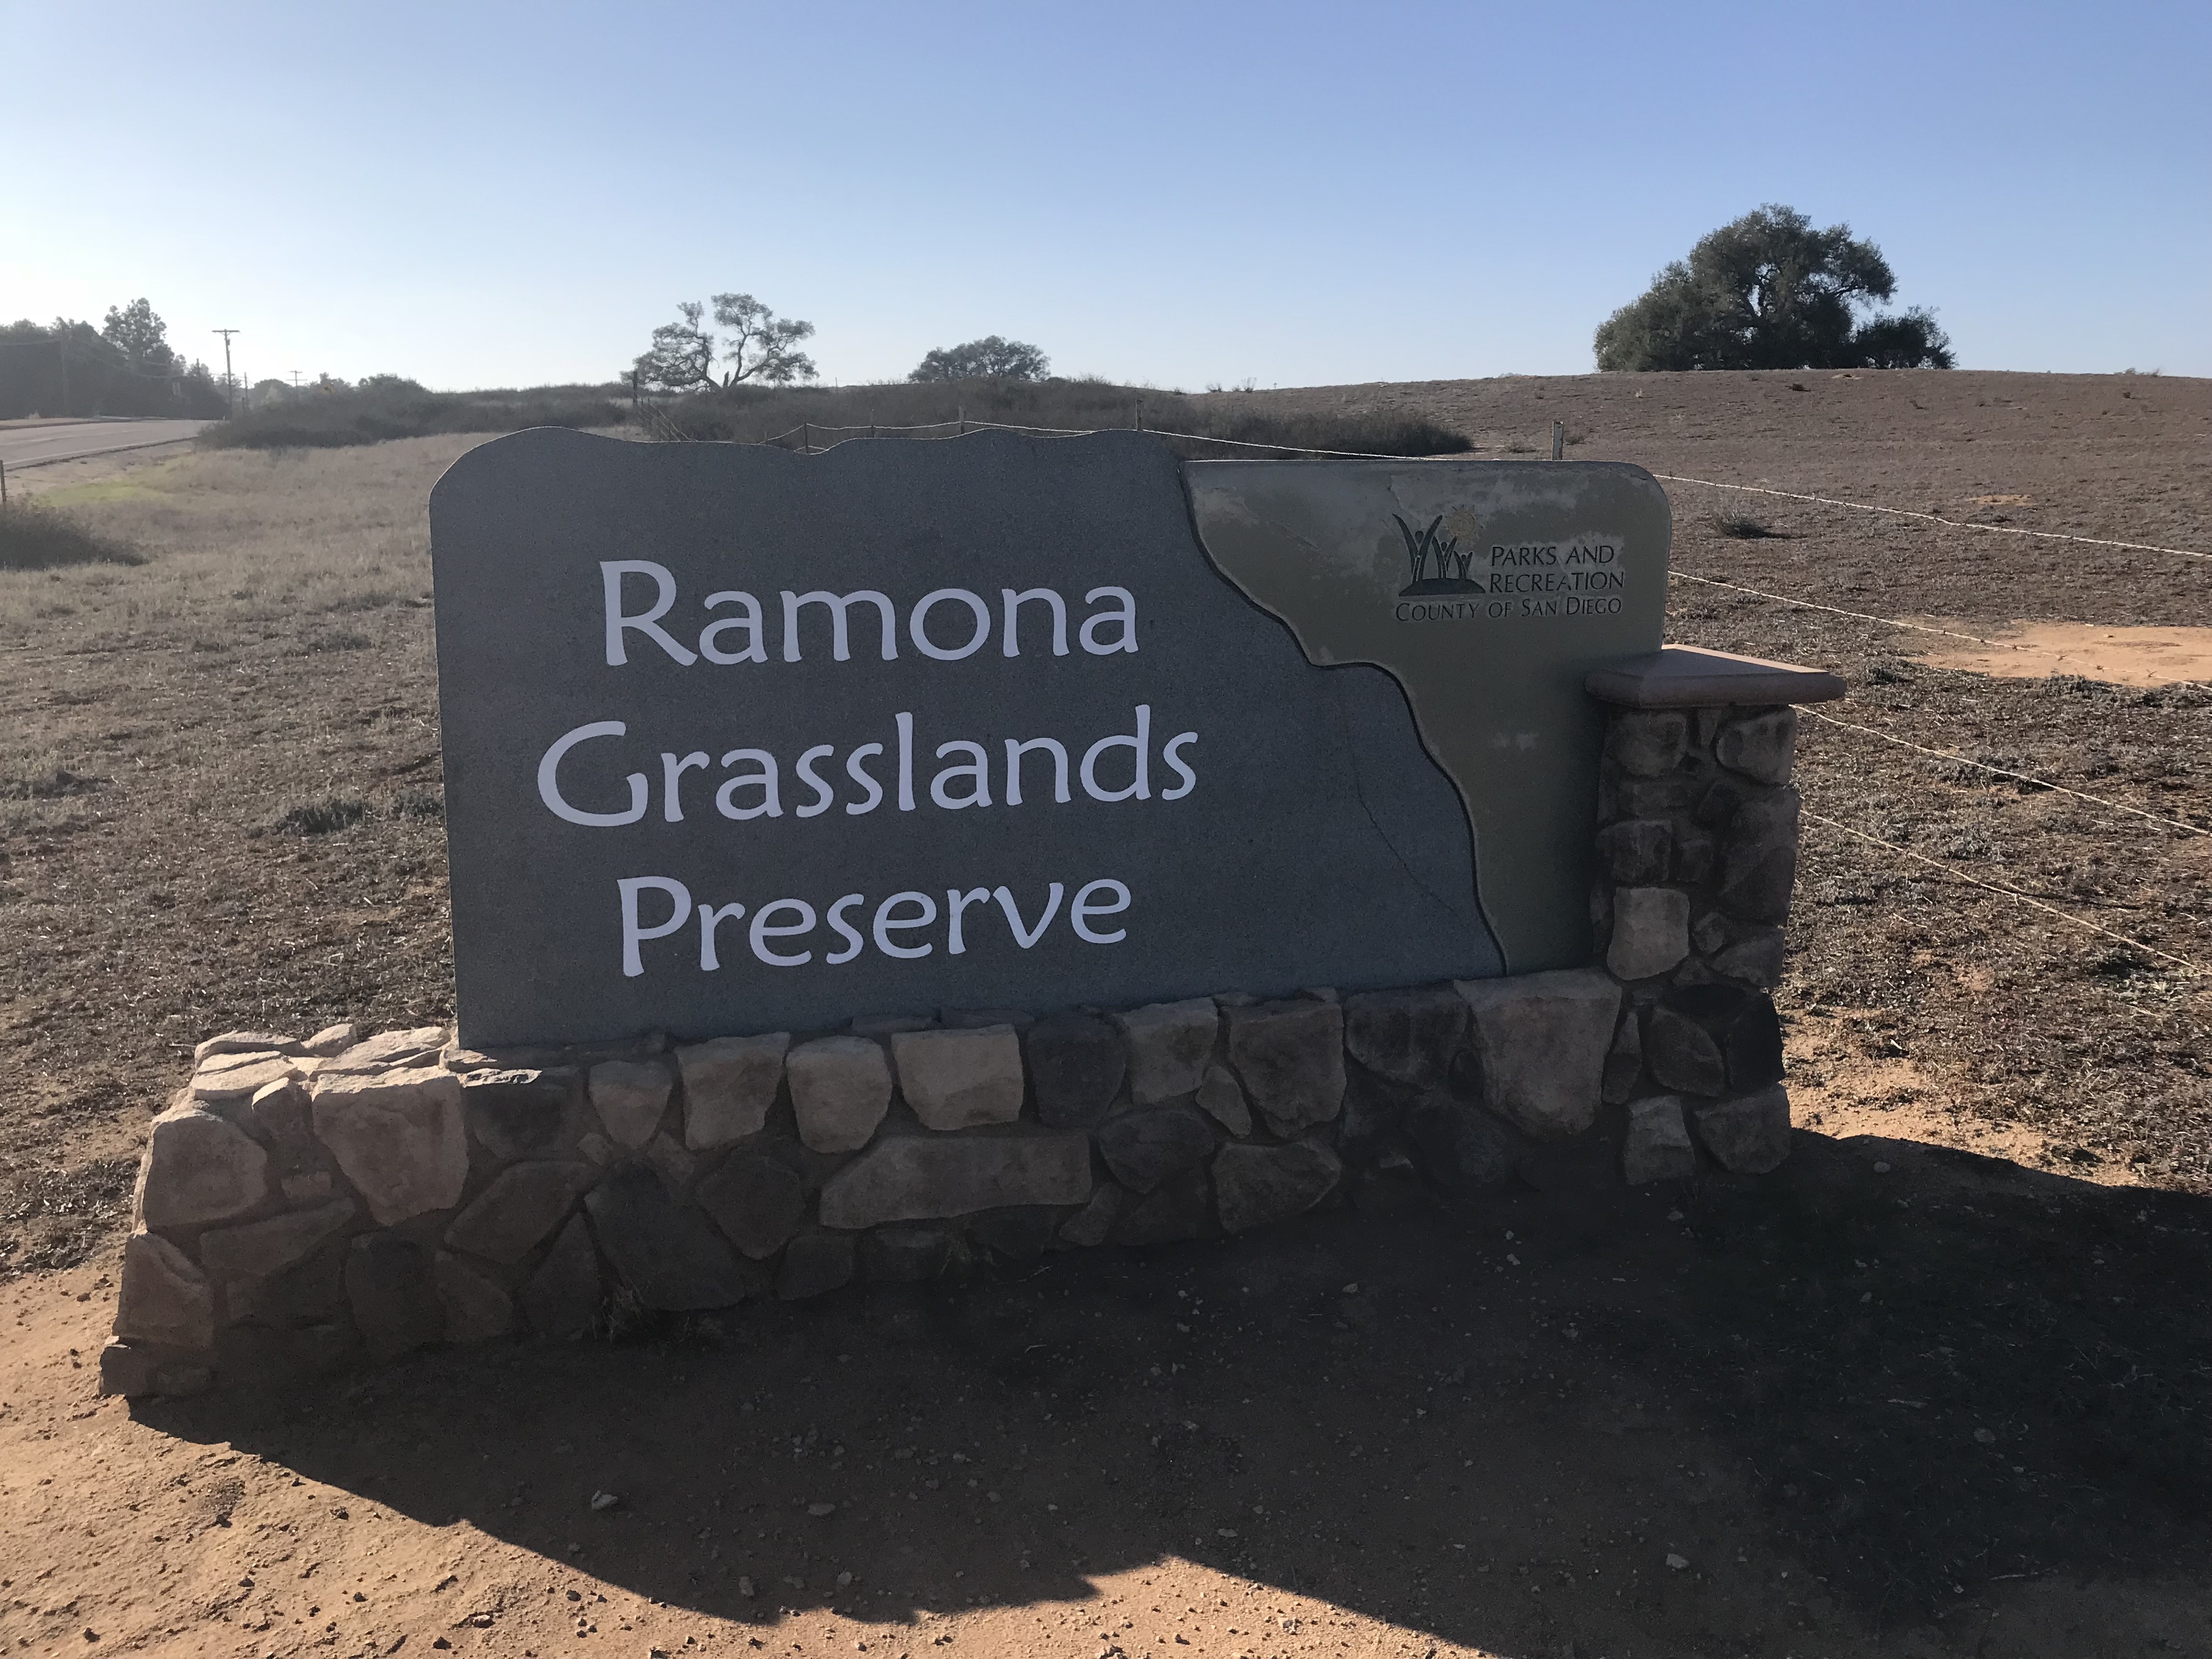
Ramona Grasslands Preserve Sign Highland Valley Rd
Located southwest of the unincorporated township of Ramona, west of State Route 67, north of Highland Rd. and east and west of Rangeland Rd; trail head and staging area are on Highland Valley Rd., just east of Archie Moore Rd. Look for sign right outside the trailhead gate.
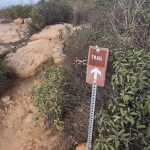
The main trail is pretty much designed for horses so its wide, hard packed sand and very easy on the body. Immediately off to the left and the trailhead start as you head west is the Meadow Loop which is .8 mile in length that offers some diversity in trail and vegetation
Ramona Grasslands
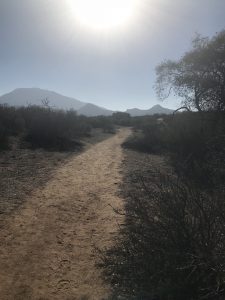
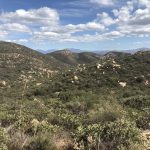
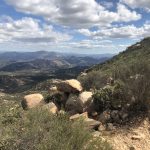
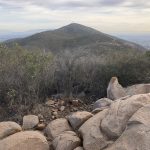
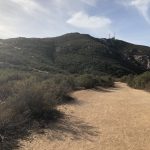
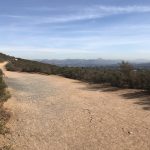
The Meadow Loop takes you back into some areas that present nice views of the distant peaks of Iron Mt. and Mt Woodson. I took this loop on the way back as it meets up with the main trailhead about .5 miles in from the staging area. You could take this loop and join up wit the main trail if you choose.
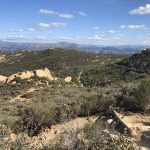
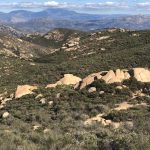
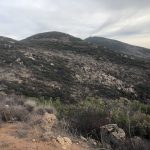
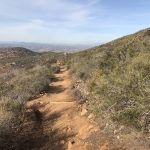
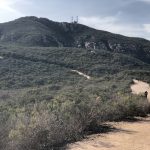
As you head west the entire Grasslands Preserve opens up before you to the Northside of the trail. The low lying grasslands are dotted with coastal sage scrub and oak woodlands
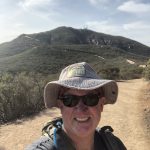
As I hiked along I spotted way off in the distance two coyotes making there way across the grasslands, a serene and surreal sight indeed, I was just glad they weren’t Bobcats. Bobcats and Mountain Lions are common in the area, so its not uncommon to spot one. As always be vigilant.
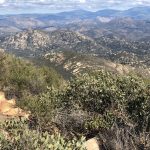
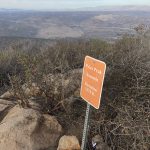
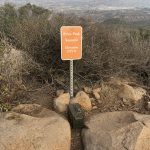
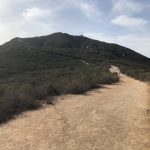
You will soon come to a sign post stating .2 miles to the Wildflower Loop, which is a 2.2 mile loop that veers right, continues west, northwest then curves south and then loops around back south east to the Wildflower loop sign, where you started your hike of this section of the Preserve a total of 2.2 miles.
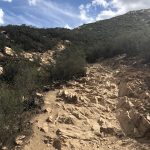
The trail of the Wildflower loop consists of hard-packed earth, sand and soft sand. The trail gets as wide as a single lane highway, great for the horses and bikers that use this trail, and then narrow to enough for one person to pass as you get halfway through the 2.2 section of the 4 mile trail system.
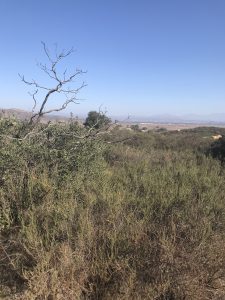
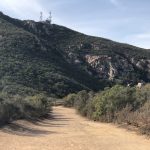
The same vegetation of coastal sage scrub and oak woodlands is much of the vegetation until about the halfway point of the 2.2 mile loop. Here the vegetation reduces to low lying sage scrub and broken chaparral. other indigenous plant life to the area.
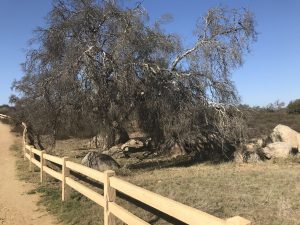
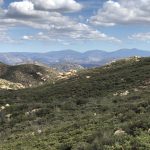
You can’t go wrong on this trail as its easy to hike, is surrounded by beautiful open grasslands and enough oaks and sage scrub to paint a very scenic landscape for a 4 mile hike. The Meadow Loop will bring you back to the original loop trail marker.
At this point veer right to head back east to the staging area. You will soon come to the Meadow Loop on your right, which I took and headed south on the trail and back around to the very beginning of the staging area and trailhead start.
If you are looking for a change of pace hike that is very quiet, relaxing, easy, flat and a beautiful scenic view of the back country grasslands of Ramona, then the Ramona Grasslands Preserve is for you….As always lots of water, hike with a friend, snacks and Hike On!
DISTANCE: 6.2 miles: Steps: 13.5K ELEVATION GAIN: 1000′ Elevation at Peak: 1615′ HIKEABILITY: scale 0-10, 6 ( not as difficult as Woodson, more challenging than Cowles.) WATER: 2 liters SNACKS: energy bar, orange. CONDITIONS: temperature 70’s, slight breeze. Hike Time: 11:15am to 3:30PM RESTROOMS: at trail head PARKING: lot at trailhead, if full park on Hwy., 67
Iron Mountain Trailhead Poway, CA Hiker TherapyIron Mountain “Canopy” Hiker Therapy
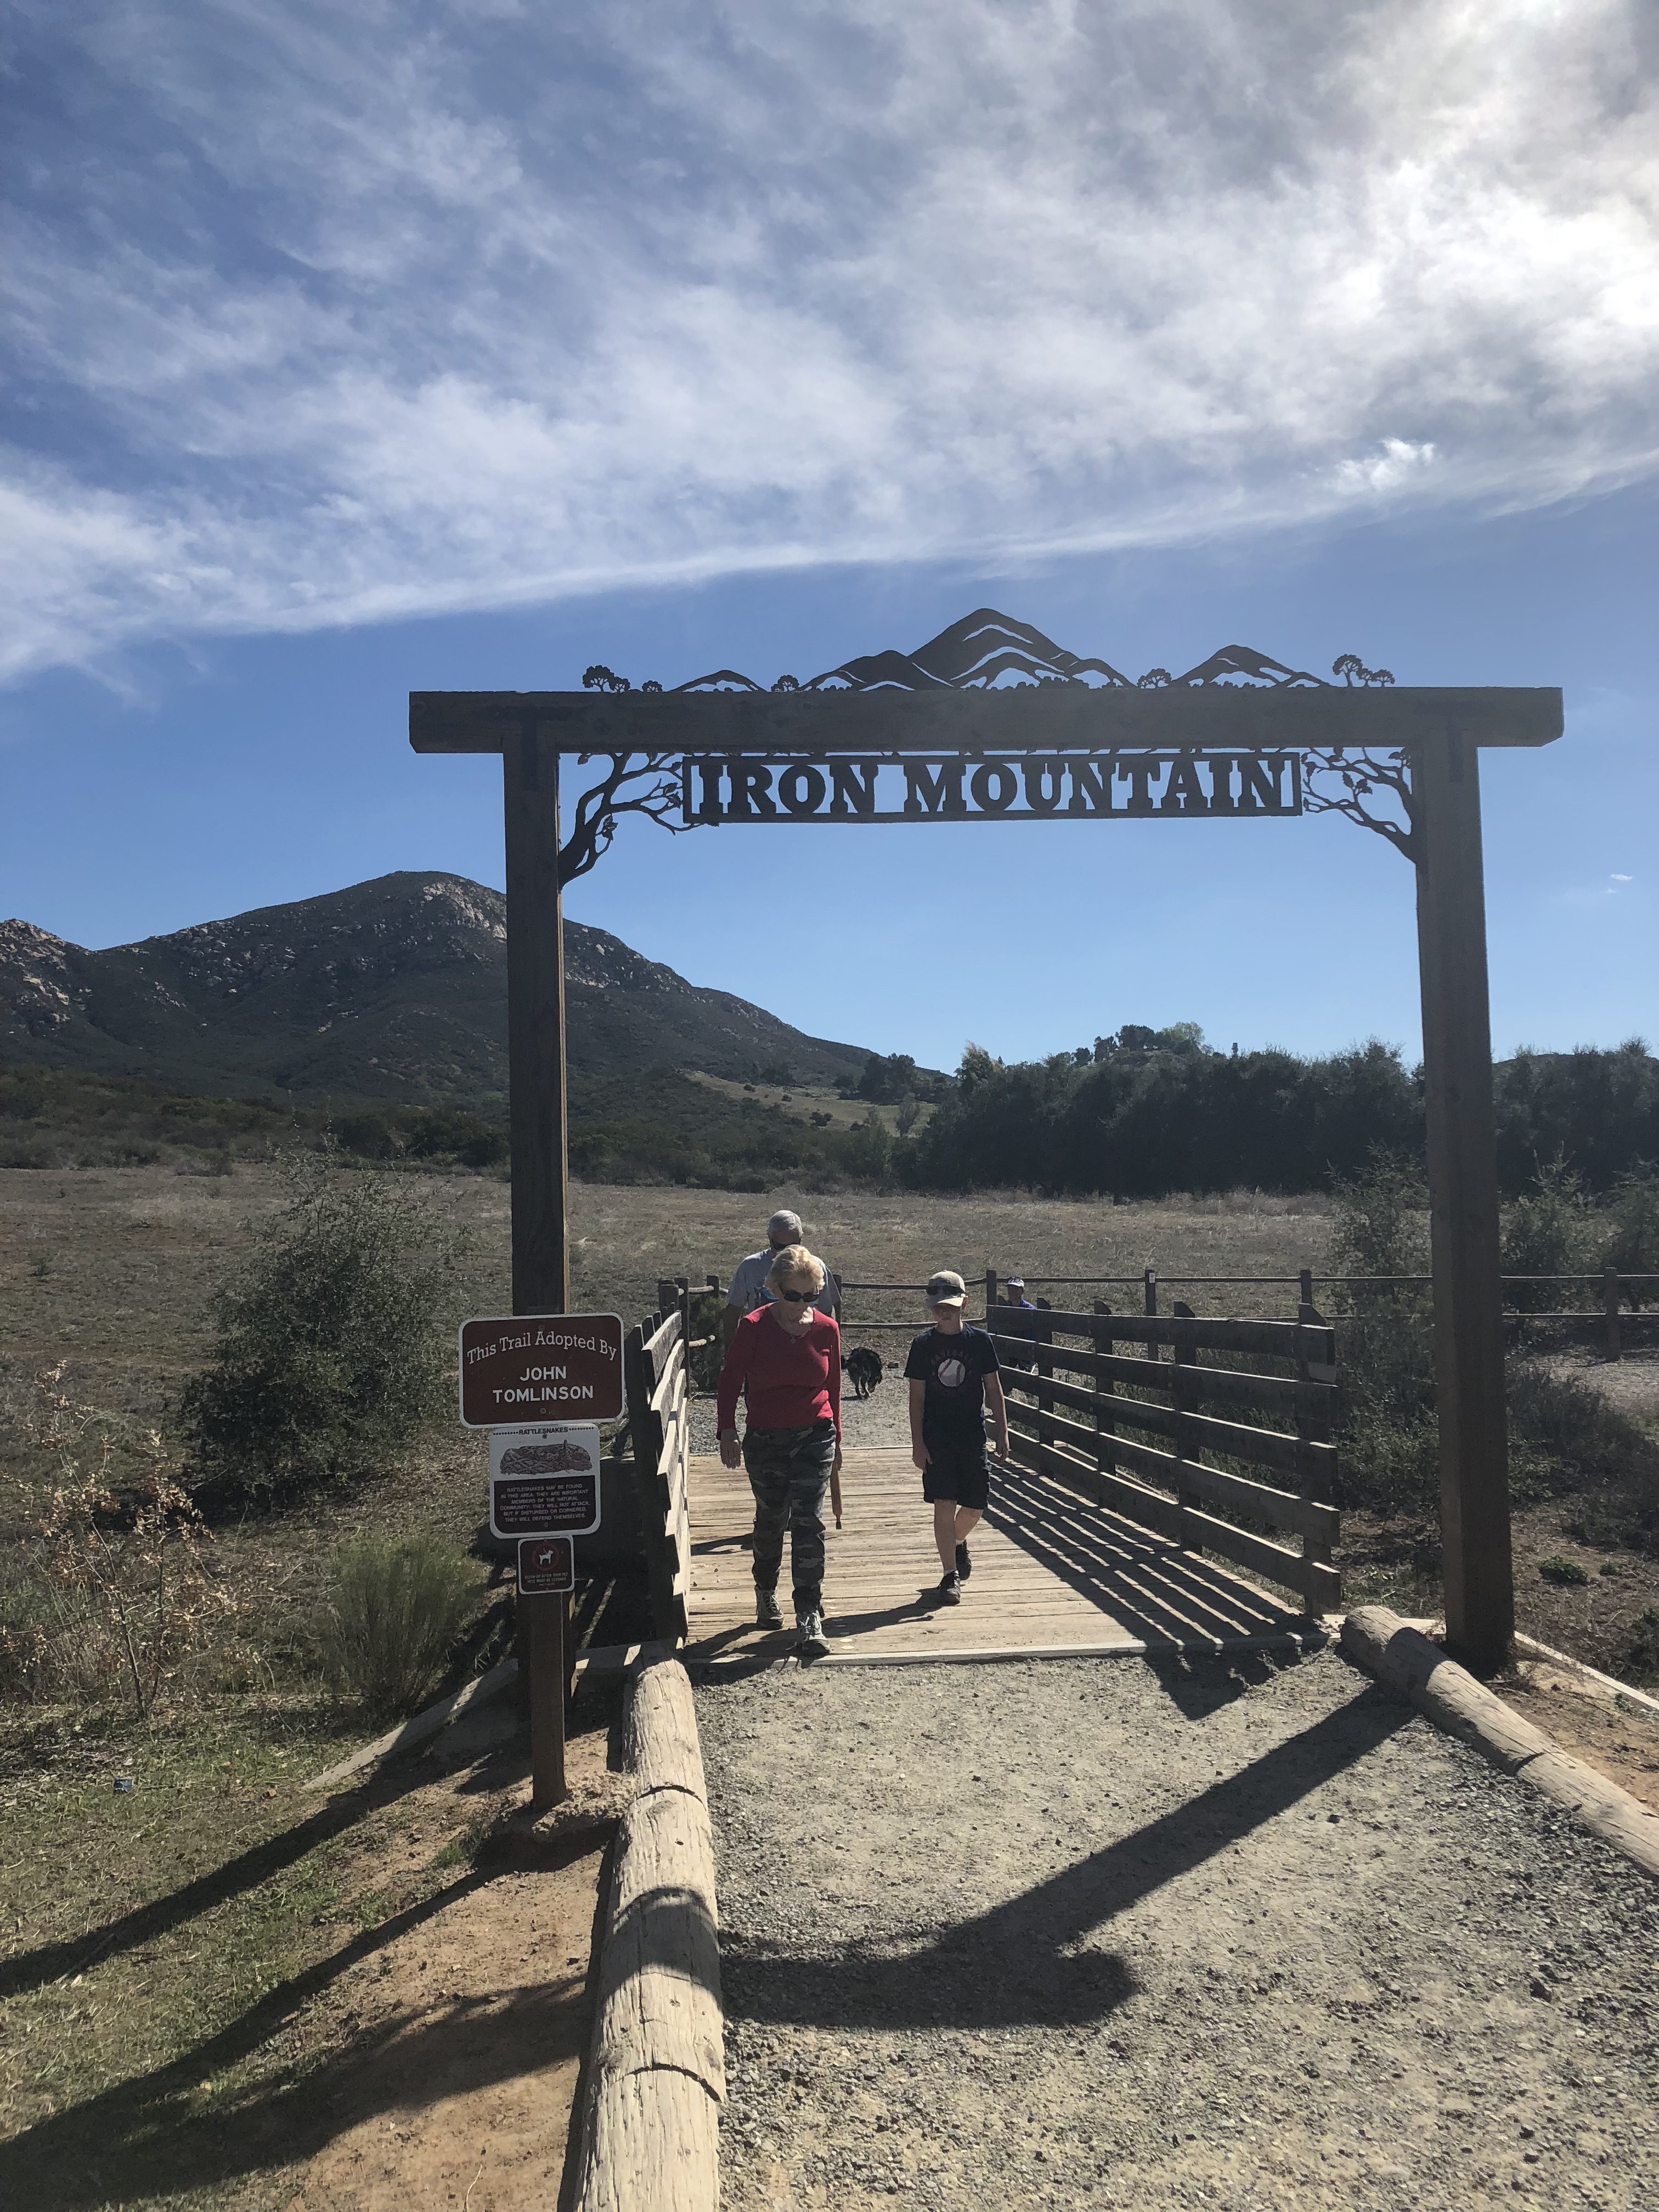
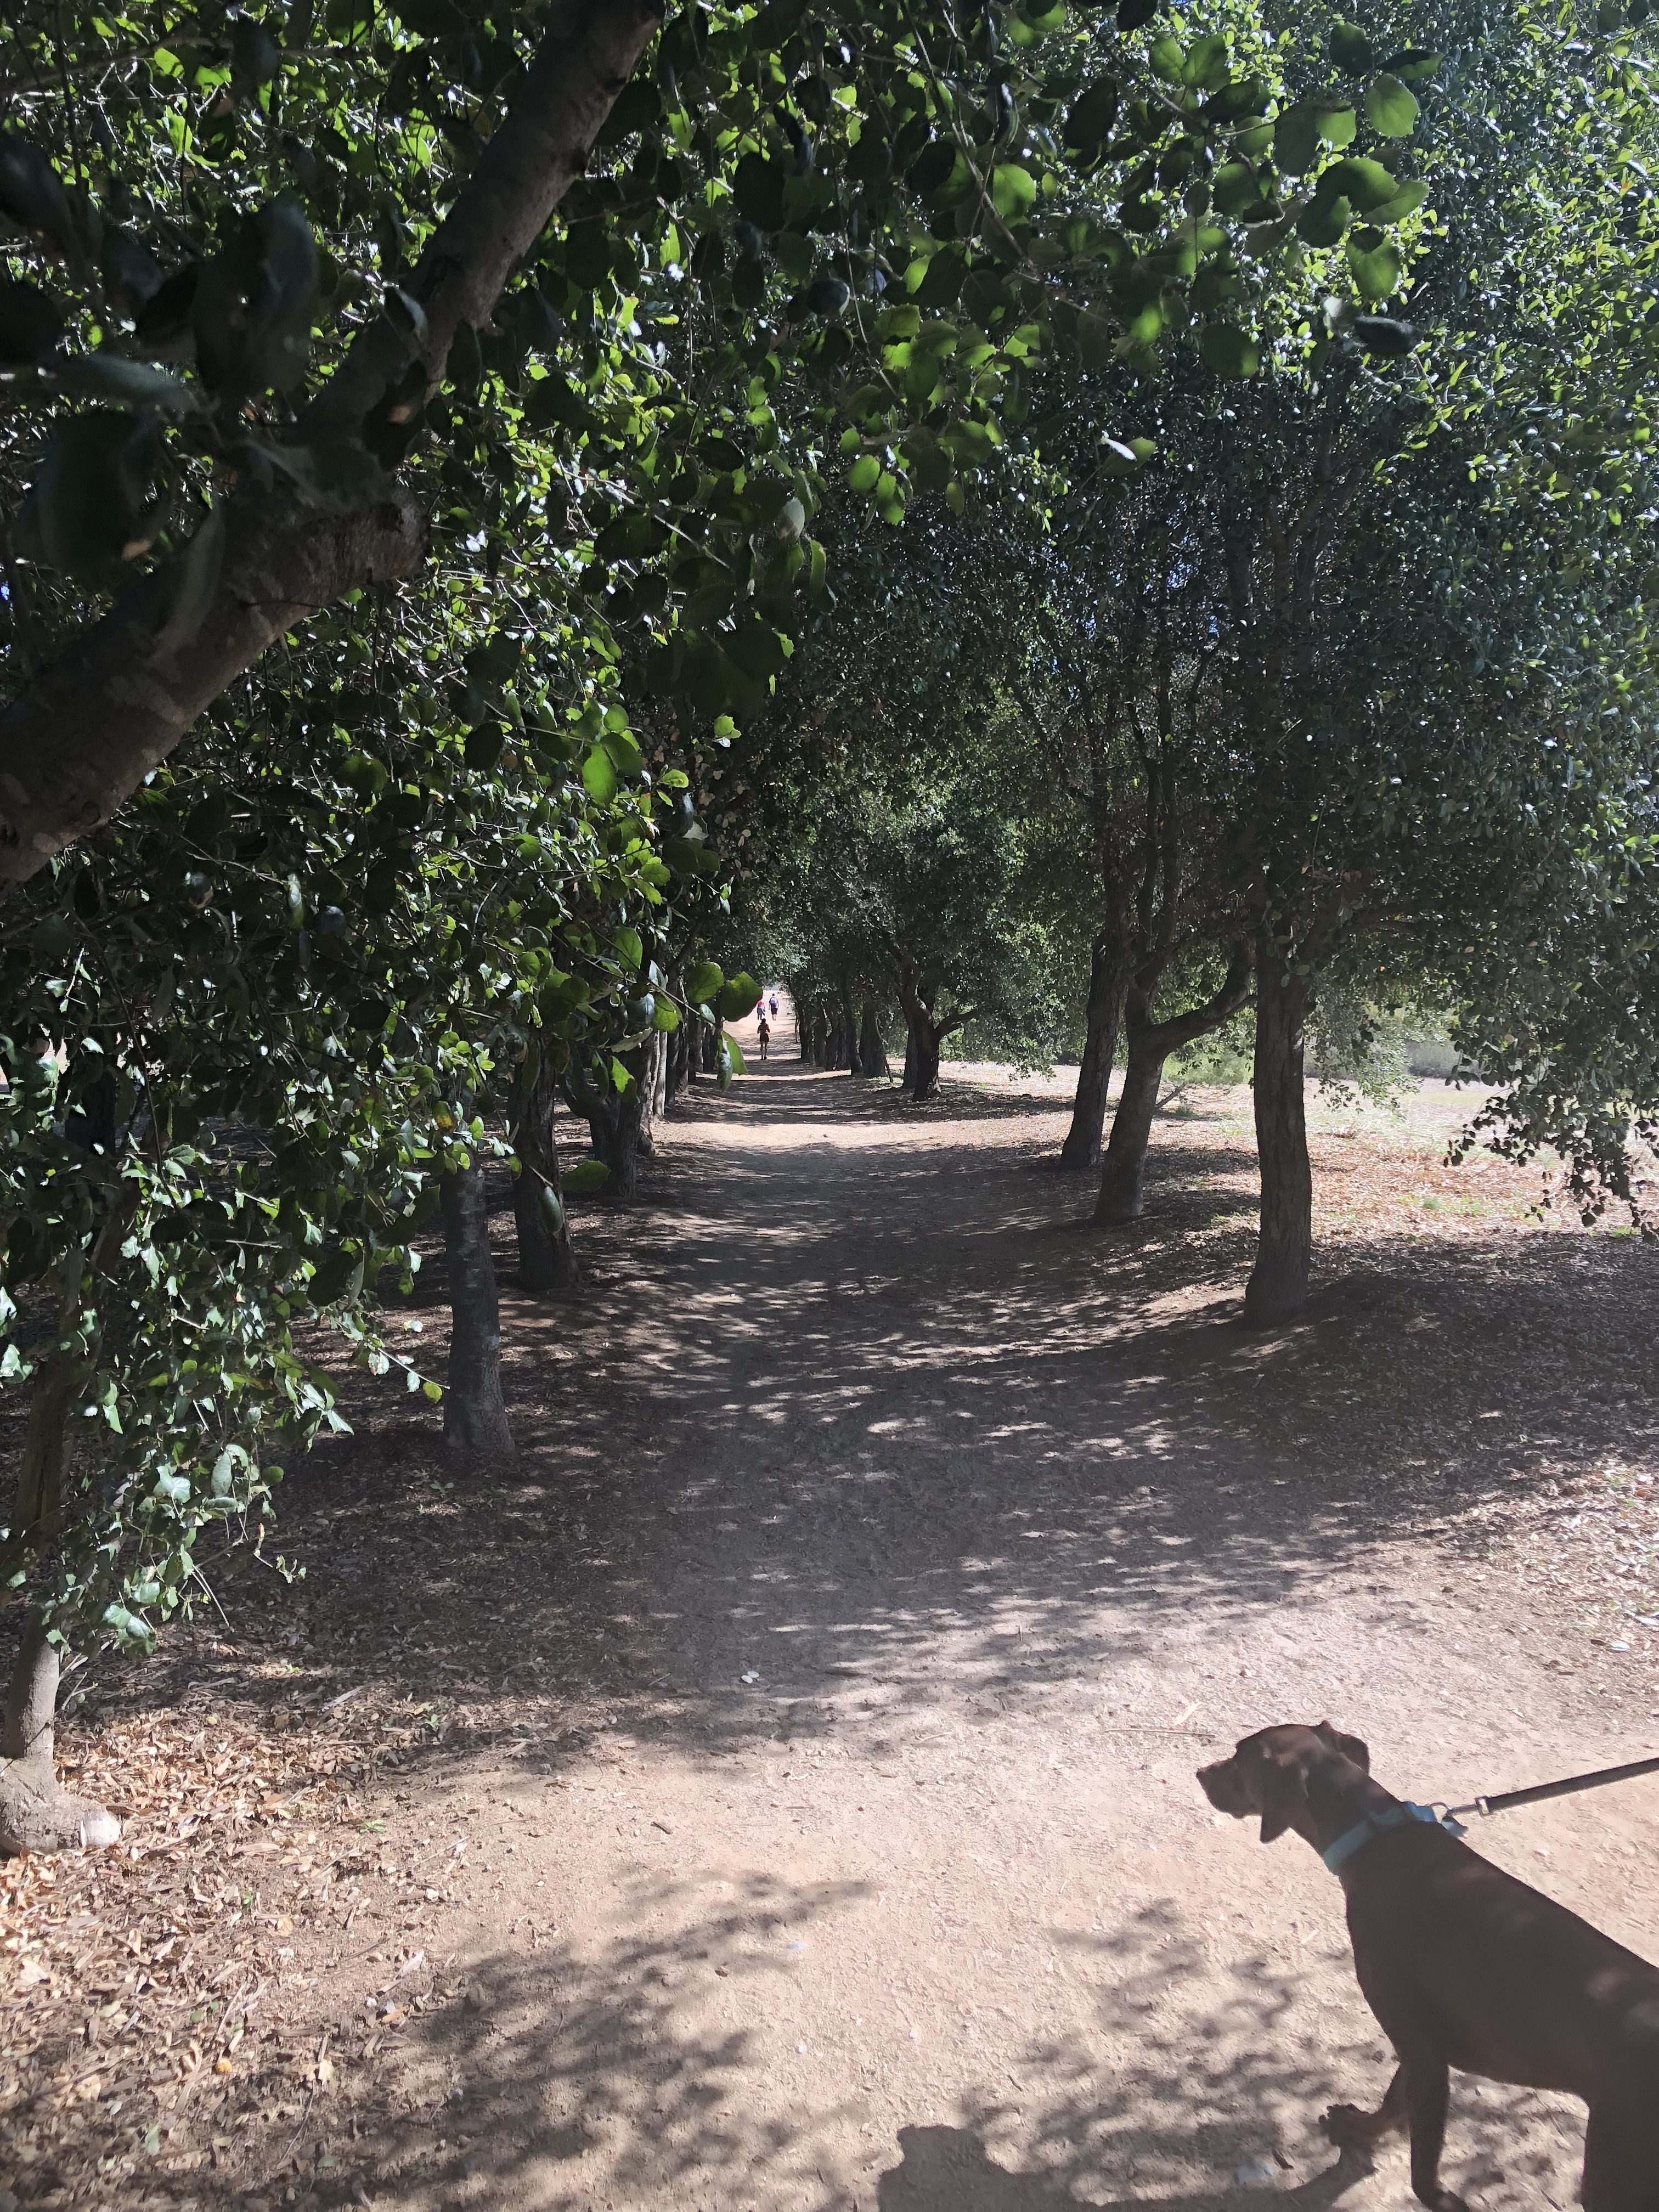
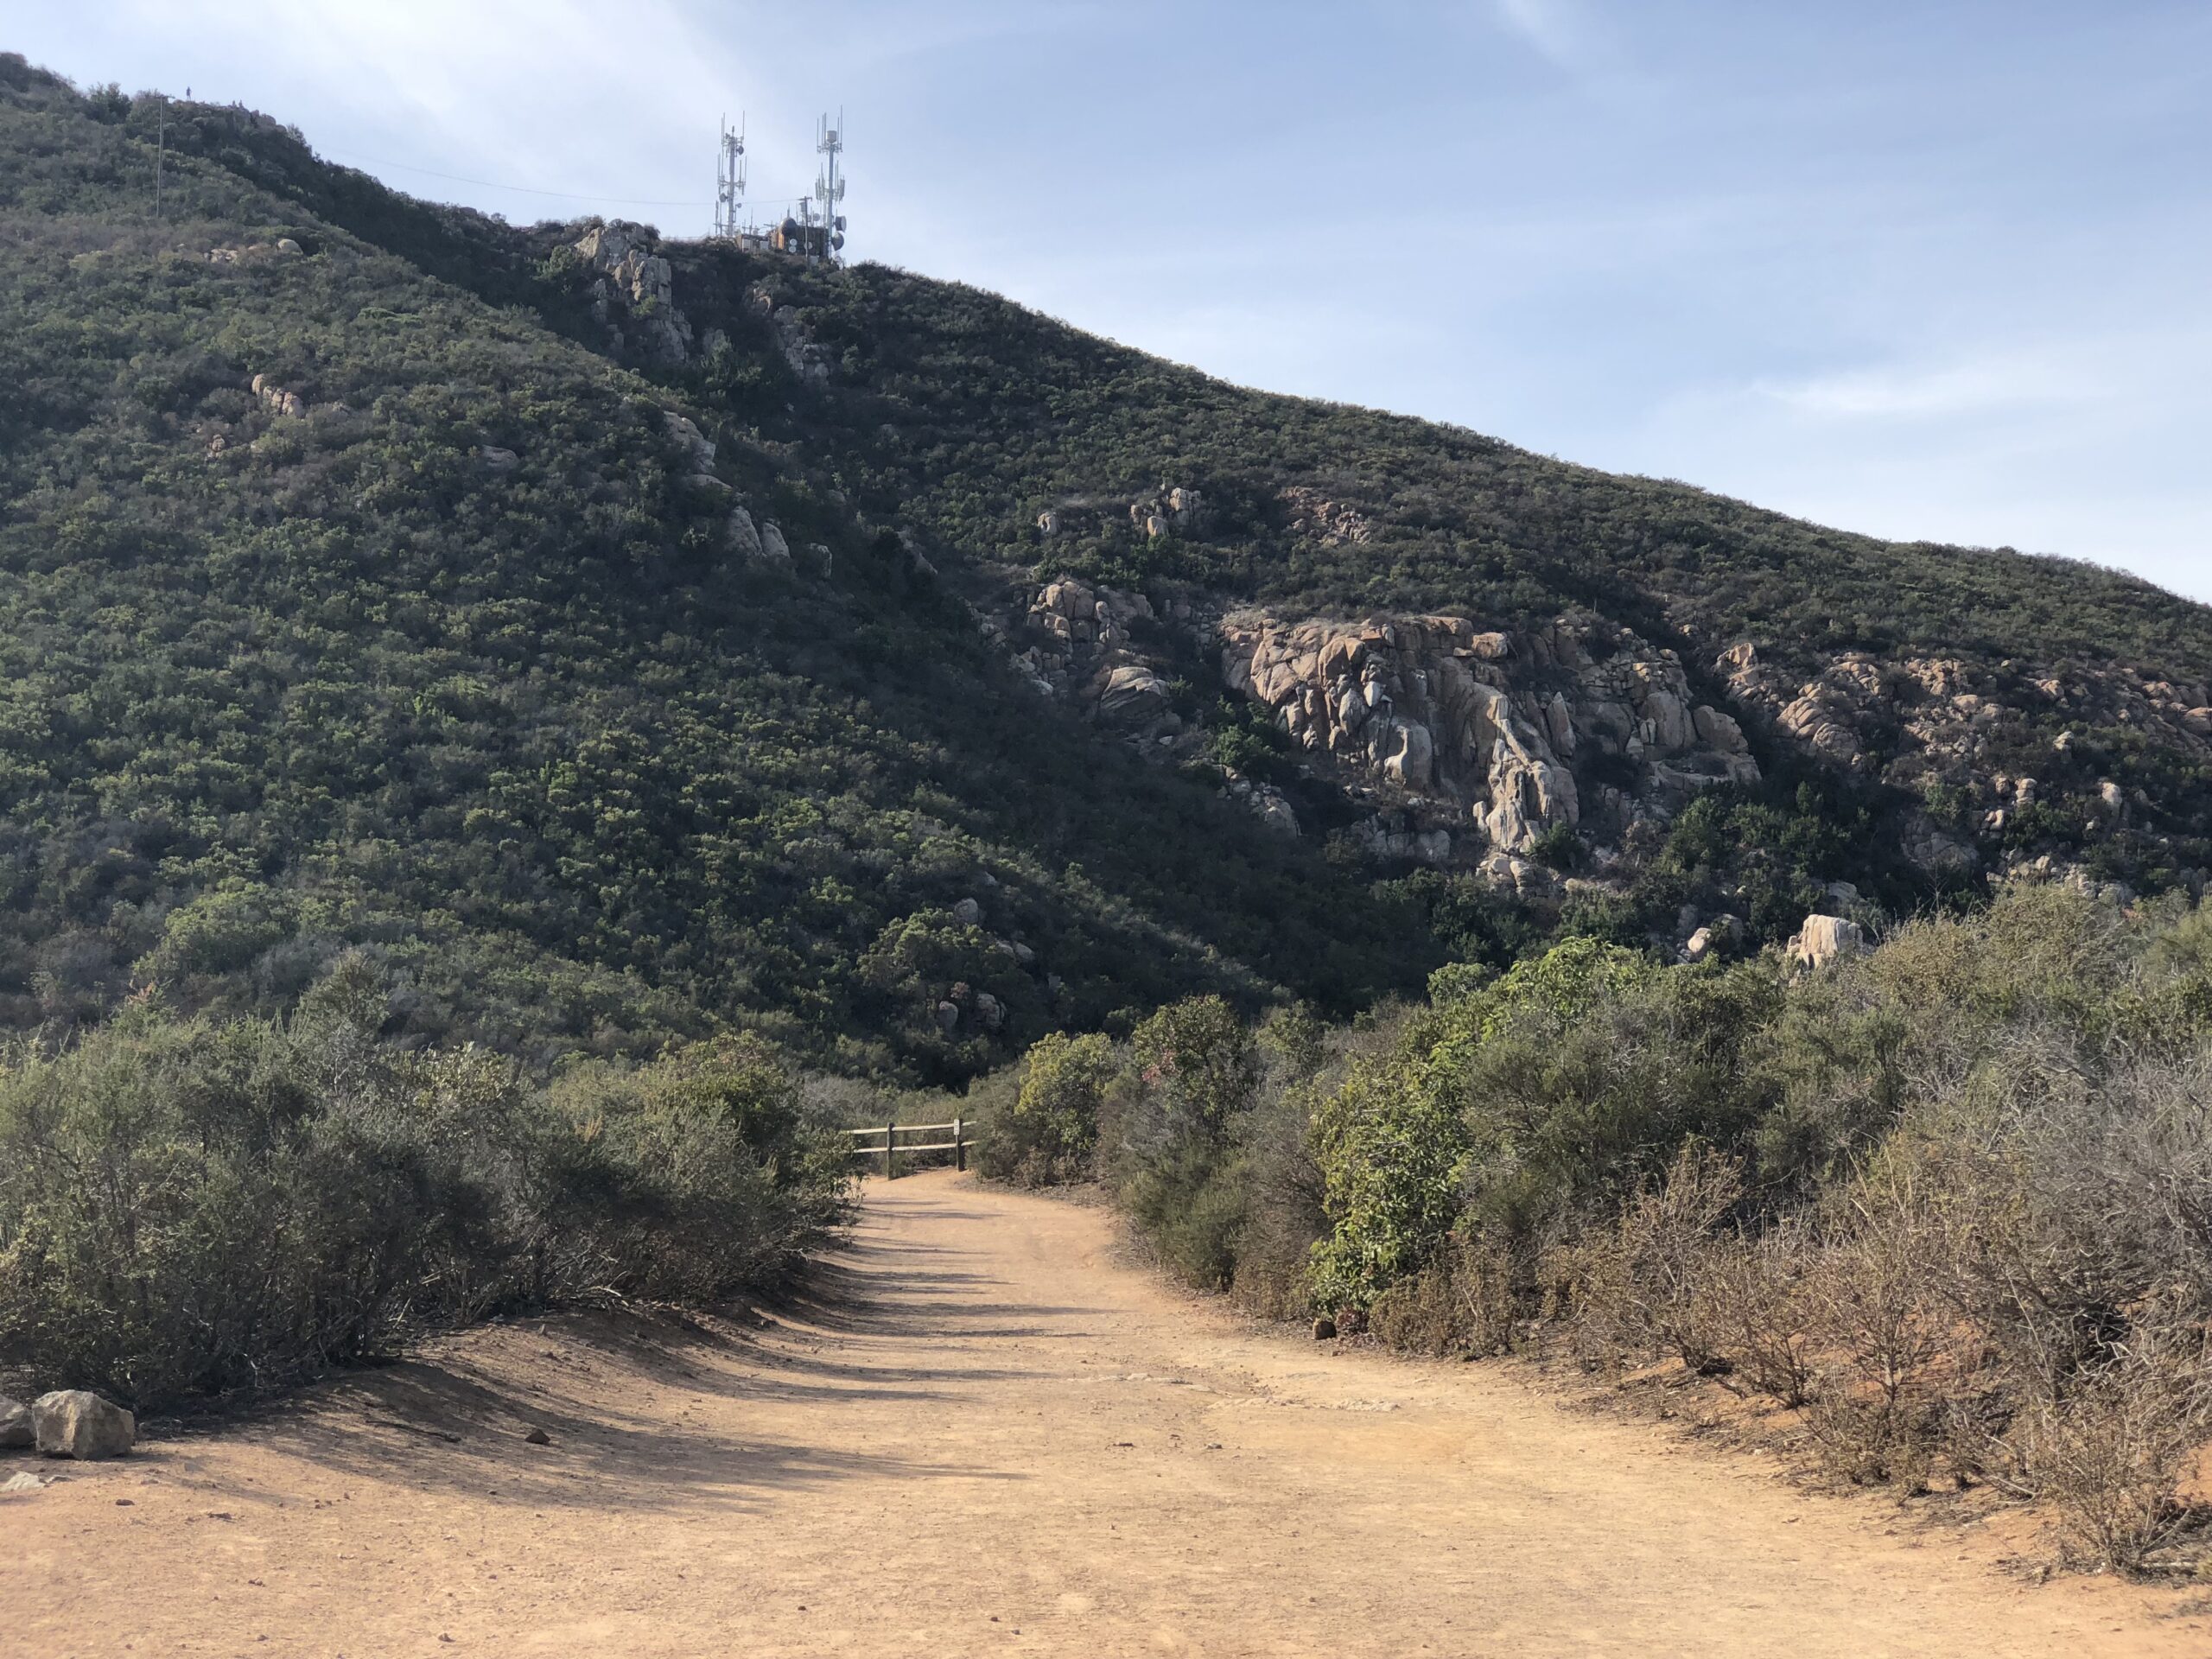
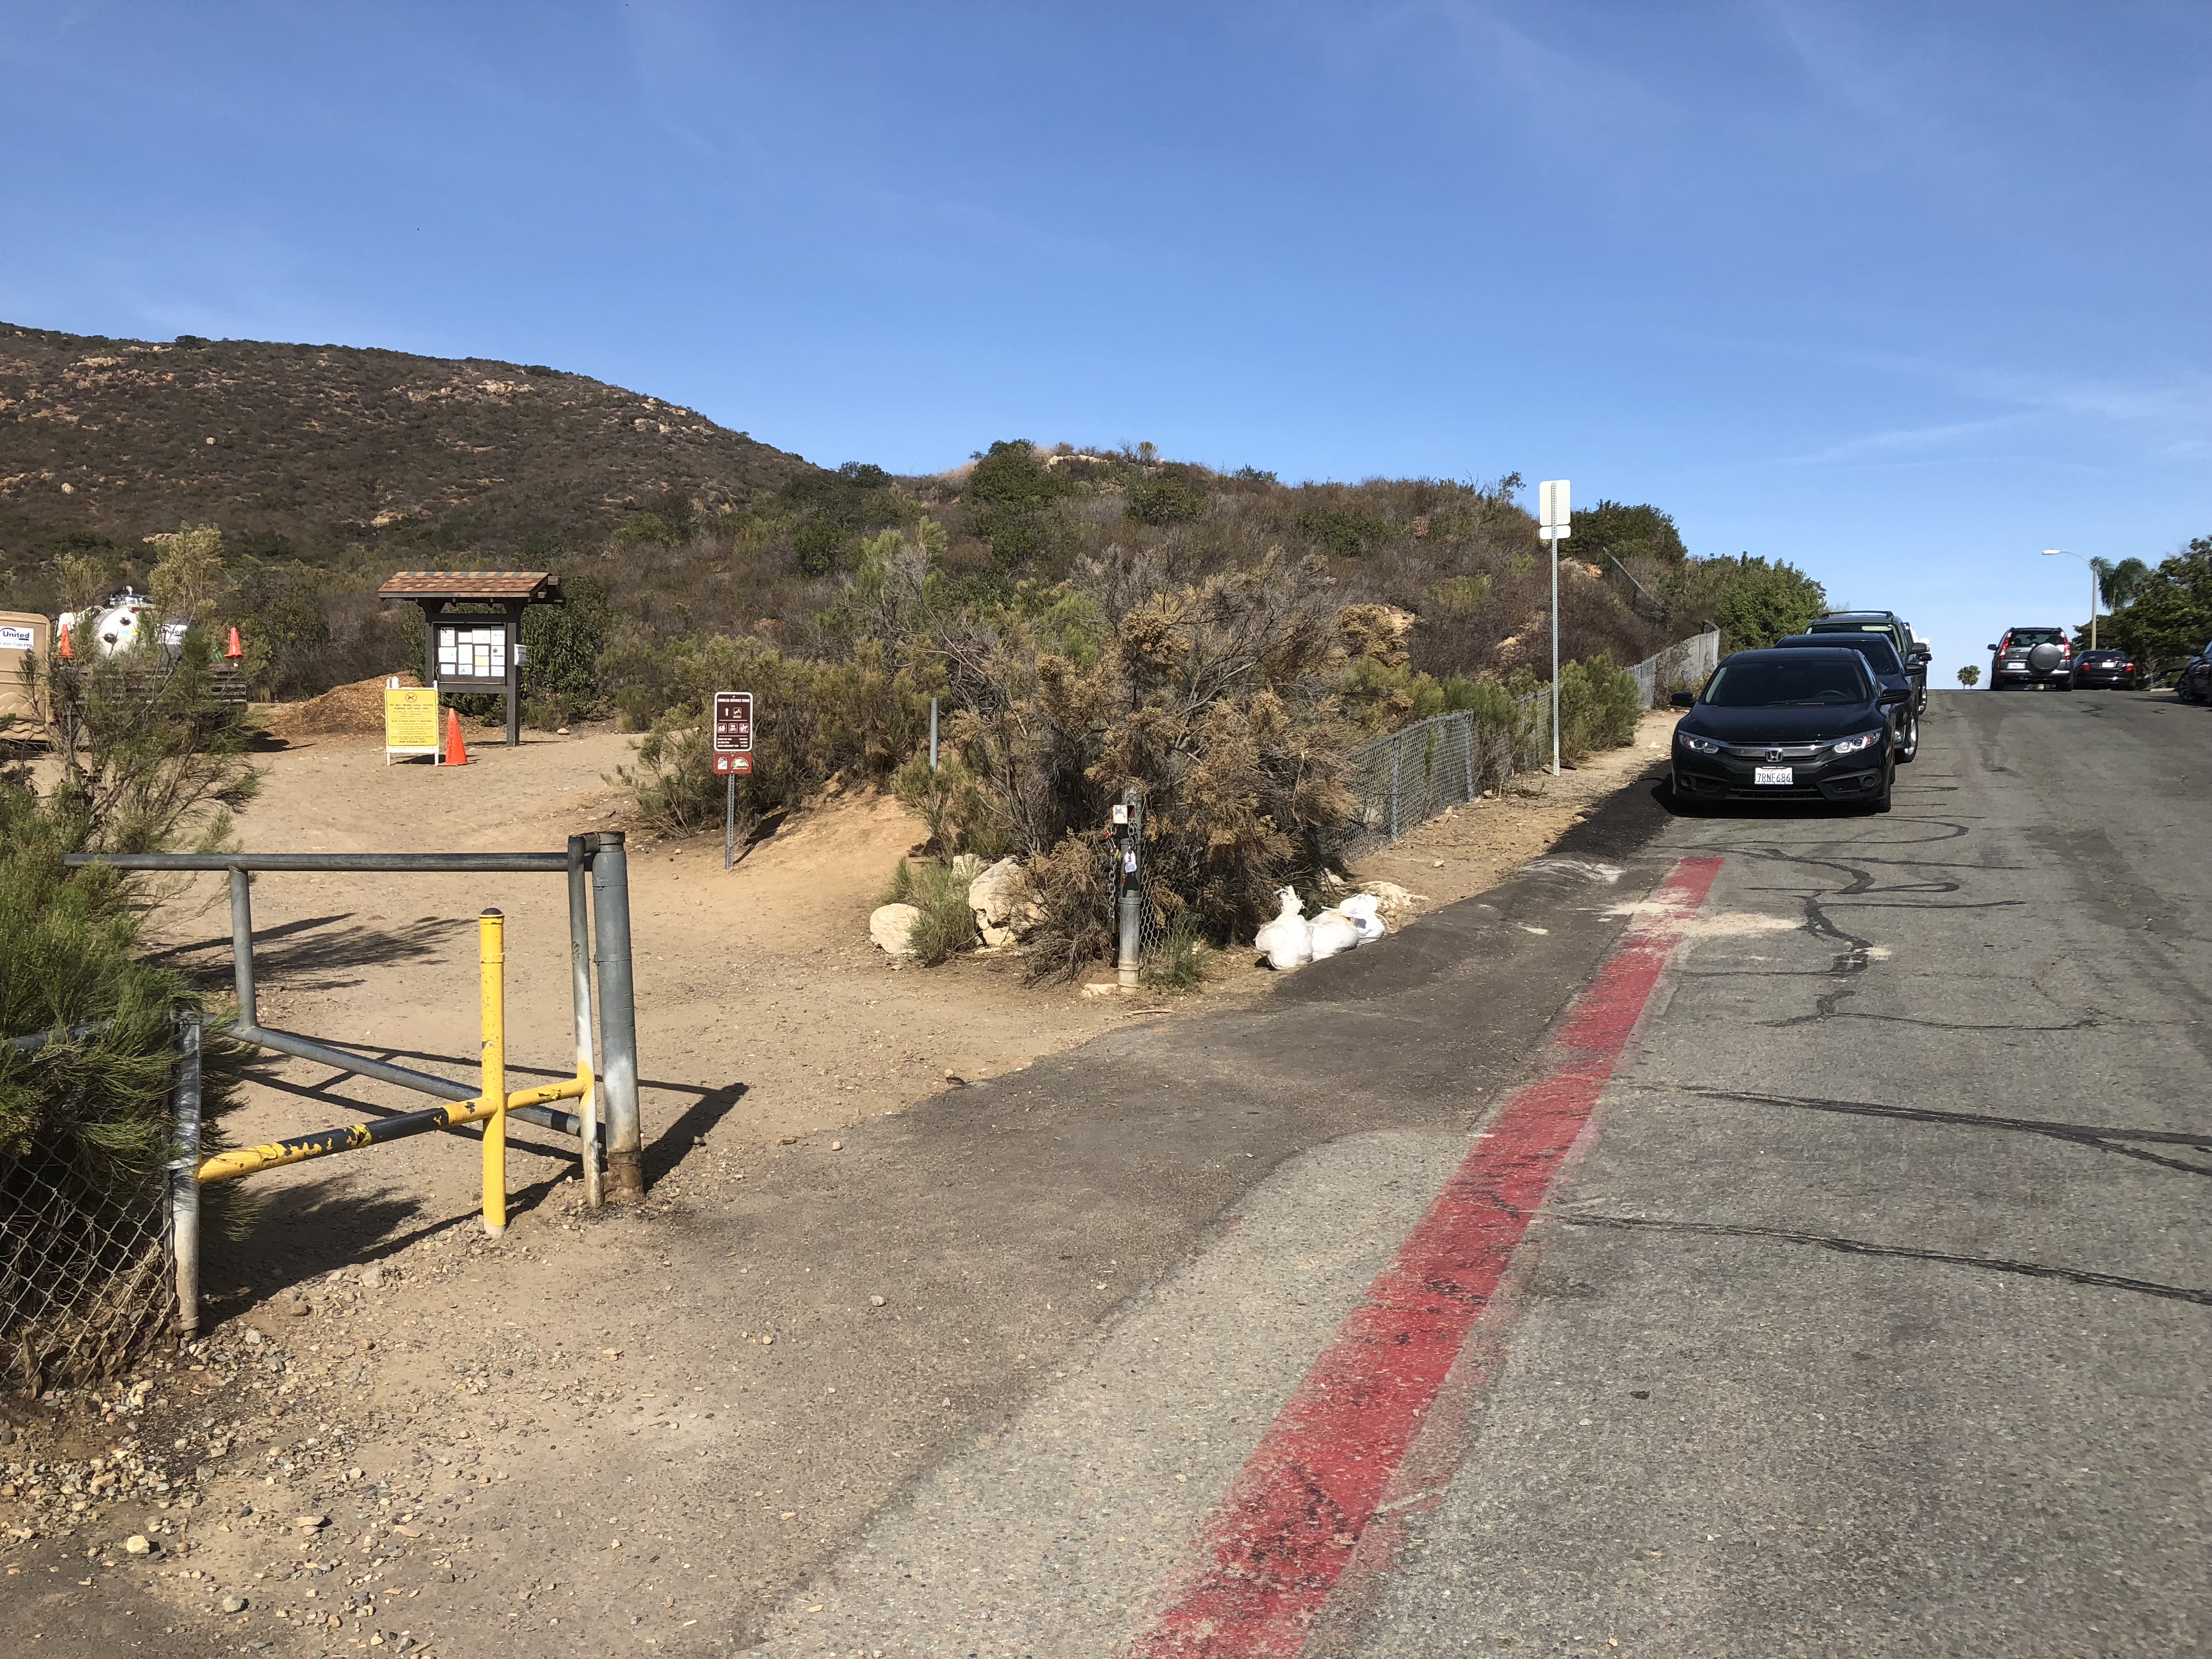
I have hiked Iron Mountain in Poway at least a dozen times, however each time is a unique experience always full of adventure, challenge beauty and accomplishment. On this day I arrived at 1115AM and the main parking lot off of Poway Rd. and Hwy. 67 was full. Not to worry, overflow parking is available on Hwy., 67 which is where I parked, a short walk will get you to trailhead and or restrooms. Direction to Iron Mountain, which is located at the T section of Poway rd., and Why 67 in PowayYou know you are at the “official” Trailhead as soon as you see the mainstay IRON MOUNTAIN arch signifying your journey up to the peak of Iron. The hike from this point is about 3.1 miles to the summit. However, for me the welcoming canopy of trees covering the trail is the “Official” trail start that sets the tone and the journey to the peak.
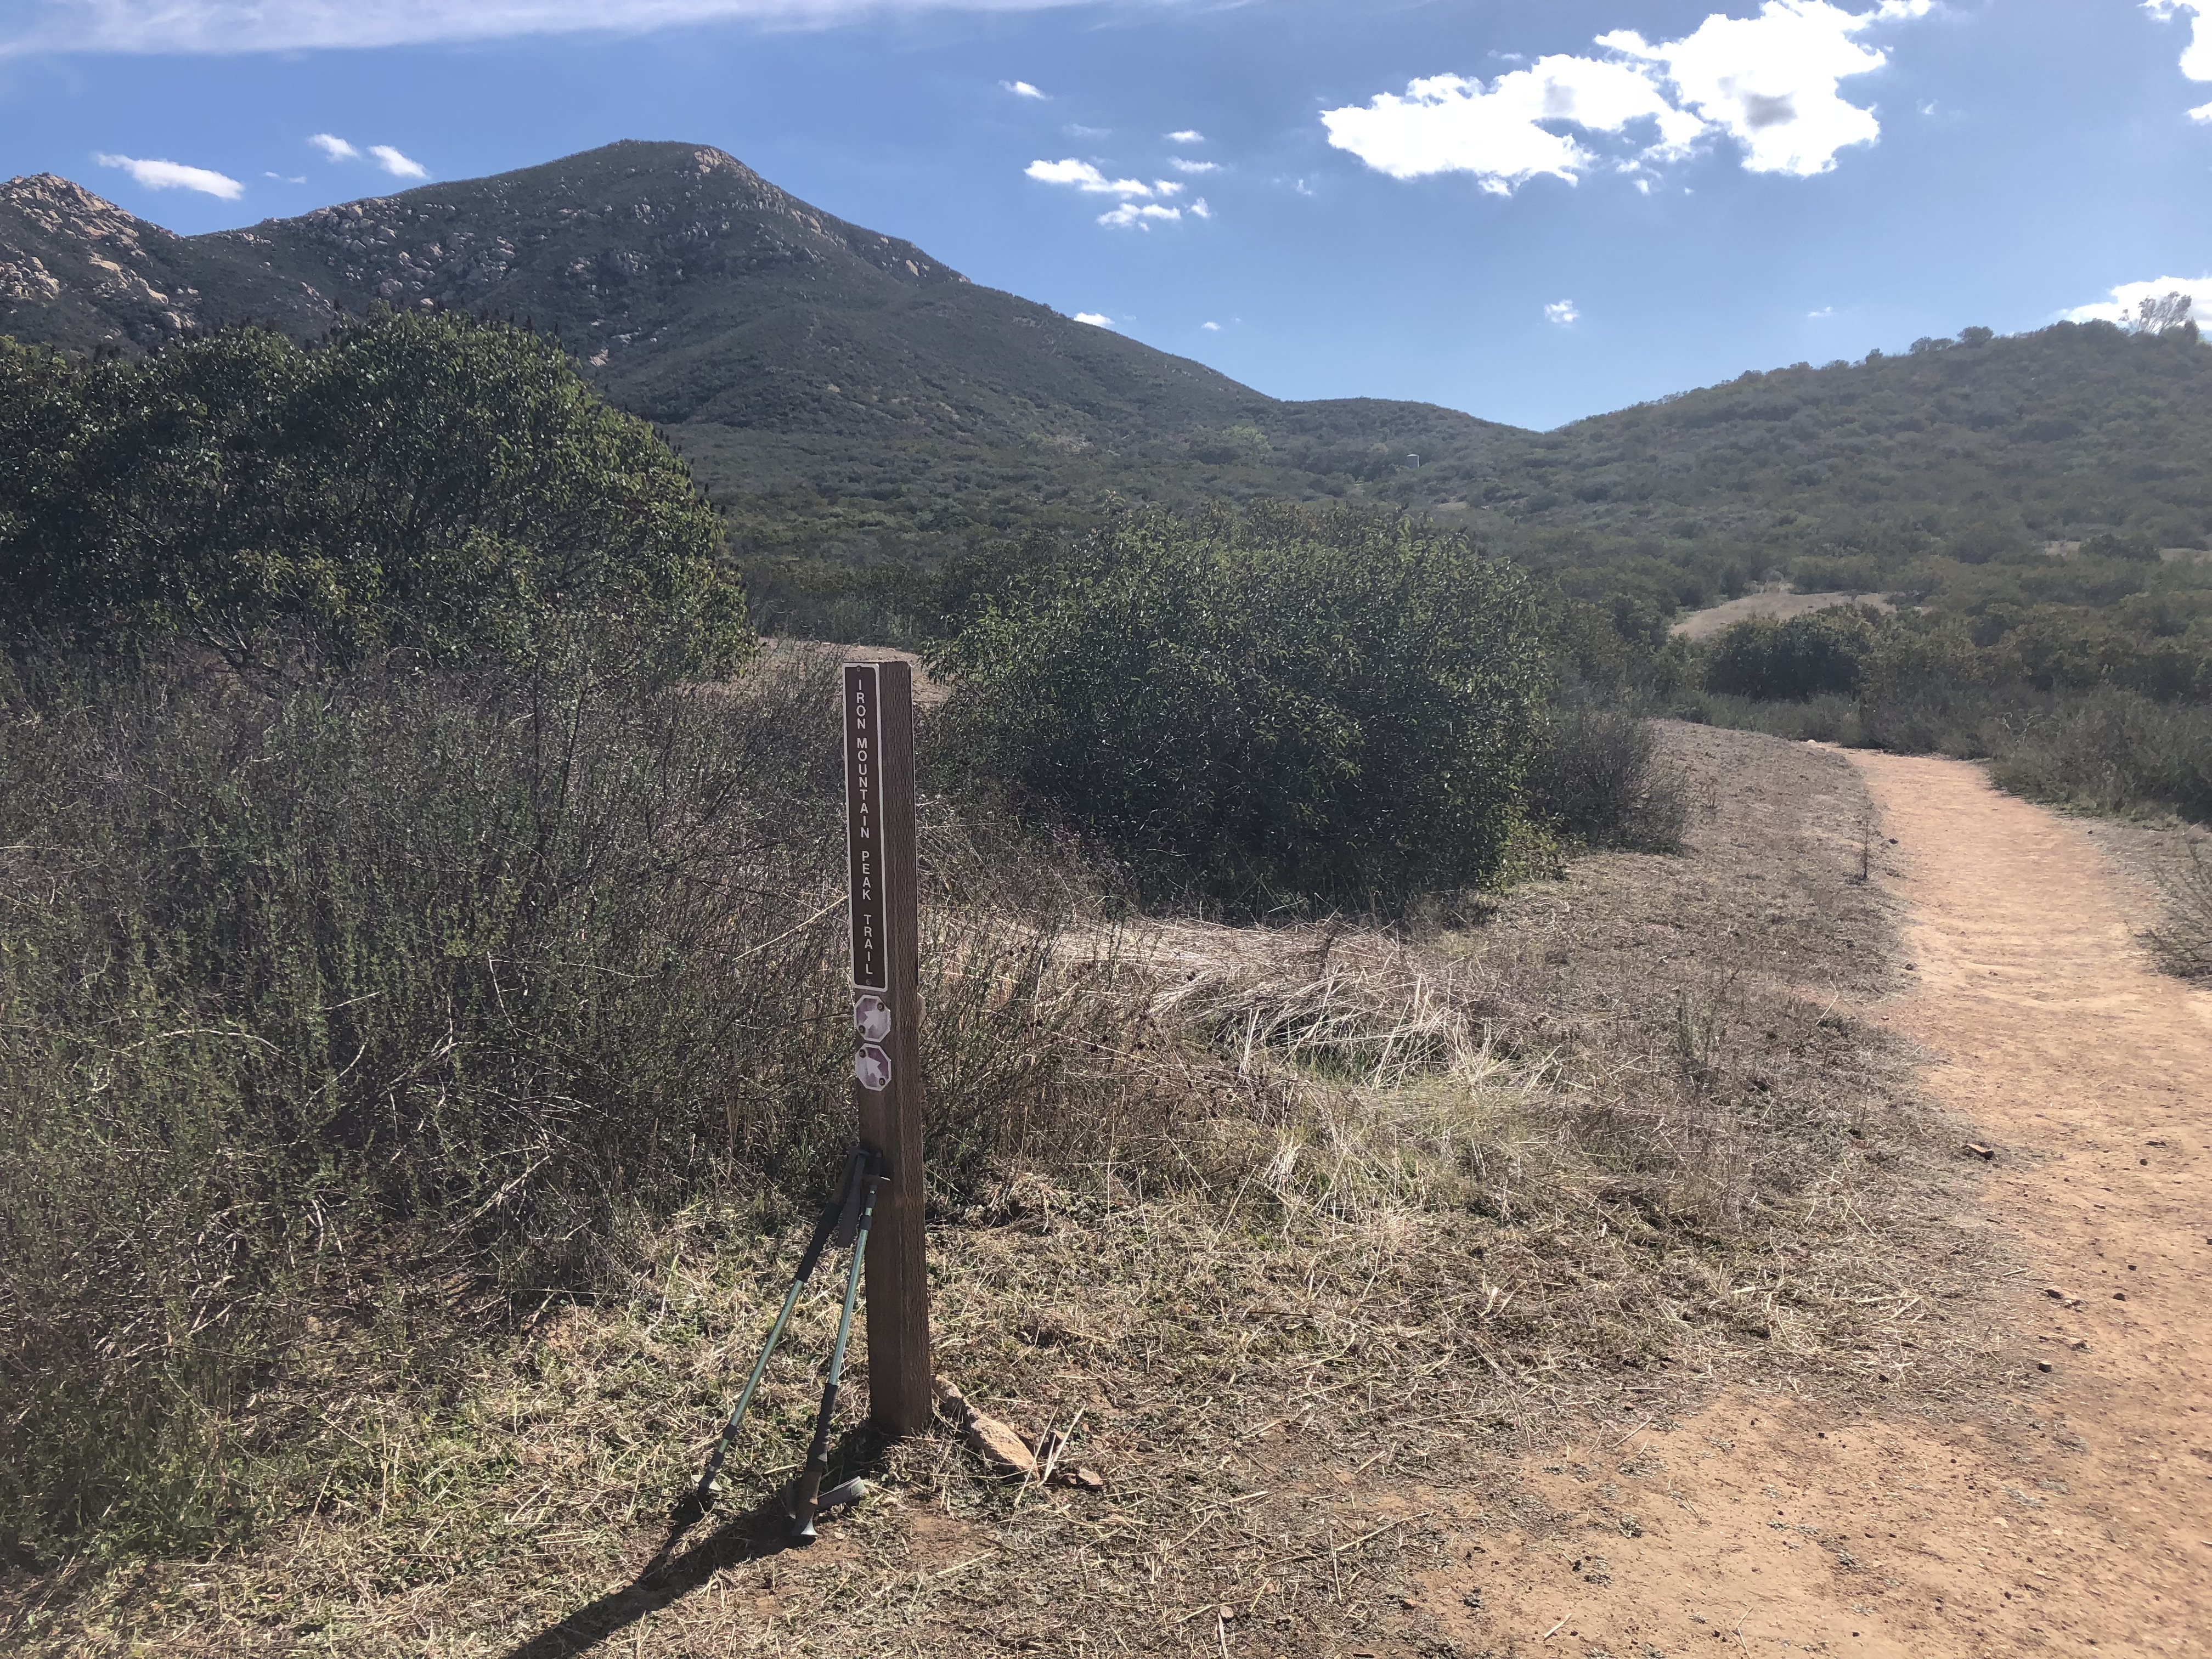
Iron Mountain Peak..side spur off of main trail at .5 mile mark from trailhead start Hiker Therapy
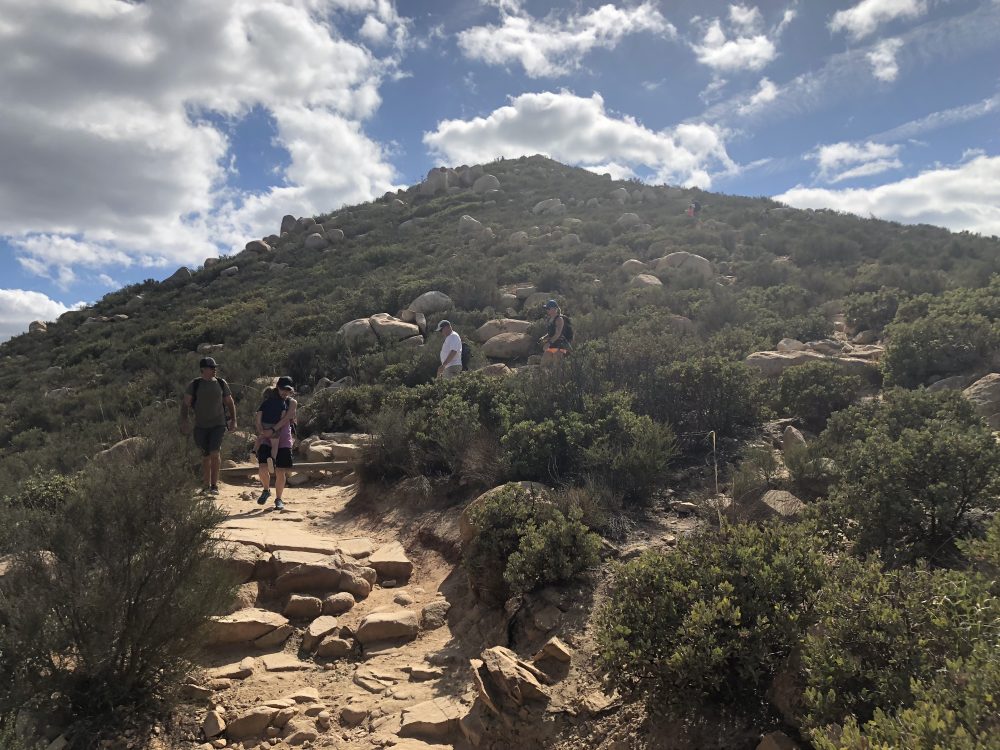
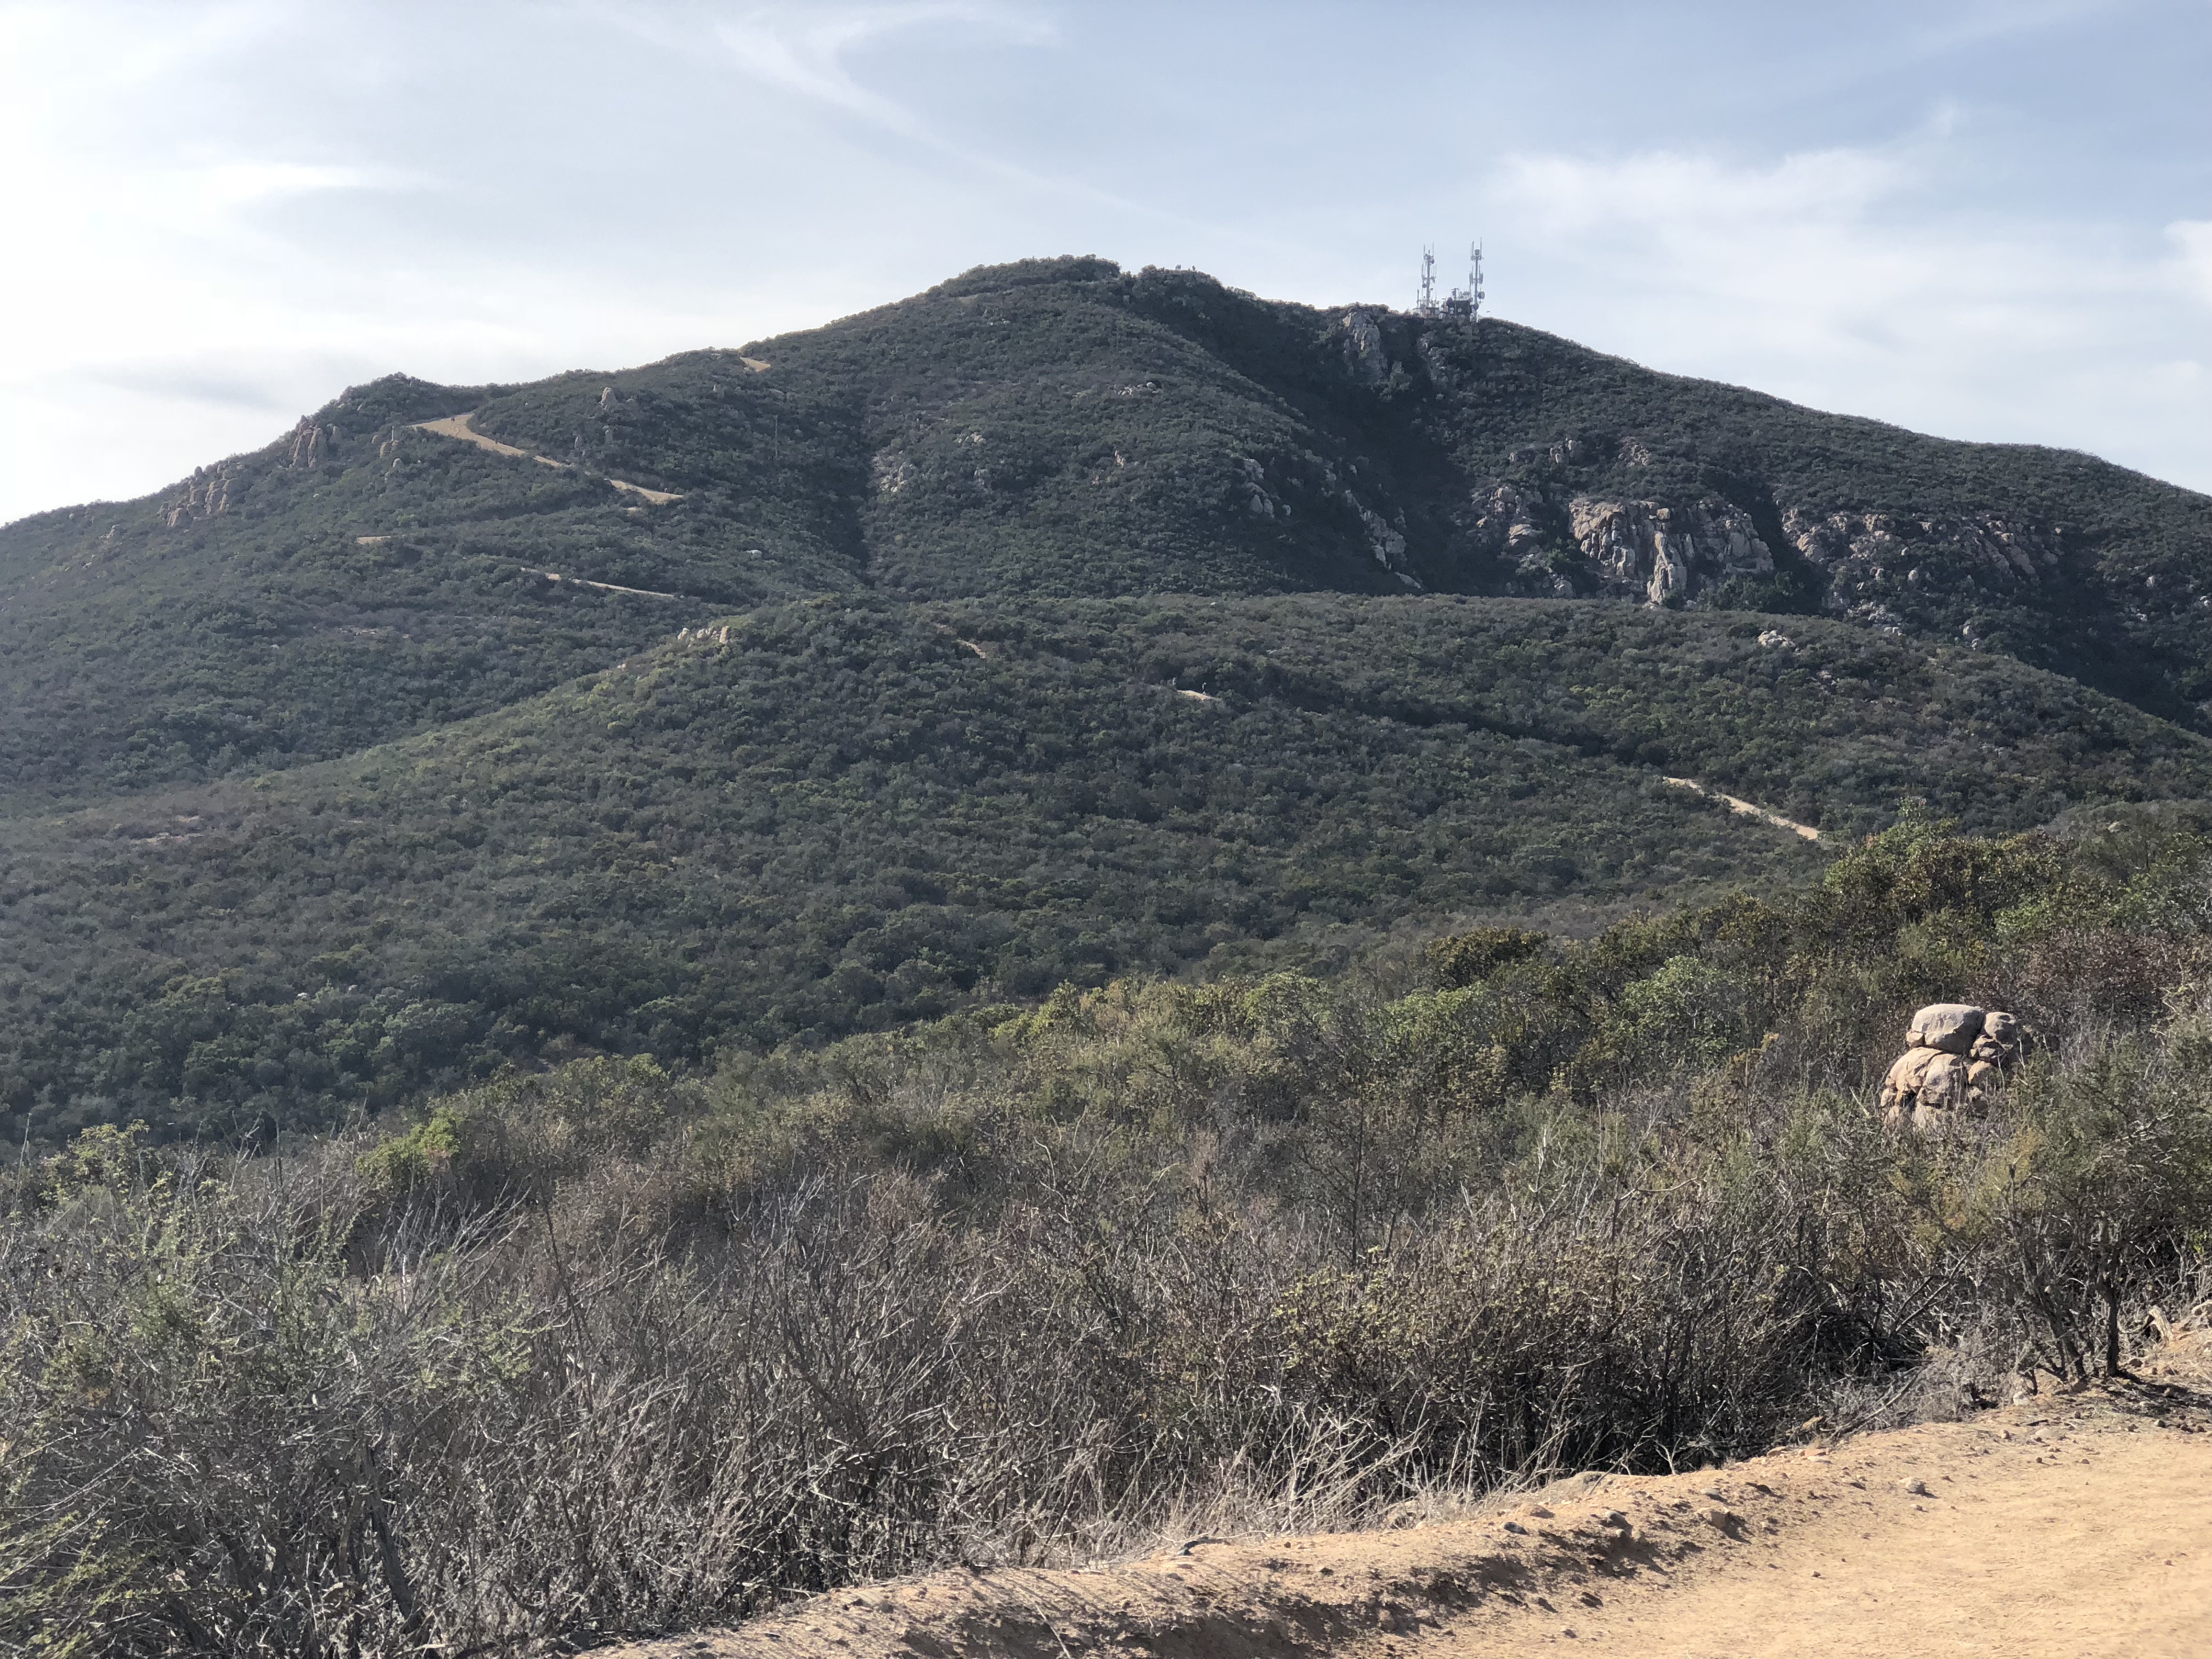
The trail at Iron at the start is smooth, hard packed sand and for about the next .50 miles is such. At the .50 mark or so, you have 2 options to continue your hike. You can go right at the trail marker or continue on the traditional way as most do hiking Iron. I always break off and go right here. This segment of the trail offers you diversity of trail, it is less traveled, much quieter and full of nature and a more “green” approach to Iron. You also get a great view of the peak along this spur of the trail. This spur continues on for about .75 miles and then joins up with the main trail up to the peak. Thats the beauty of hiking Iron, you cannot get lost here, follow the well marked trail 3.1 miles you will summit this very doable and popular San Diego Hiking Trail.
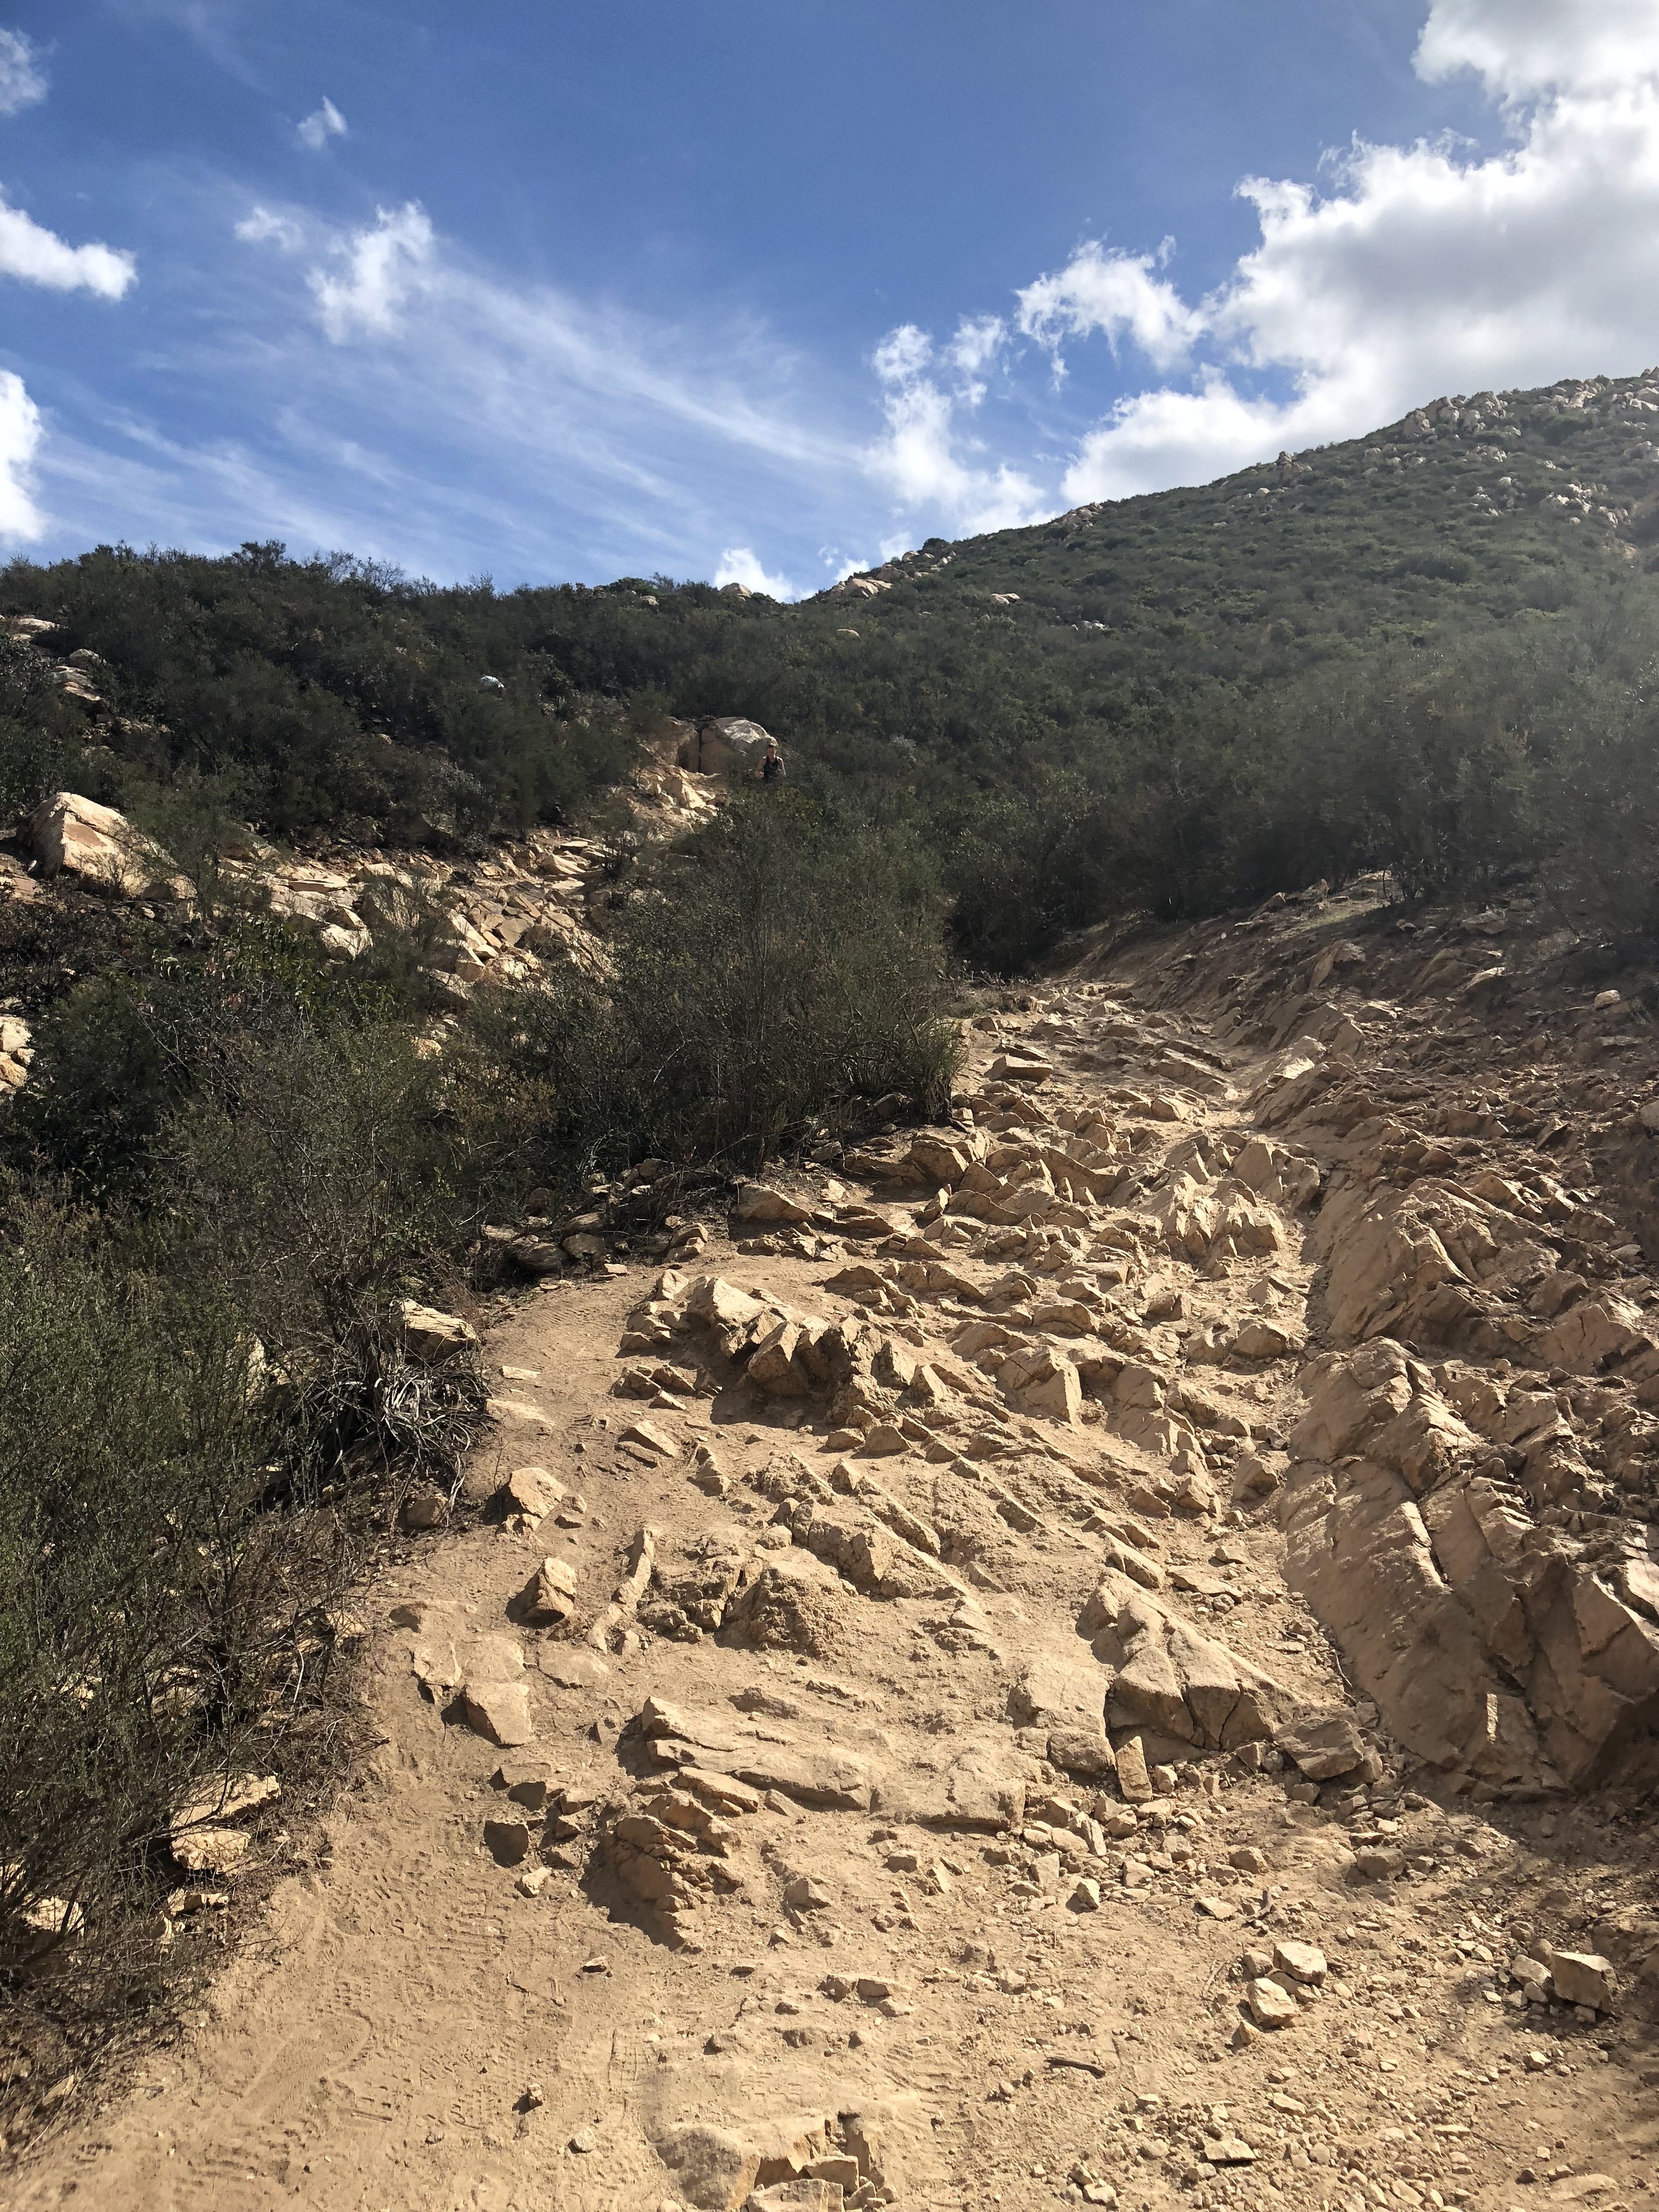
As this spur comes to an end you will join up with the main trail and be introduced to a much more rocky trail and for the rest of your journey up the trail will alternate between hard packed sand and earth and rocks. Twisted ankles are not uncommon here, take your time, be safe, the peak isn’t going anywhere you will get there when you do.
Iron Mountain Trail is alternating mix of hard packed earth and sand or Rocks Hiker Therapy
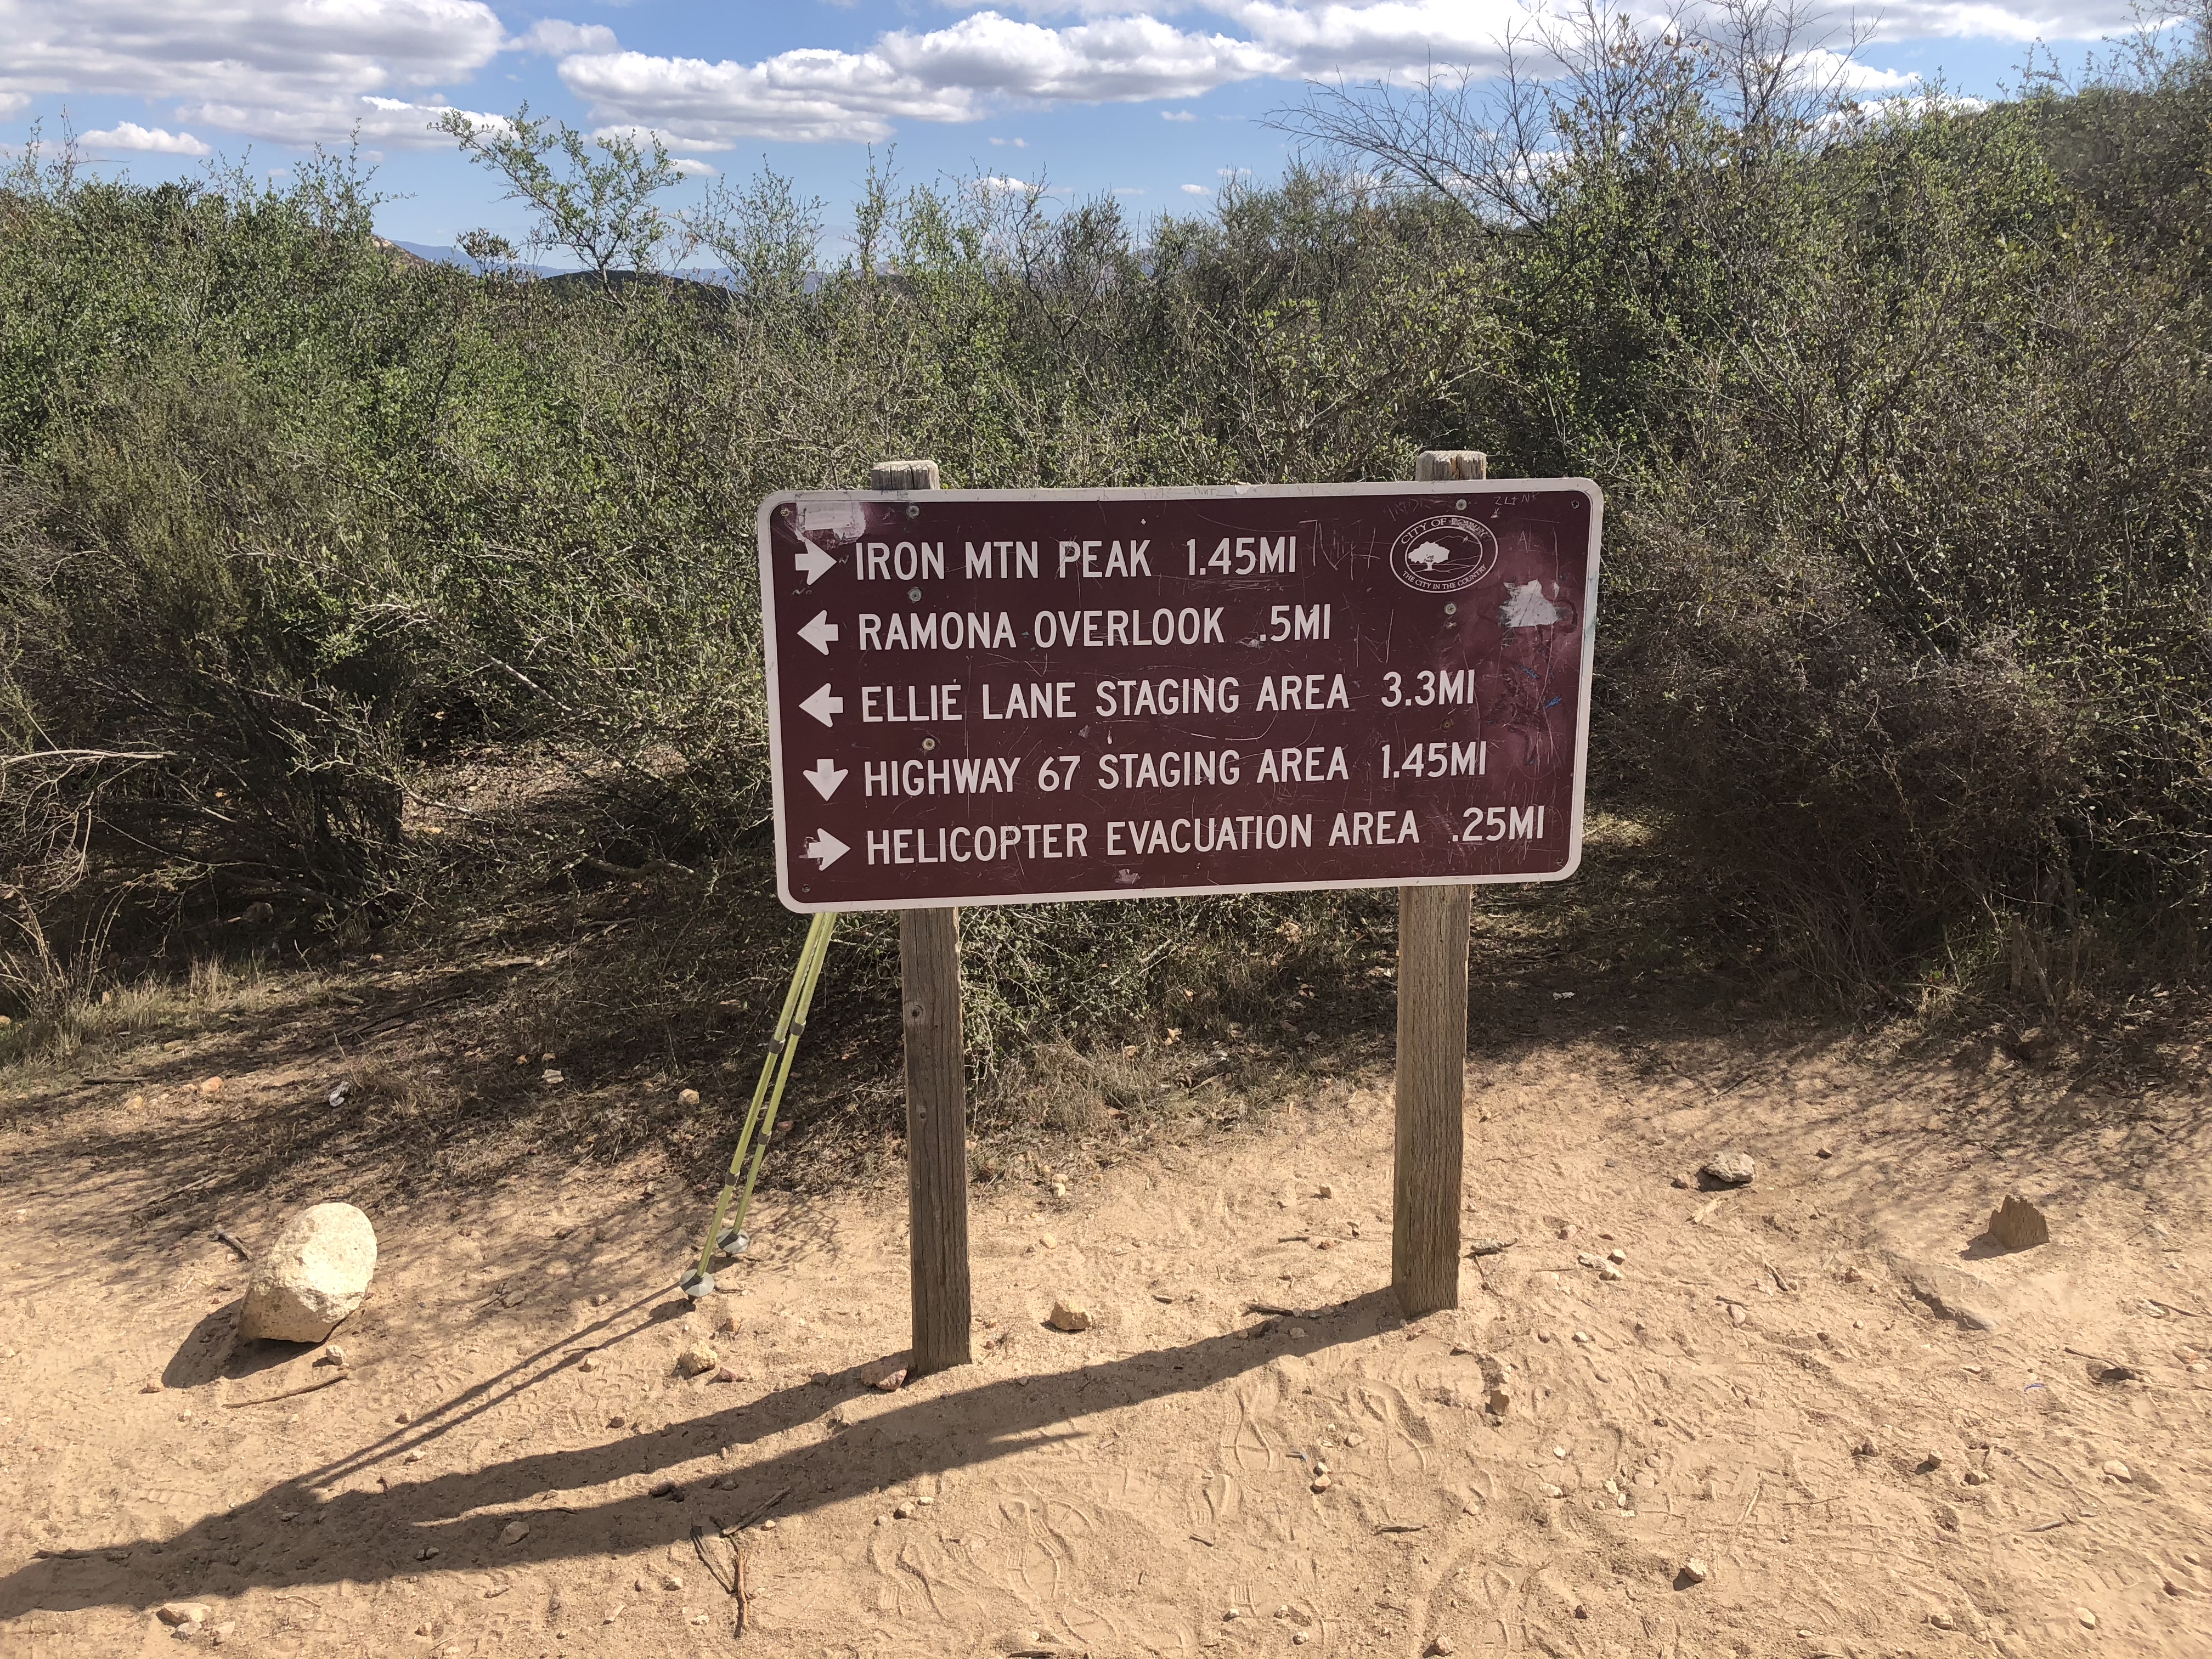
1.75 mile mark and the Iron Mountain Trail System Direction Board Hiker Therapy
As you get to the 1.75 mile mark of the hike you will come to the “Trail Direction Board” which will point you to go right to the Iron Mountain Peak. Going left gets you back to the trailhead start to the Ellie Lane, which adds 3.3 miles to this hike but if you get the chance one day I highly suggest this as your trailhead start. As you continue right you will start more of the ascent portion of hiking Iron. The trail here gets back to a sandy composition but soon will get rockier as you ascend up to the top. after a short while you will come to the HeloPad that serves as a rescue site for those who have met the fate of the trail and ended up with a broken bone, or more sever health problem. Any hike can serve as a danger, precautions aside, accidents do happen.
Look very close to see White Cross Hiker Therapy
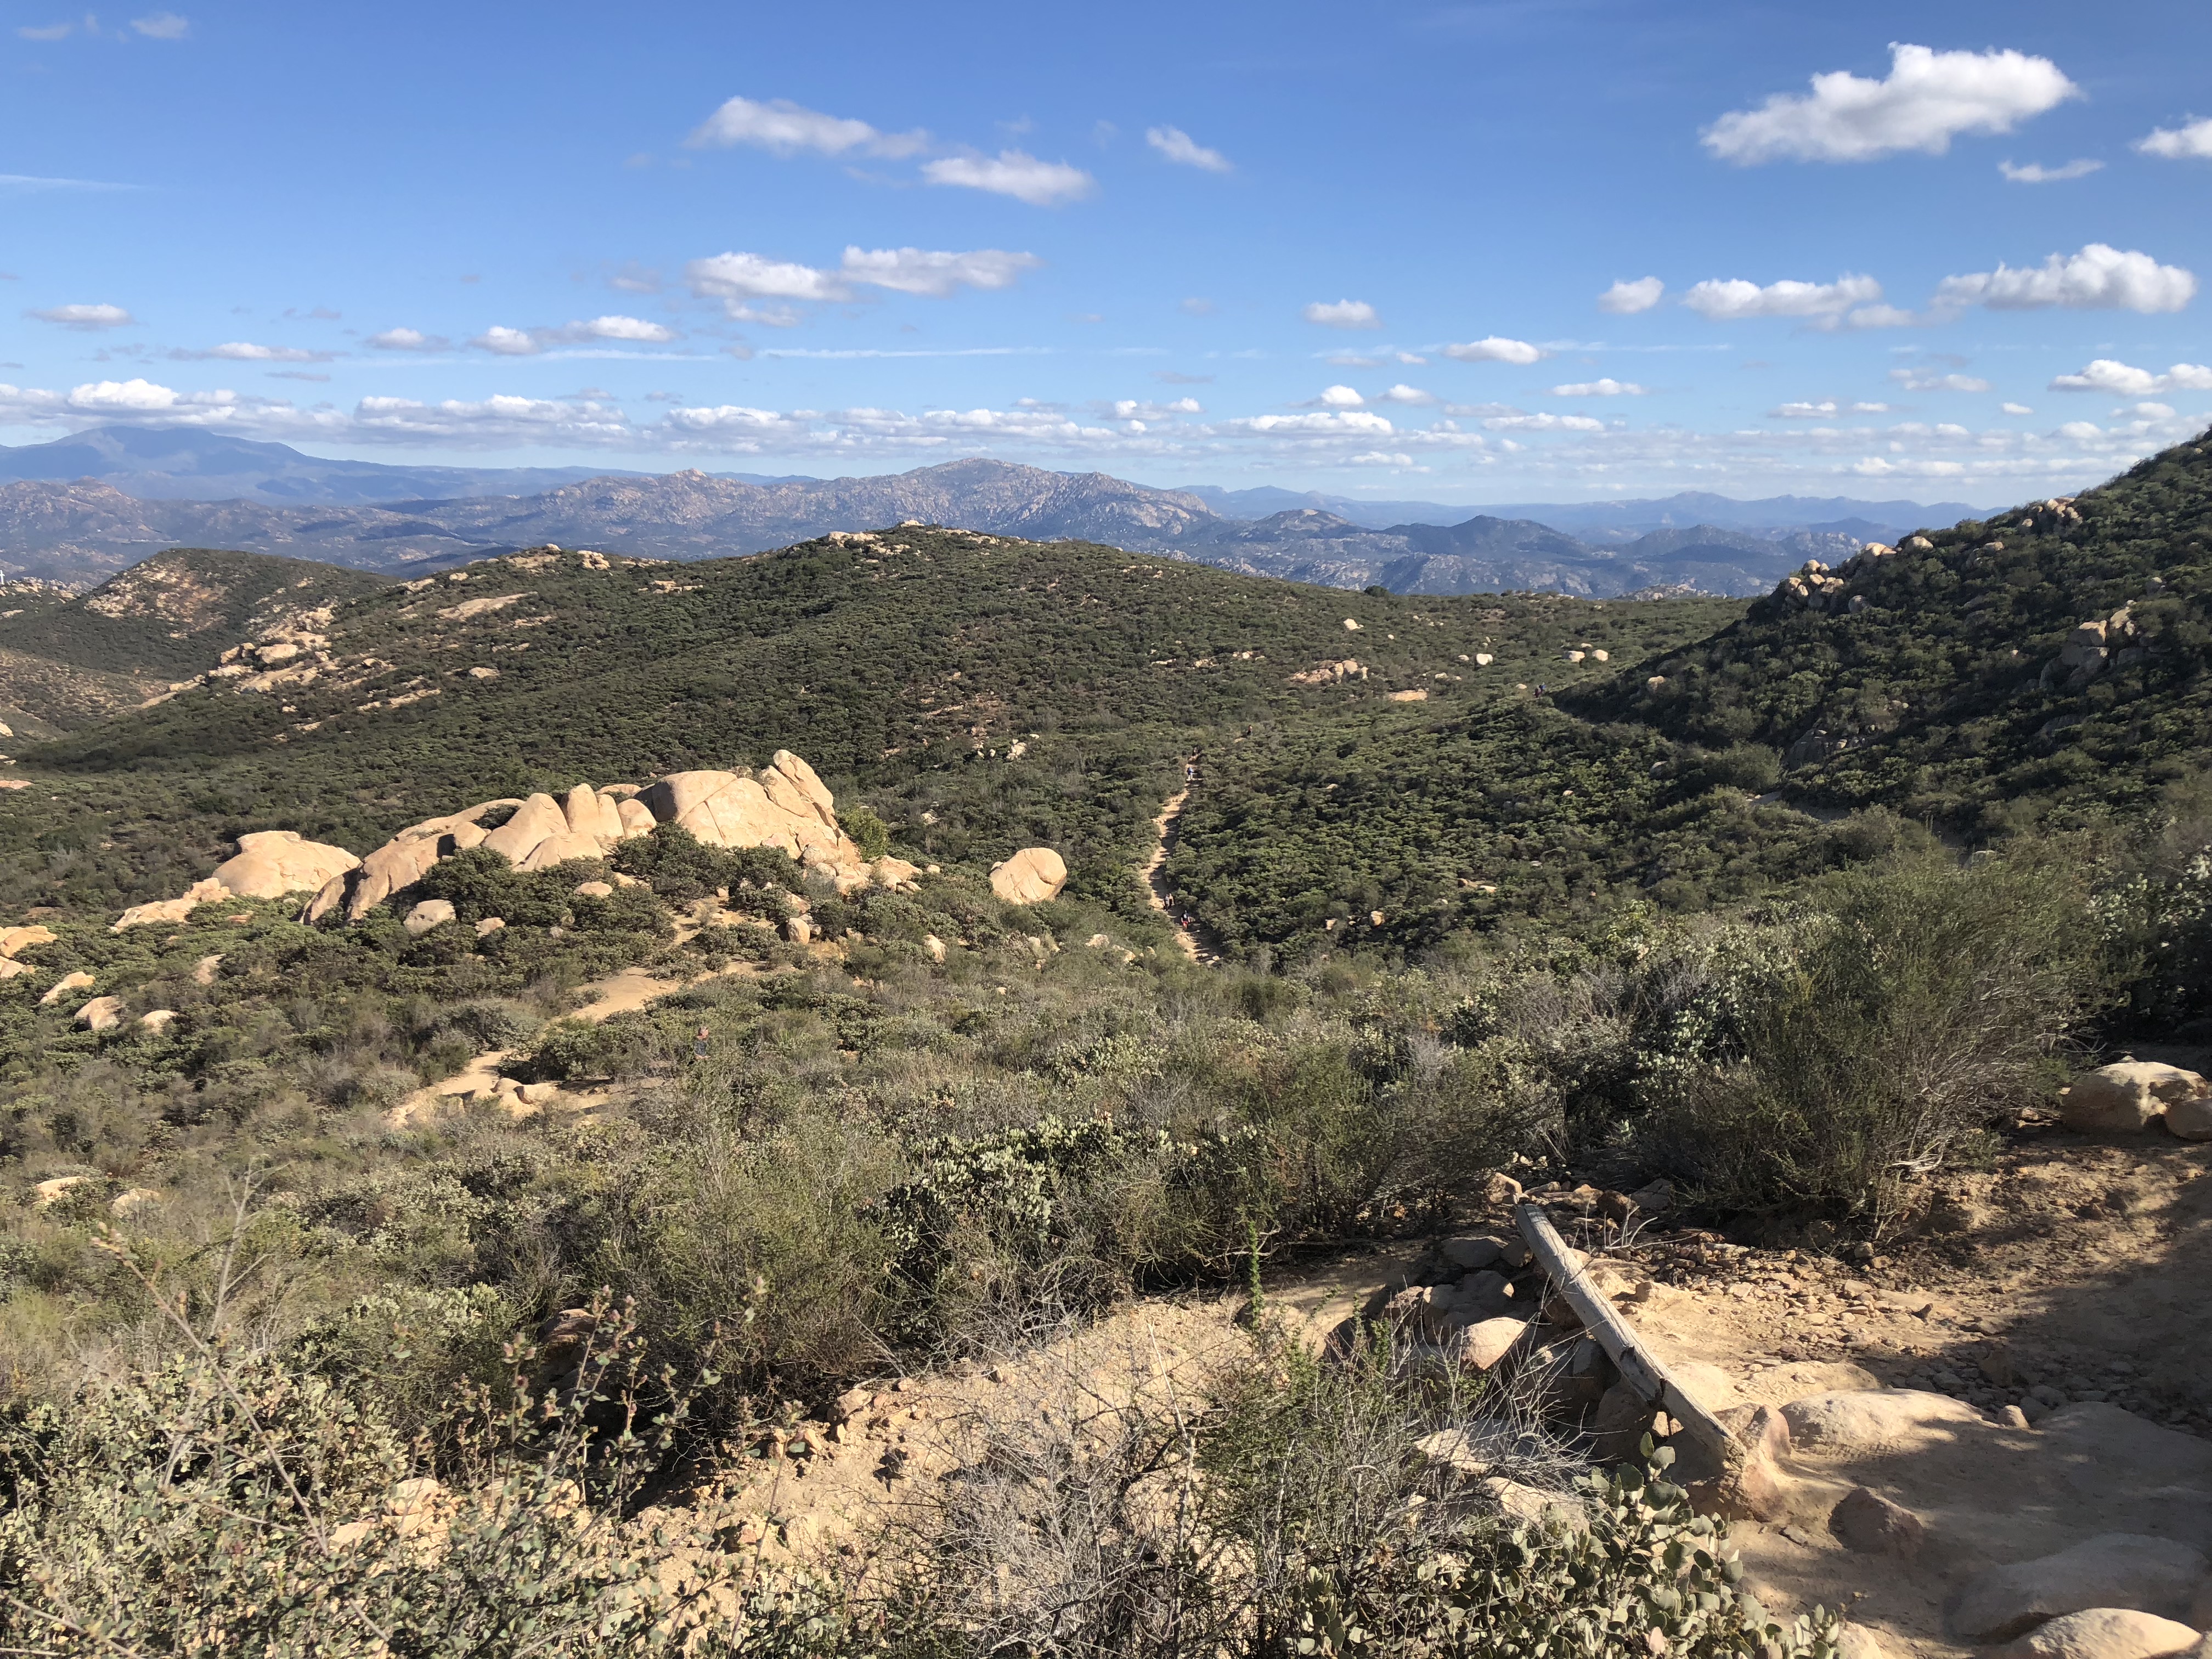
As you approach the last segment of this hike, to your last the views are spectacular of the far distance Palomar Mountains, Julian and Mt Gower Ramona. Pay close attention to detail as you stop and gaze east. You will see the White Cross tucked into a mountainside. I always love seeing this cross which offers me a sense of familiarity and comfort Continue up and the trail starts to steepen, never to the point of exhaustion, but enough that offers challenge and reward. The Summit of Iron is “Sneaky” after a series of switchback segments to the trail, the last 100 years winds around and up and then, there you are, you have made it to the summit of Iron Mountain.
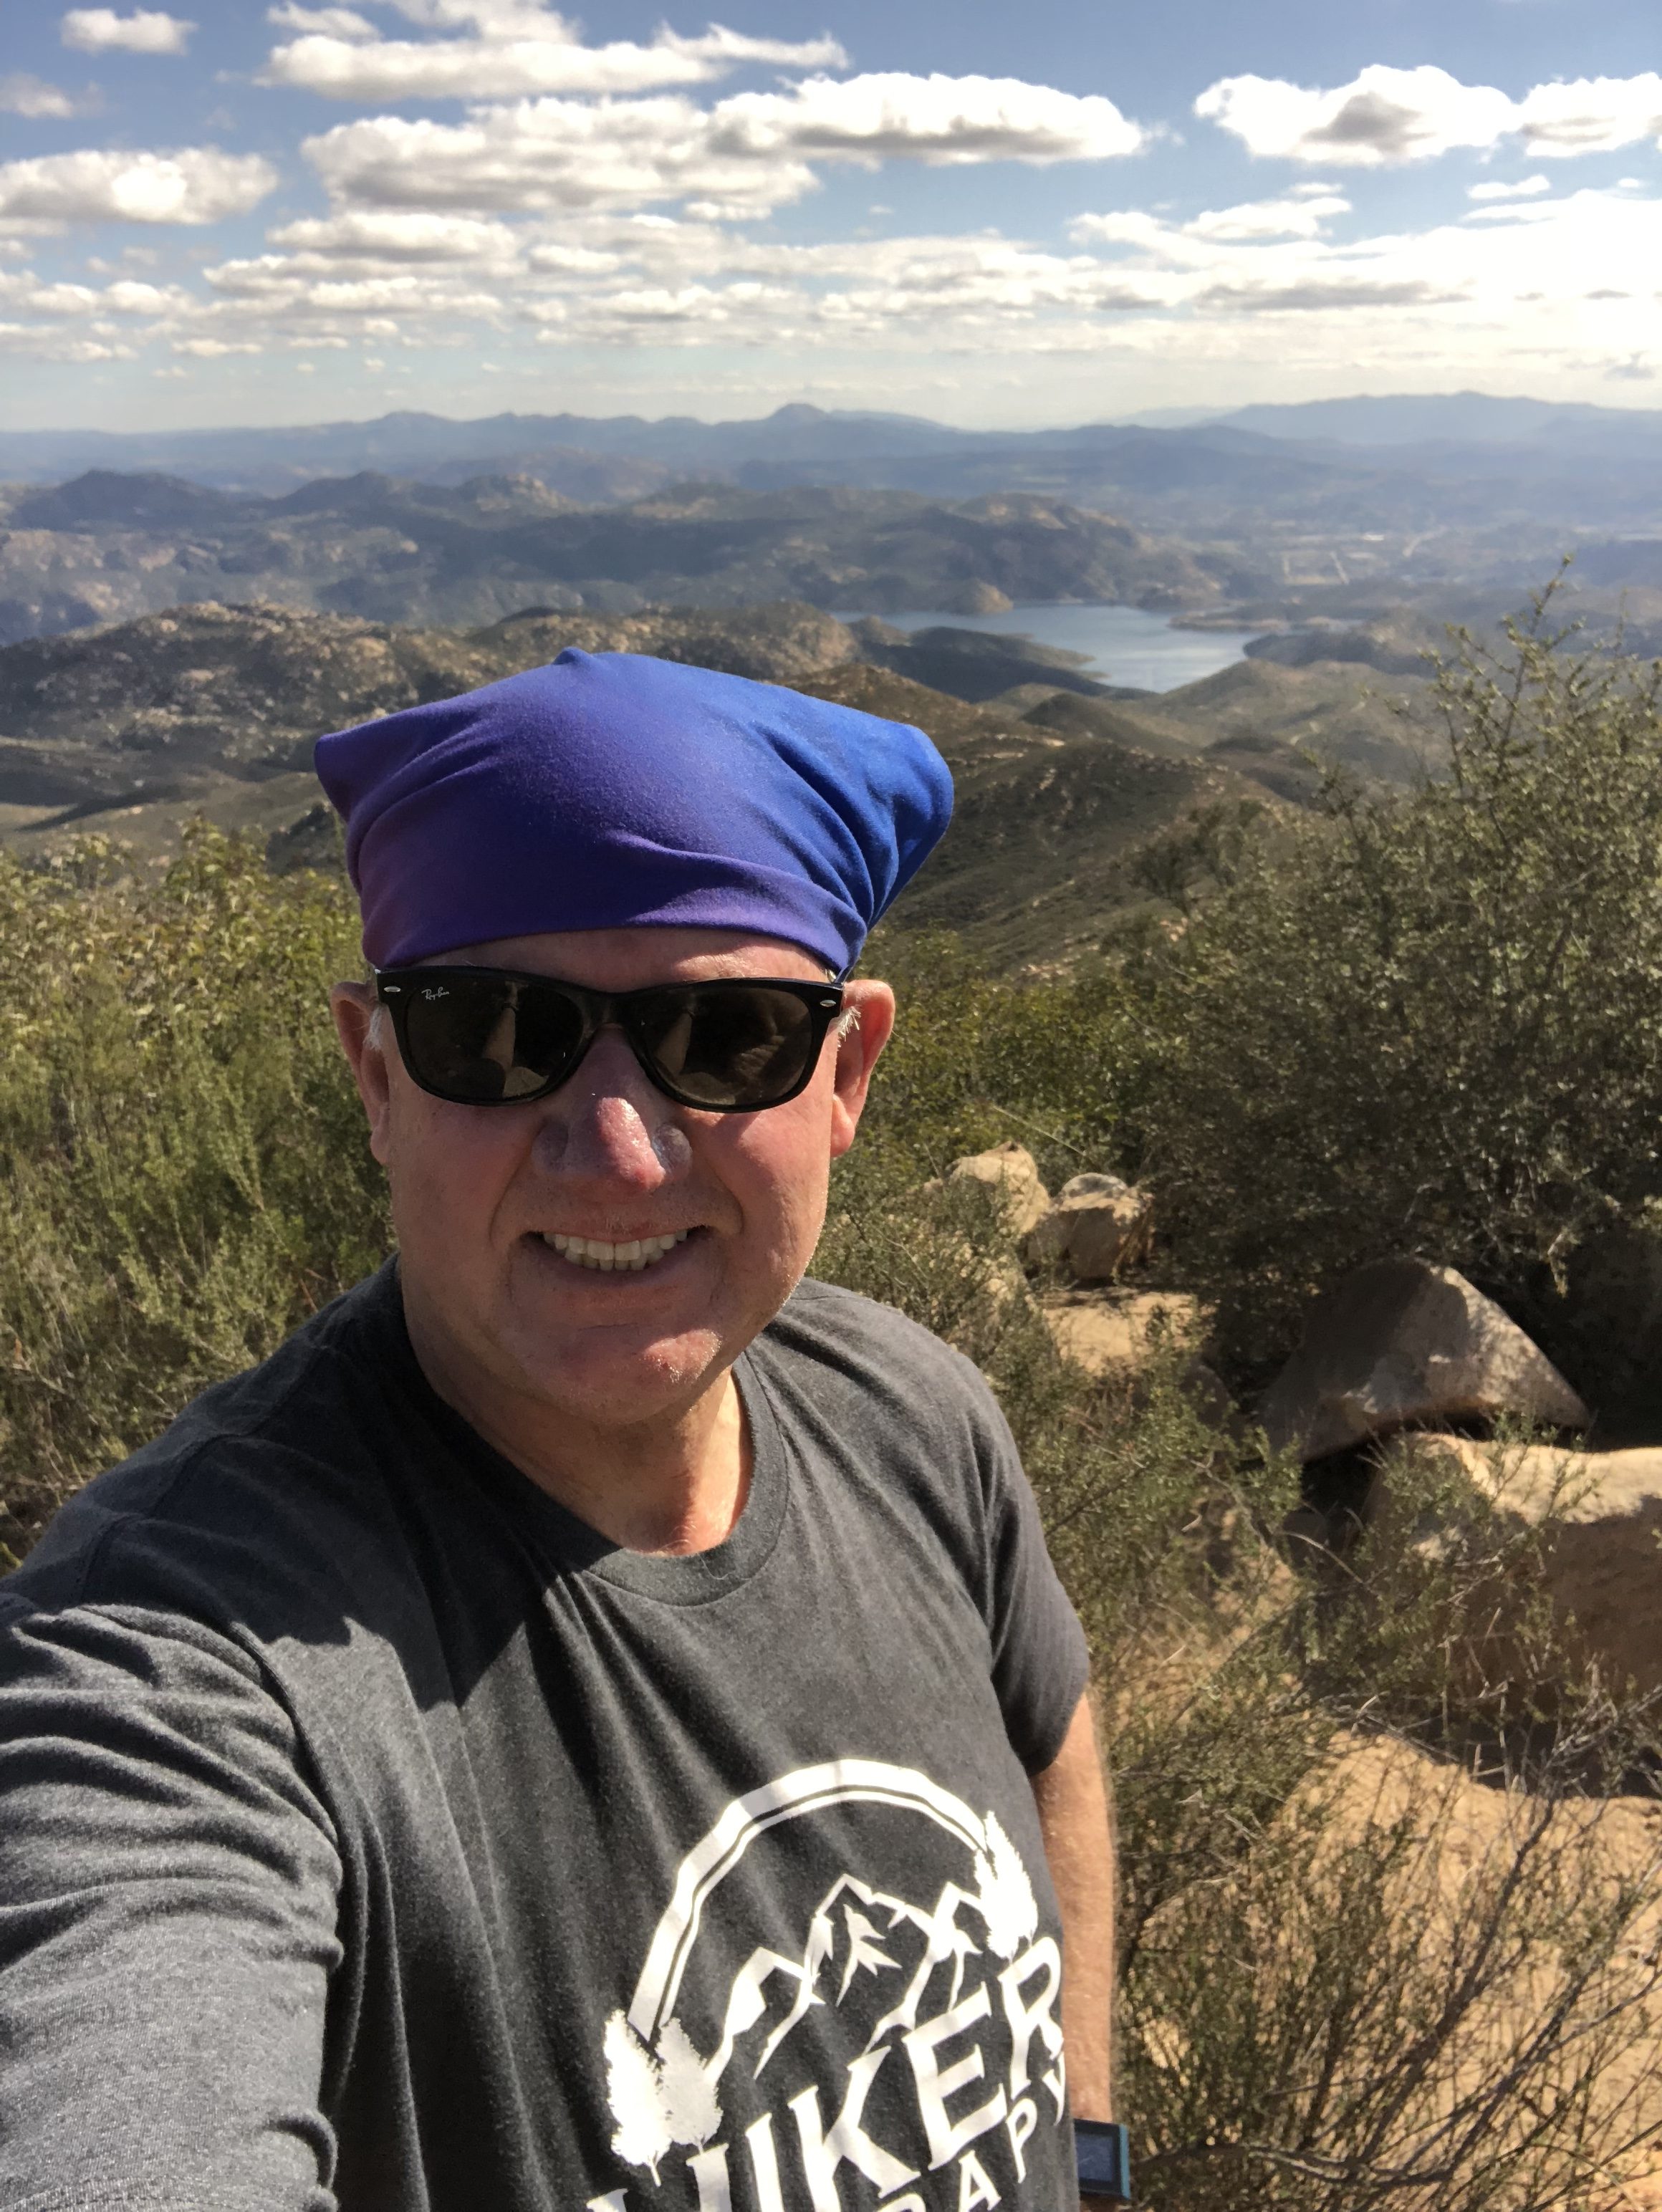
Summit of Iron Mountain Hiker Therapy
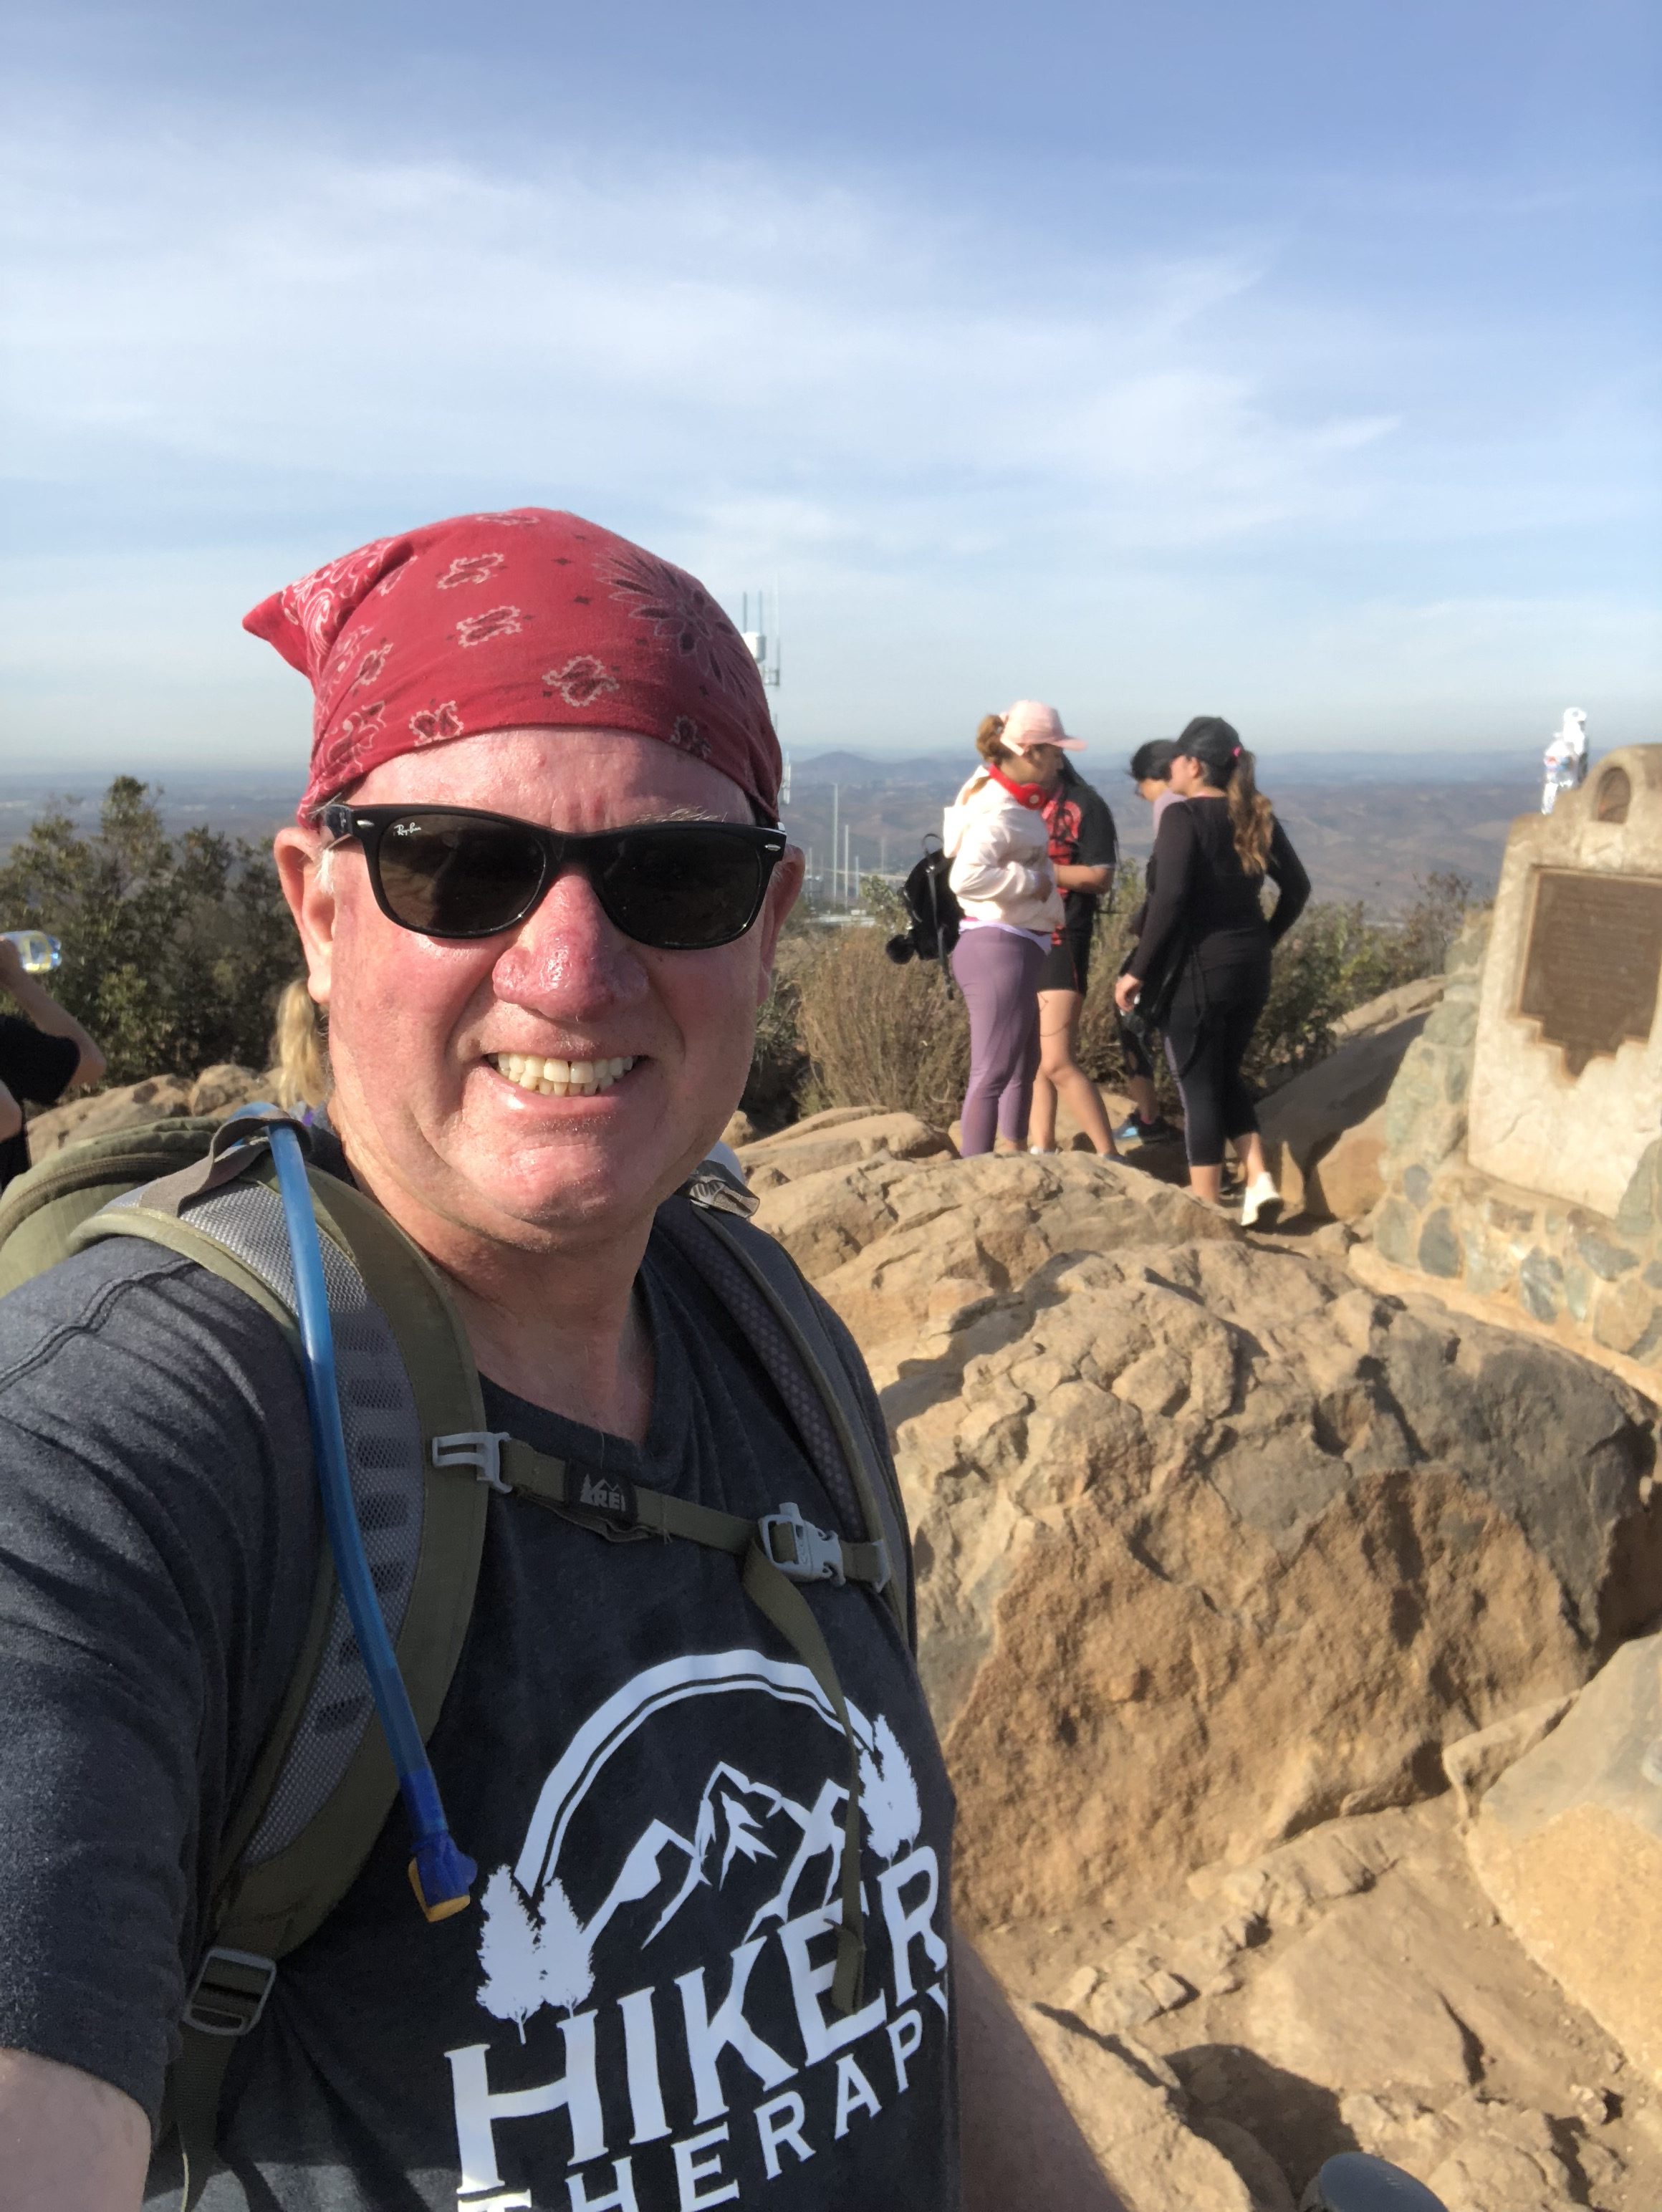
The false peak offers the marker of arrival and from previous a Journal Box where you could stake your claim to summiting Iron by writing into the peak journal. The last few times I’ve been on the top, the journal box has been gone. To your right your will come to the first picnic table continue on to the left past the second picnic table and you will hit the ‘official” summit. From here you have a great view of Ramona, Julian, Palomar Mountains and the sapphire blue waters of Lake Ramona. Enjoy the peak, eat a snack and take pictures, the views go on forever. On your way back look over to your north a short distance and you will see Iron’s sister peak of Mt Woodson another very popular San Diego Hike and the tallest Poway Peak, Iron is the second tallest peak at just over 1600’ . I believe Iron is on the 100 peaks list and falls under peaks to bag for the 52 Peak Challenge.
We are so fortunate to have the hiking trails that we have here in San Diego County. Iron was one of the first “Hard Hikes” or challenging Peaks I attempted back in 2012 and at the beginning of my Hiking Career. Now I call Iron one of my go to Hikes and one that never disappoints.
Weather wise, Fall through Spring is Hiking season in San Diego, in a few months the heat out in Poway can get up into the 90’s, which makes Iron, as well as any hike, much more of a challenge and safety risk. Always bring more water than you need, I always start with 2l and go from there depending on heat, hike with a partner, respect your hiking limits, respect your partners hiking limits and most important Hike on!
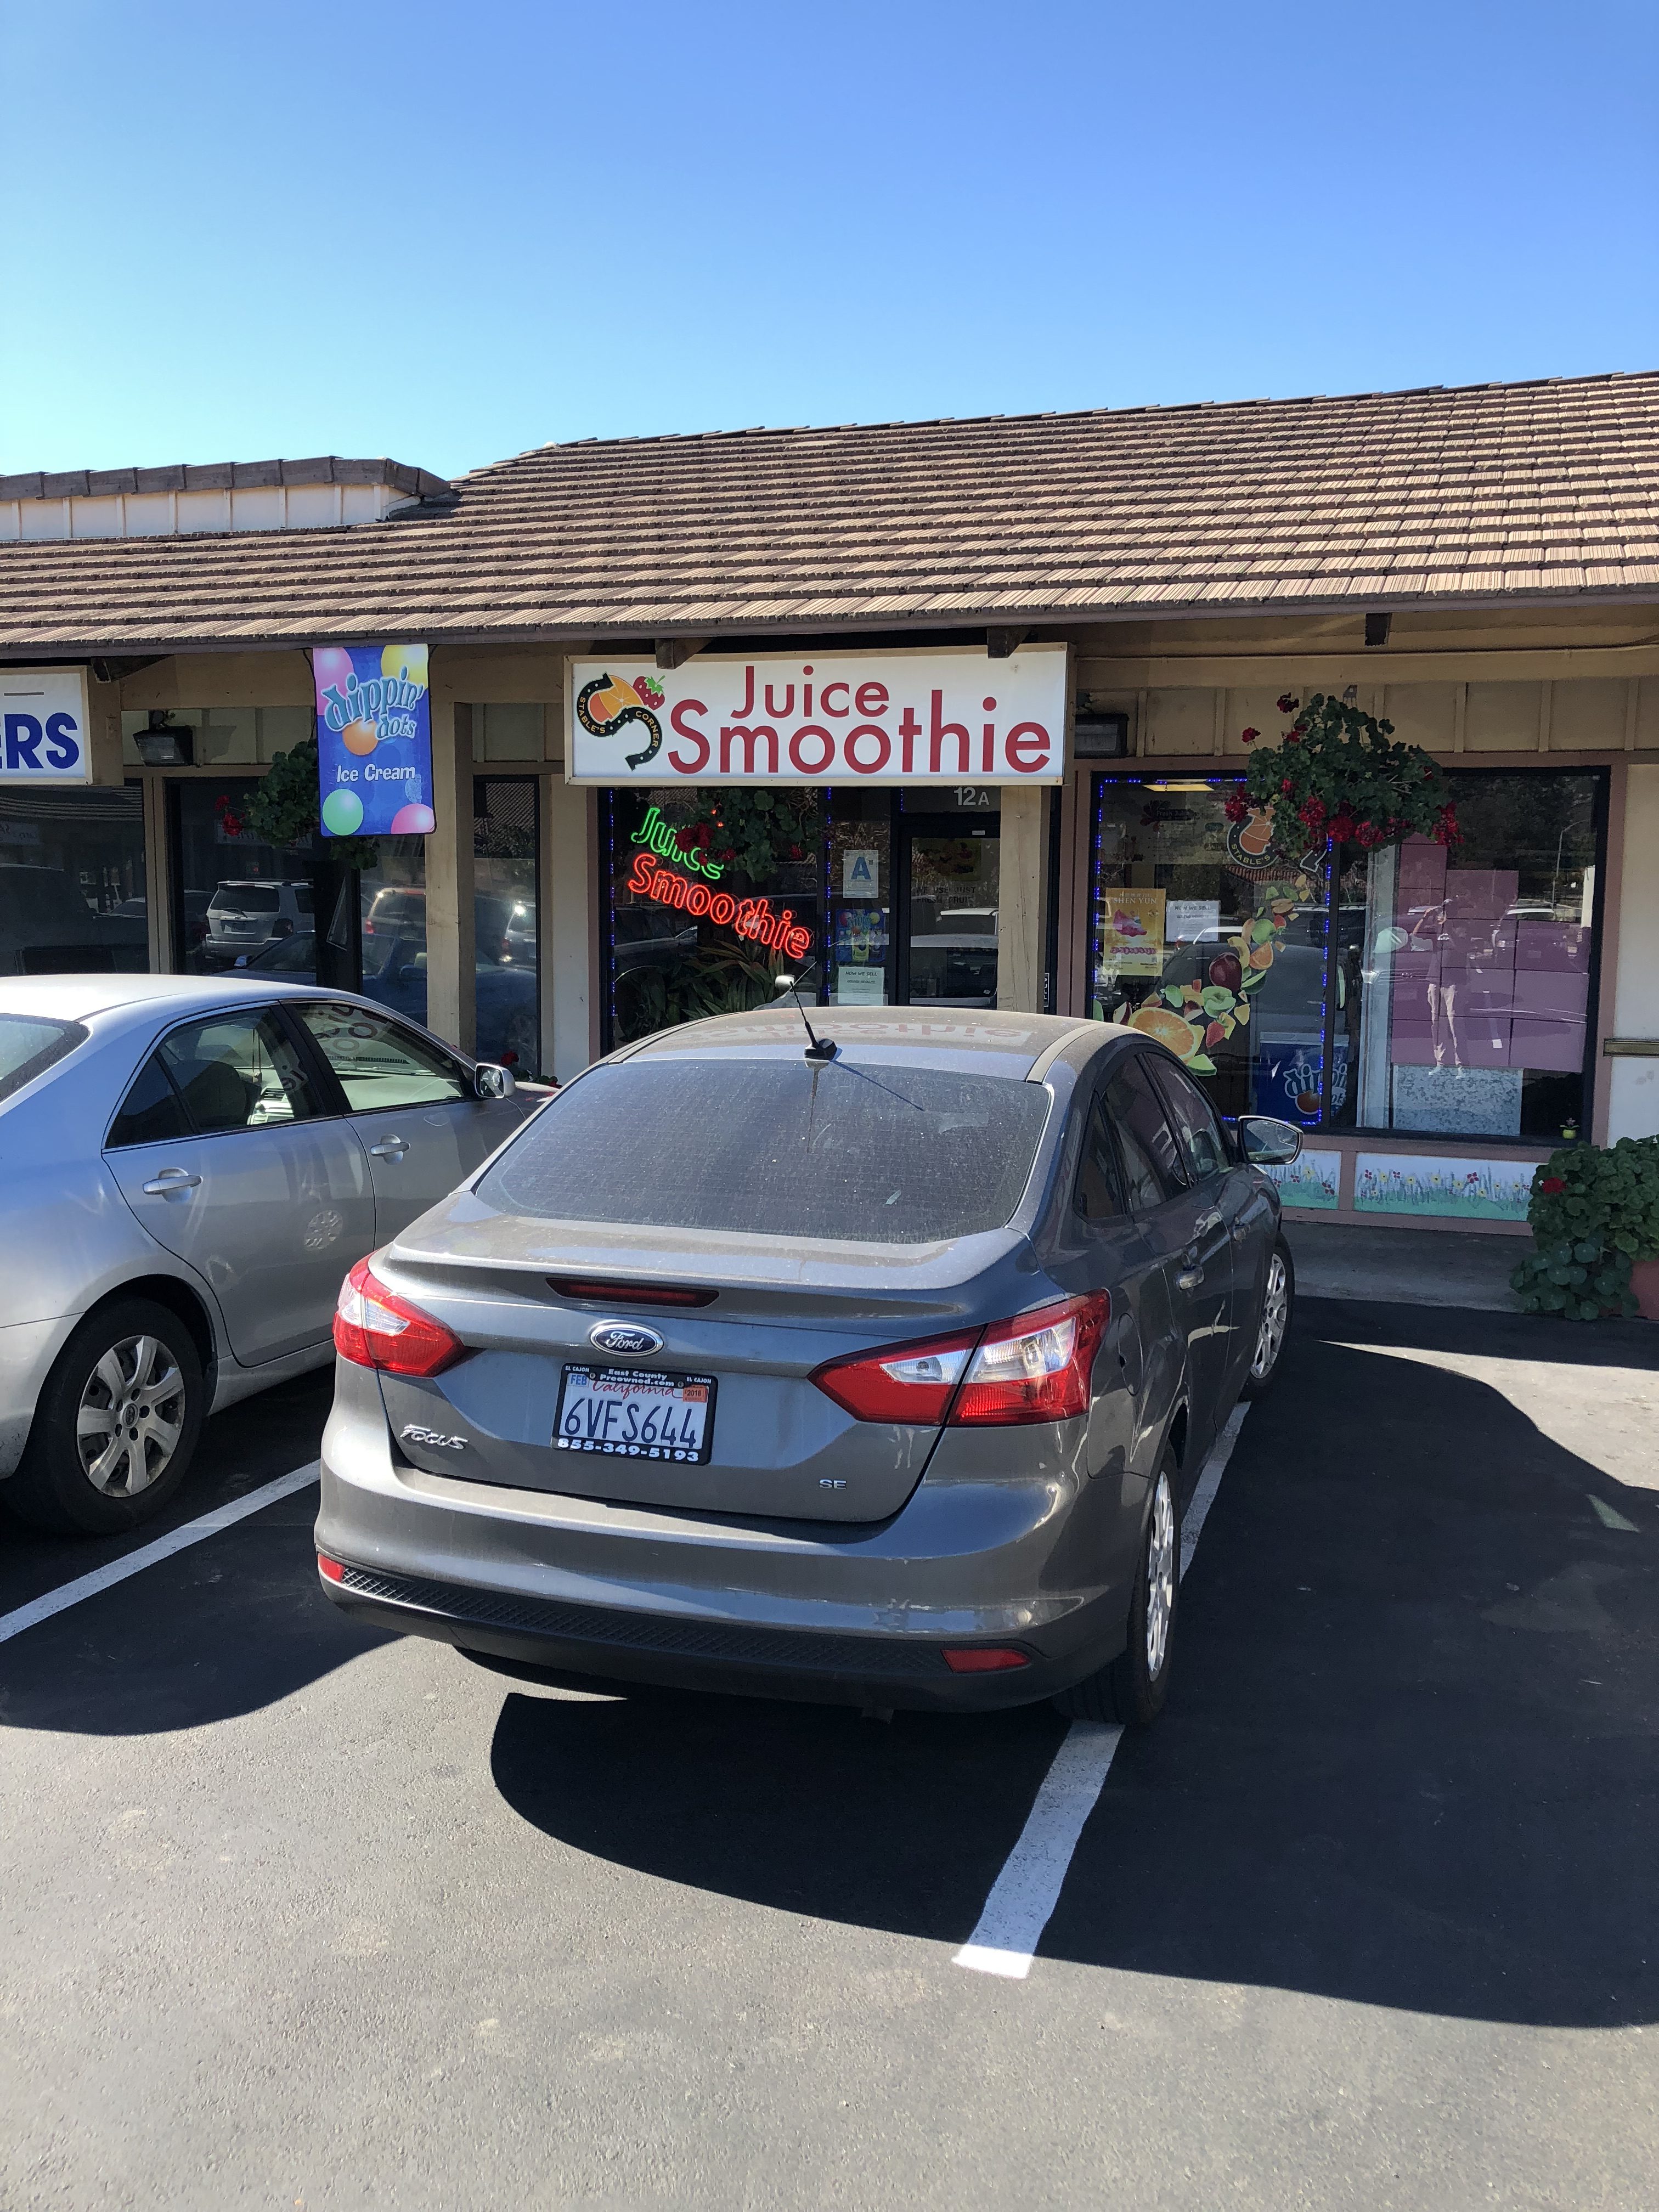
Food Tip: After you Hike in Poway I highly recommend The Stable Fresh Fruit and Smoothie Shop on Twin peaks and Espola rd. The best fresh smoothies and date shakes in the County!
DISTANCE: 5 MILES ROUND TRIP STEPS: 12K ELEVATION GAIN: 800 ‘ HIKEABILITY: scale 0-10, (0 being Batiquitos Lagoon Carlsbad, 10 being Mt Woodson, Poway.) 3.5 WATER: took 2 liters used 1.25 SNACKS: energy bar, orange. CONDITIONS: temperature 80’s, slight breeze, hot sun RESTROOMS: Chemical toilets at trail head, about one mile from the trail head and at the reservoir
LOCATION: 16275 Espola Road, Poway. From I-15, take the Rancho Bernardo Rd. exit (24) and head east for a total of 3.4 miles. En route, Rancho Bernardo Rd. becomes Espola Rd. Just after the road makes a sharp right turn, look for the entrance to the preserve on the left.
Lake Ramona Poway, CA 2.5 miles from trailhead….Hiker Therapy
When we talk about hiking the Poway area, a beautiful place to hike indeed, Iron Mountain and Mt. Woodson are always the 2 Peaks that come to mind and rightfully so, both warrant their popularity and “Hikeability”. However another hike in that same general area is the Blue Sky Ecological Reserve. Located off of Espola Rd., in Poway this hike sits in the shadows of Mt. Woodson and in fact a spur off of the Blue Sky Trail can take you to Lake Poway and Mt. Woodson.
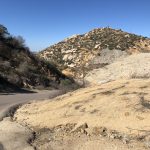
Blue Sky Ecological reserve Trailhead and good indicator of trail composition. Hiker Therapy
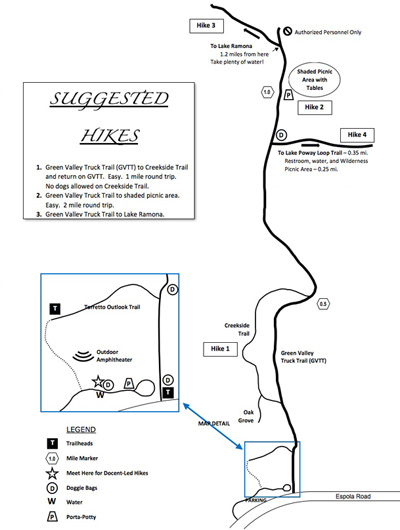
On this Saturday 9AM morning start the first challenge to the hike was finding a parking spot. There is a generous sized parking area off of the Trailhead, but it may take you a few laps before a spot opens up. The trailhead is in the southern most part of the parking area but is clearly visible by an information board. There is a restroom, opposite the information board. There are also 2 other restrooms along the trail, one about midway, one at the top of the Dam, your final destination on this hike.
Blue Sky Ecological Reserve Poway, CA Hiker Therapy
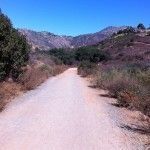
The first 1.2 miles of 2.5 mile trail to the Dam is for at least 75% of the journey, hard packed sand, very wide and easy to navigate and generous shade trees covering the trail. The last section of the hike and climb to the Dam is a little more rocky, but still very easy to negotiate, wide trail and plenty of room. The trail is marked very well with arrowed signs guiding you along the way.
At about the .75 mile mark you will come to a trail spur on the left, which is the Creekside Trail. You can take this to add more diversity, Creekside will detour back into the main trail as indicated on the trail mp on the left. Stay on the main trail for about 1.2 miles.
You will come to the Lake Poway Spur. Stay on the main trail as it veers slowly left and to the trail up, again take a left and the final climb to the dam. A sign here makes your journey and the final 3/4 mile ascent to the Dam.
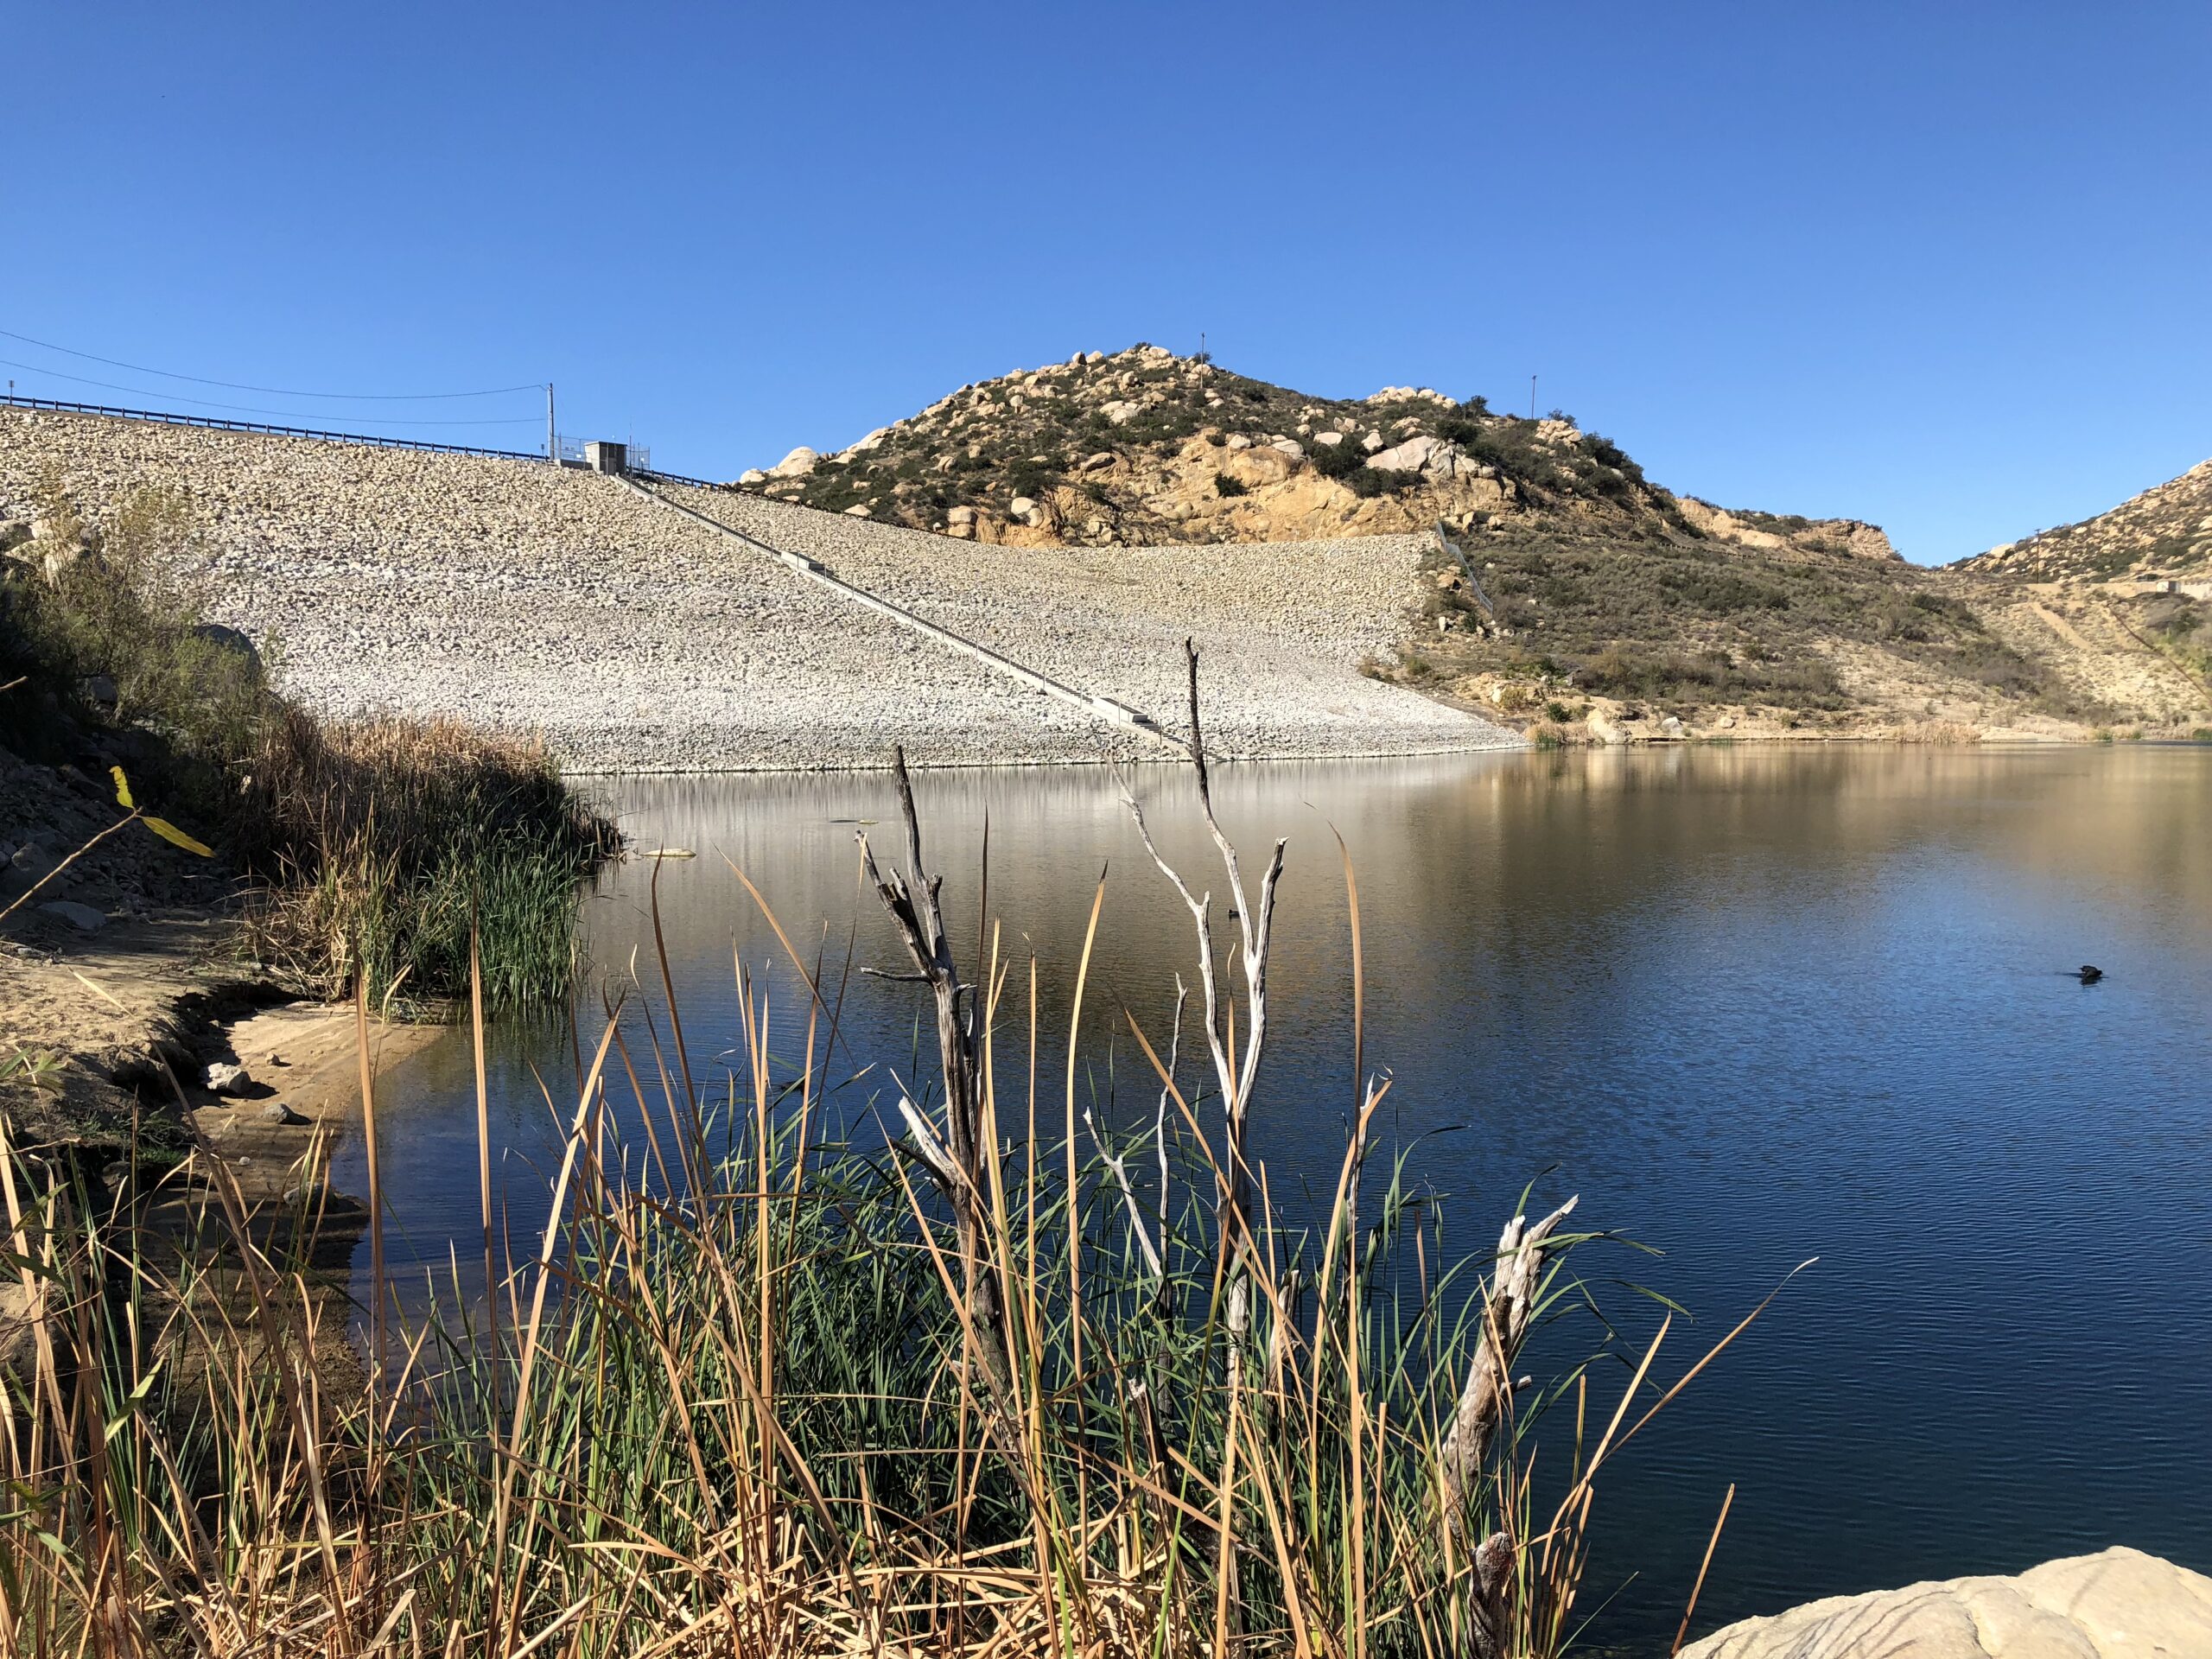
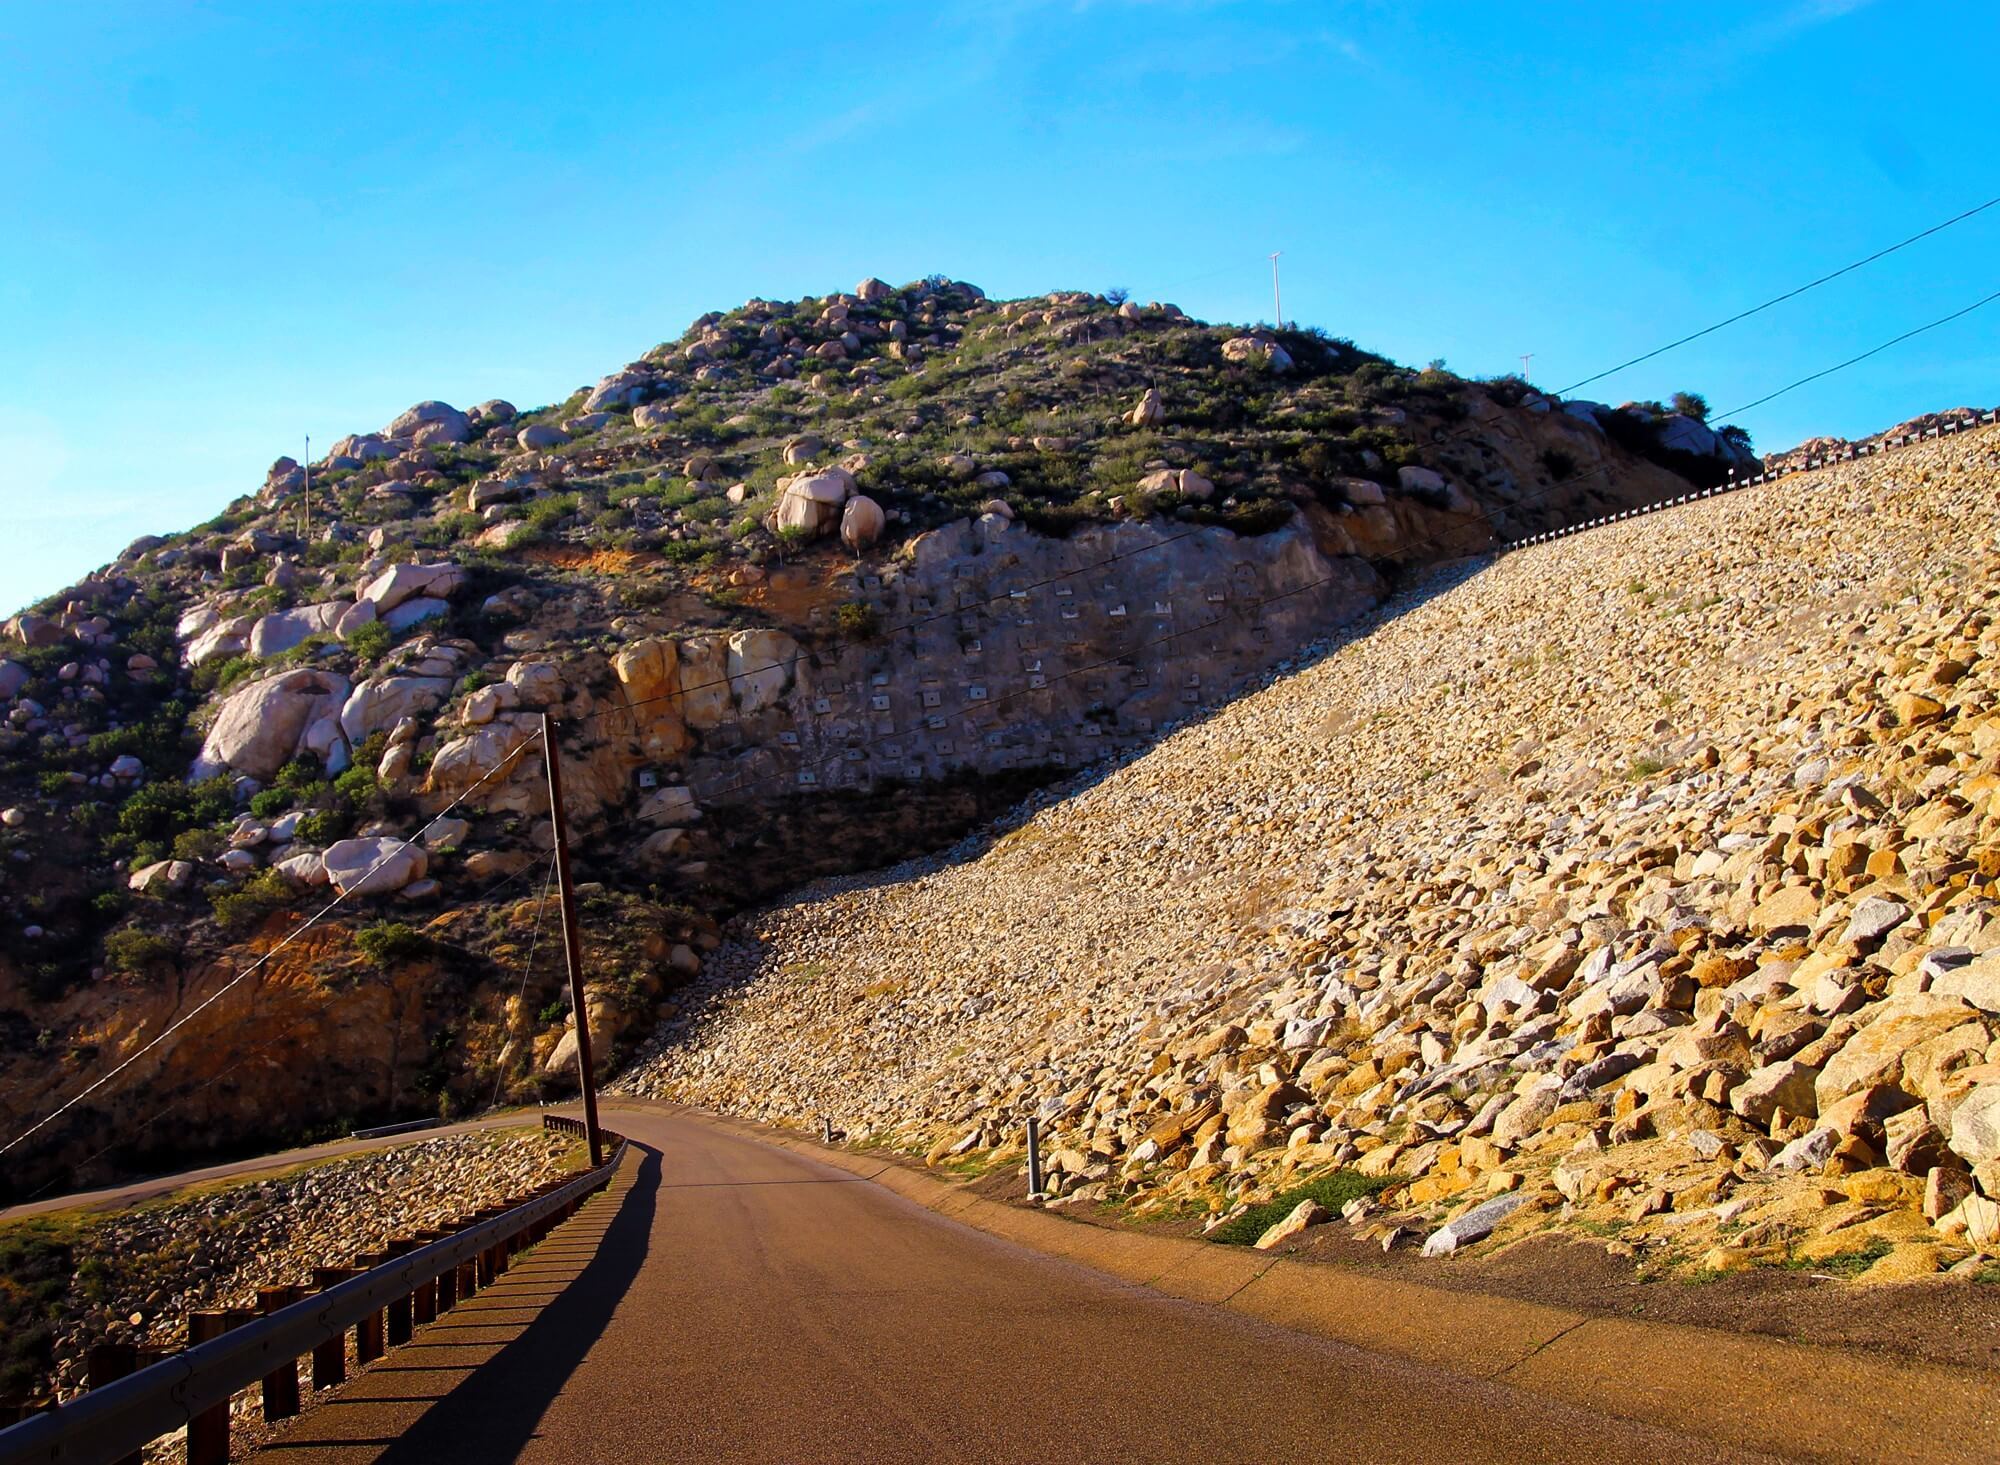
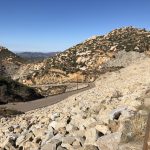
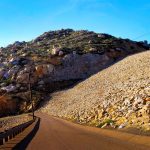
Last 1/4 mile up to Lake Ramona Dam is paved, steep the most challenging part of the hike. Hiker Therapy
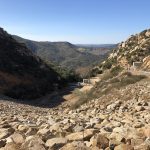
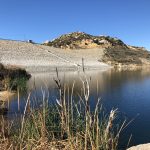
This part of the trail is very strenuous and for the last 1/4 mile is a paved road to the Dam. Once at the top stop here, rest, snack, hydrate. There is a restroom here as well. Once at the “summit” of Blue Sky take in the view of Lake Ramona and consider the option to add more distance and scenery to your hike by heading down to the lake.
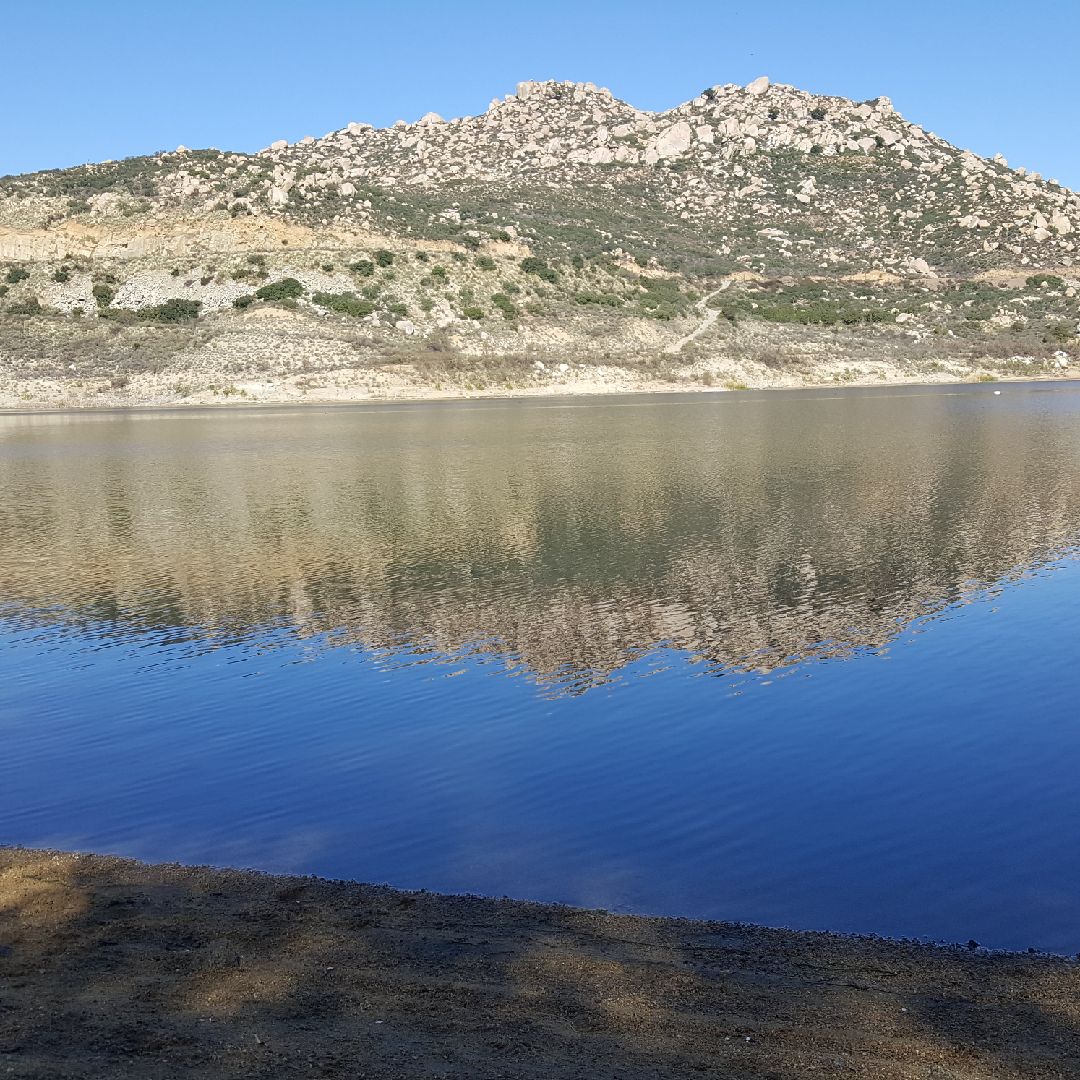
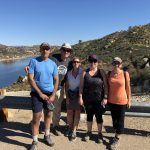
The trail down to lake is just to the right on the restroom. A larger paved trail continues on and around the lake. The trail is marked by a chain crossing the path, step over this chain and meander down to the “beach’ below. Very quiet, calm and peaceful here. A great spot for lunch and a well deserved break.
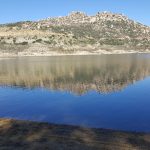
Lake Ramona, Poway, CA Blue Sky Ecological Reserve Hike: Hiker Therapy
Great views of shimmering Lake Ramona and the surround mountainous scenery of the area. There is not much coverage on the ascent up and at the Dam so be aware of hiking in the heat at Blue Sky.
This is a great way to hike the “Hills” of Poway and still get a feel of the diversity of the area, hike a not so common trail as compared to Iron and Woodson and get in a good 5 mile challenge rich in reward and mental and physical health well-being.
The Stable’s Corner Juice & Smoothie.. Hiker Therapy
An added bonus to hiking Iron, Woodson or Blue Sky is the The Stable’s Corner Juice & Smoothies shop at Espola and Twin Peaks Rd. Hands down the best smoothie shop in San Diego County.
“Hydrate, Respect your Limits, Respect your Partners Limits”
Hike On!
Blue Sky Ecological Reserve Gallery
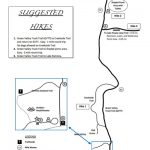
Blue Sky Ecological Reserve Poway, CA Trail Map
Blue Sky Ecological reserve Trailhead and good indicator of trail composition. Hiker Therapy
Lake Ramona Dam
Lake Ramona Poway, CA
2.5 miles from trailhead….Hiker Therapy
Trail up to the Dam
View of Blue Sky Ecological Reserve from Lake Ramona Dam
Blue Sky Ecological Reserve
Ascent up to Lake Ramona Dam
View from “The Beach’ at Lake Ramona Dam
Hiker Therapy
Lake Ramona, Poway CA Blue Sky Ecological reserve Hike: Hiker Therapy
The Stable’s Corner Juice & Smoothie..Best smoothie shop in the County Hiker Therapy
Water: 1.5 L Snacks: Orange, Pro bar, hard boiled egg
For a hike that covers a lot of diverse trail, assorted vegetation, gorgeous views and beautiful scenery then the Pyles Peak via Cowles Mountain Service Rd, Barker Way Trailhead is the hike for you. Not to mention you bag 2 peaks in one hike. In the Mission Trails Hiking system Pyles and Cowles are 2 of the 5 hikes to bag. The other 3 being both Fortunas, North and South as well as Kwaay Paay.
Barker Way to Cowles Mountain Service Road
The trailhead for this hike starts at Barker Way In Santee, CA. I like this start due to its less populated trailhead and easier parking. There are also restrooms here for convenience. The trail start is flat, sandy and wide. After 100 yards you will come to a sign that points you left and up towards Cowles, do not go left, continue on the trail as it veers right and up and on your way to the top of Cowles. The trail here starts to climb to the 3/4 mile, then plateaus for awhile then climbs the entire way.
Cowles Mountain Hiker Therapy
As you plateau at about the .75 mile mark you will look up and catch a glimpse of Cowles, the radio towers, and the trail will “snake” up the mountain to form an “S” pattern. From here to the Peak of Cowles the trail is rocky, and the steep ascent becomes more challenging and strenuous. Although you will see others along the way, compared to the more traditional Golfcrest and Navajo Rd trail, this section of trail in the Colwes system is the less traveled, quite and the most challenging of all the trails up. As you near the Peak of Cowles the trail will steepen dramatically the last 50 yards and then veer left. As you make the gradual left sweep, straight ahead you will see a sign marking the start to the trail over to Pyles.
Cowles Mountain Summit Hiker Therapy
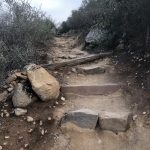
However, as you hike along you will see a set of wooden steps and as you do, make a left to get up to the rocky section of the Peak of Cowles and the path up to the monument. I always love the views from Cowles. Looking North east you see East County and El Cajon Mountain, looking South you can see Mexico, to the Southwest Pt. Loma and looking direct west some of the other peaks in our county including Iron Mountain, Mt Woodson, Black Mountain and on a very clear day the Pacific Ocean. At this point you will have climbed approximately 1.6 miles. I walked around a bit at the peak and added another .4 mile. You can directly see Pyles Peak, looking West from the summit of Cowles.
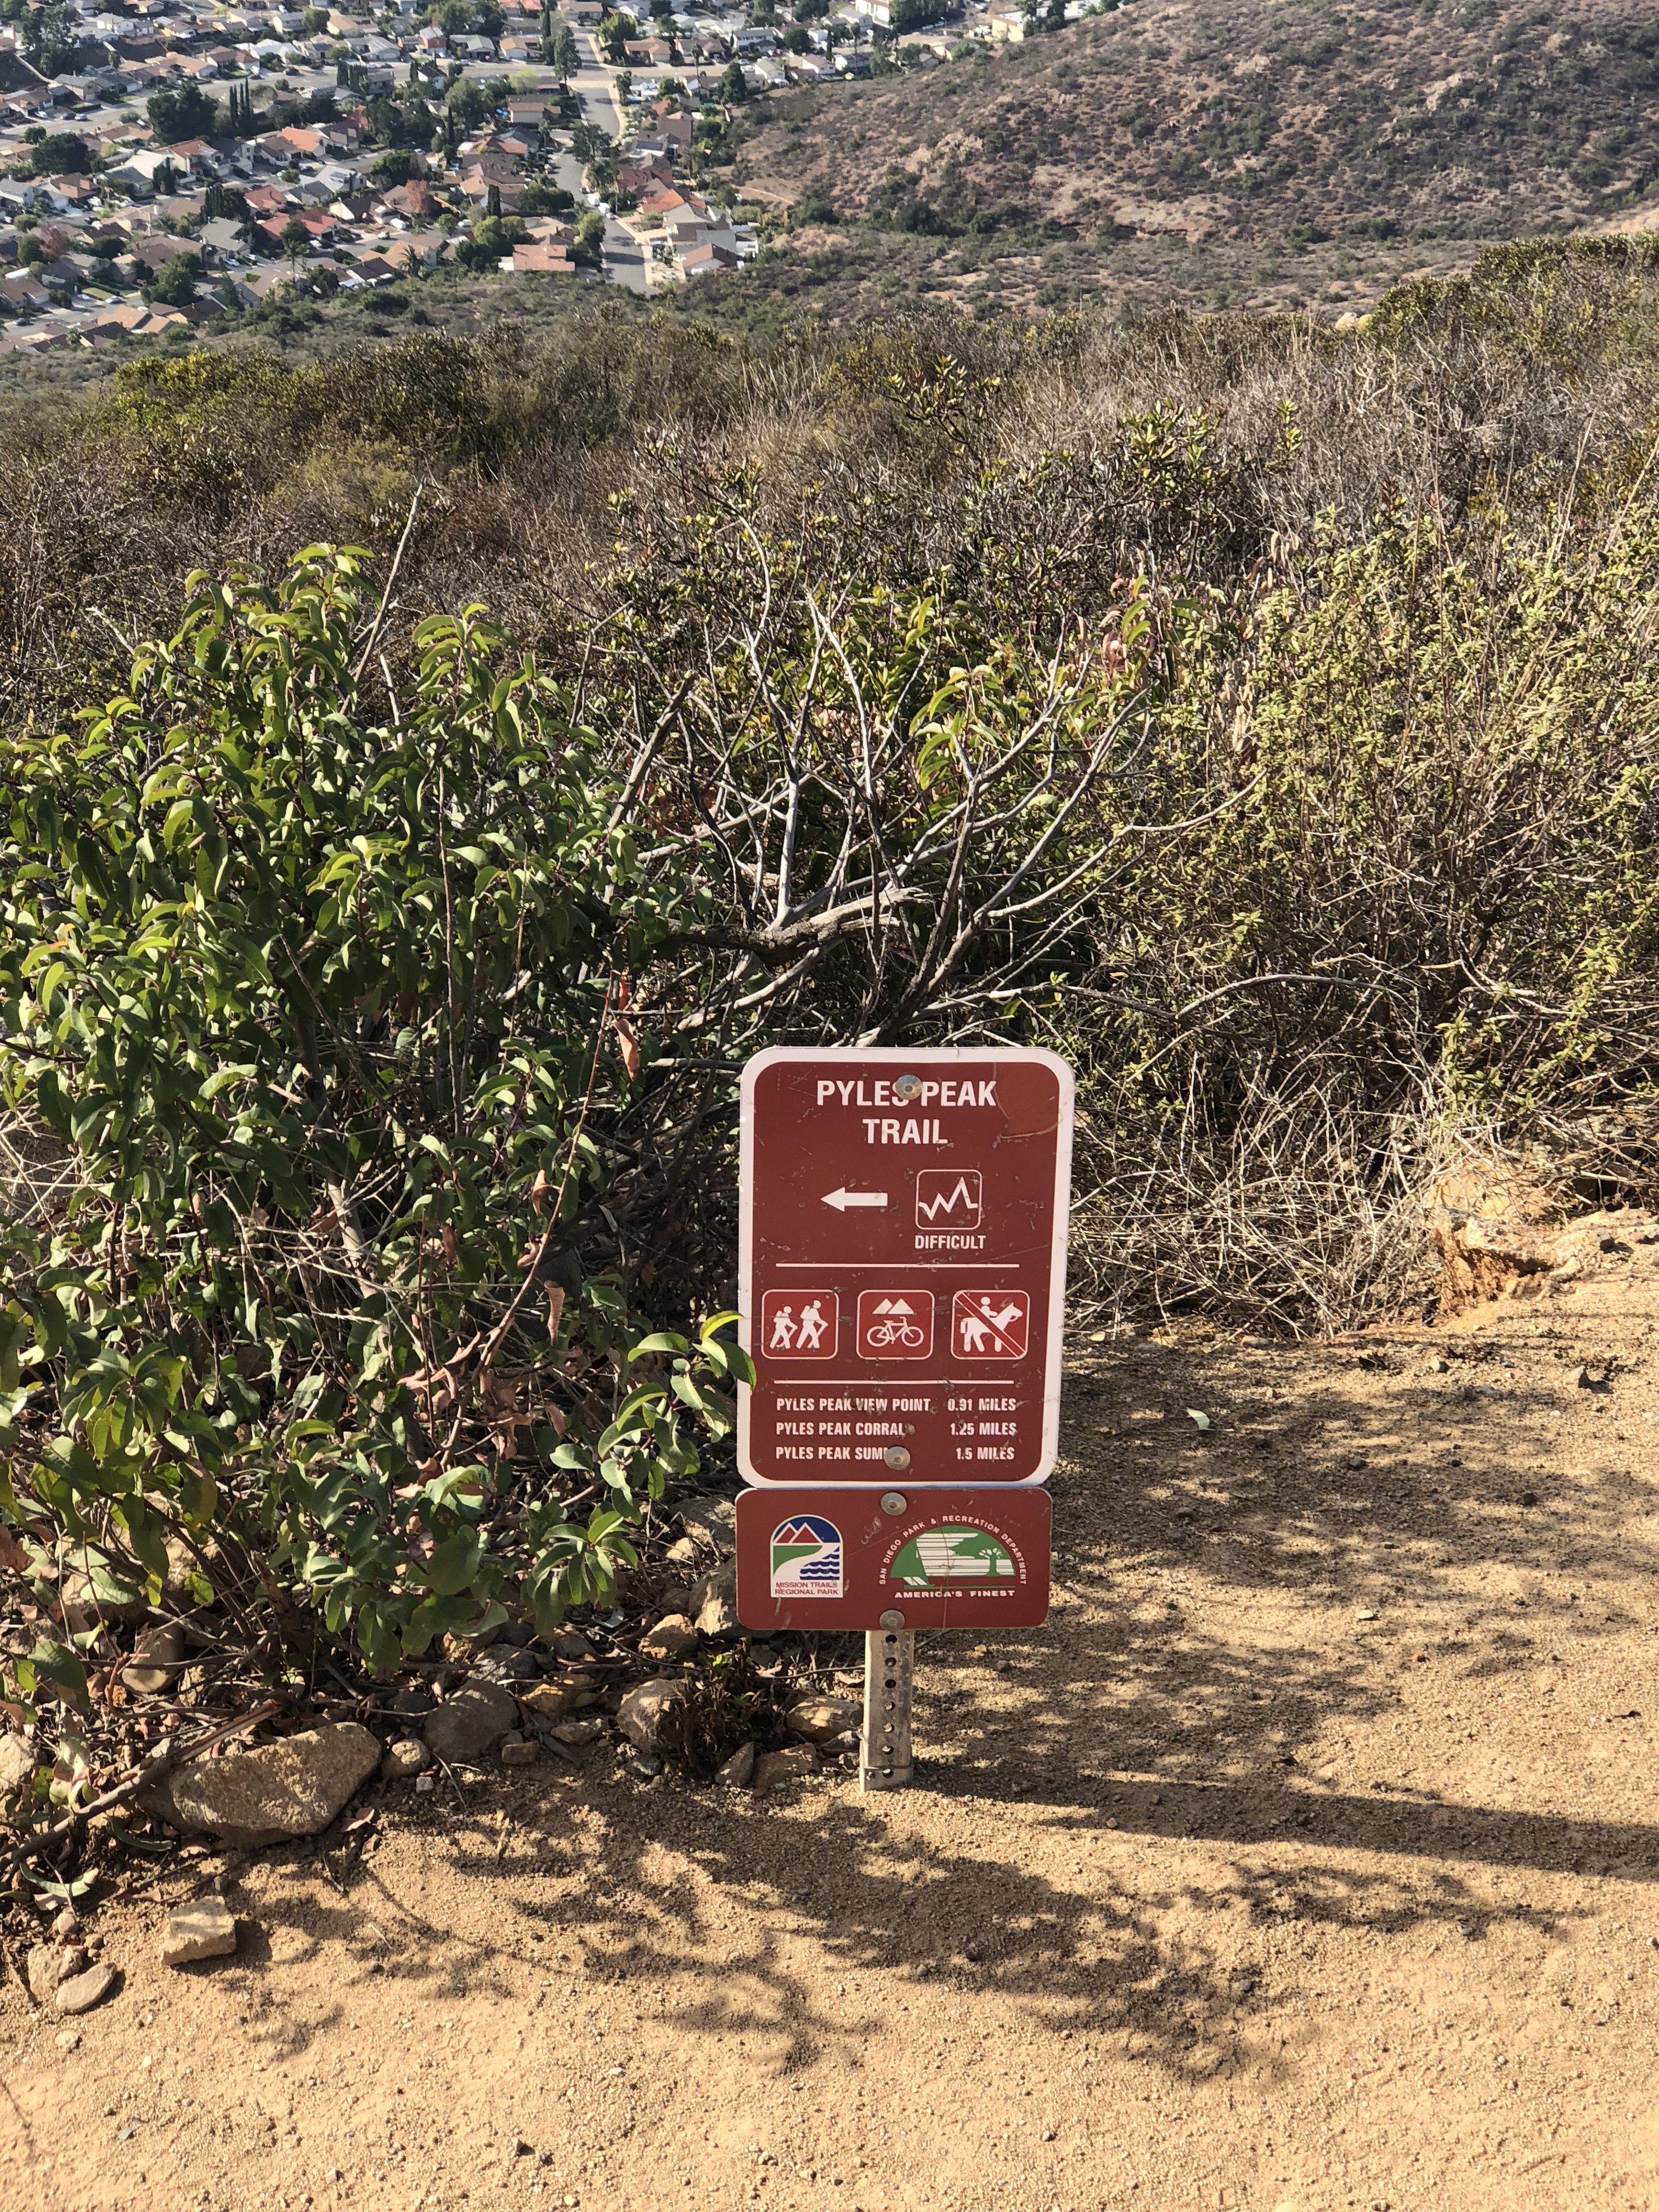
Start of Pyles Peak Trail Hiker TherapySign leading the way to Pyles Peak from Cowles Summit Hiker Therapy
Retracing your steps you will head back down the same stairs you came up on, turn left and head to the marker sign that points you to the trailhead of Pyles Peak. Veering left here you will walk straight into a great view of Santee Lake and a row of greenery. The trail sharp turns right and starts the descent to Pyle peak. The interesting part of this hike is that since Cowles elevation is at 1600” and Pyles is at 1300’, you are spending most of this trail over to Pyles descending and winding in a broad loop to the final ascent back up to Pyles. The ascent to Pyles is the most difficult section of this hike and a very uneven rocky trail. The wide expanses out between Cowles and Pyles are beautiful and quiet. The journey over adds another 1.5 miles to your hike, give or take a few steps.
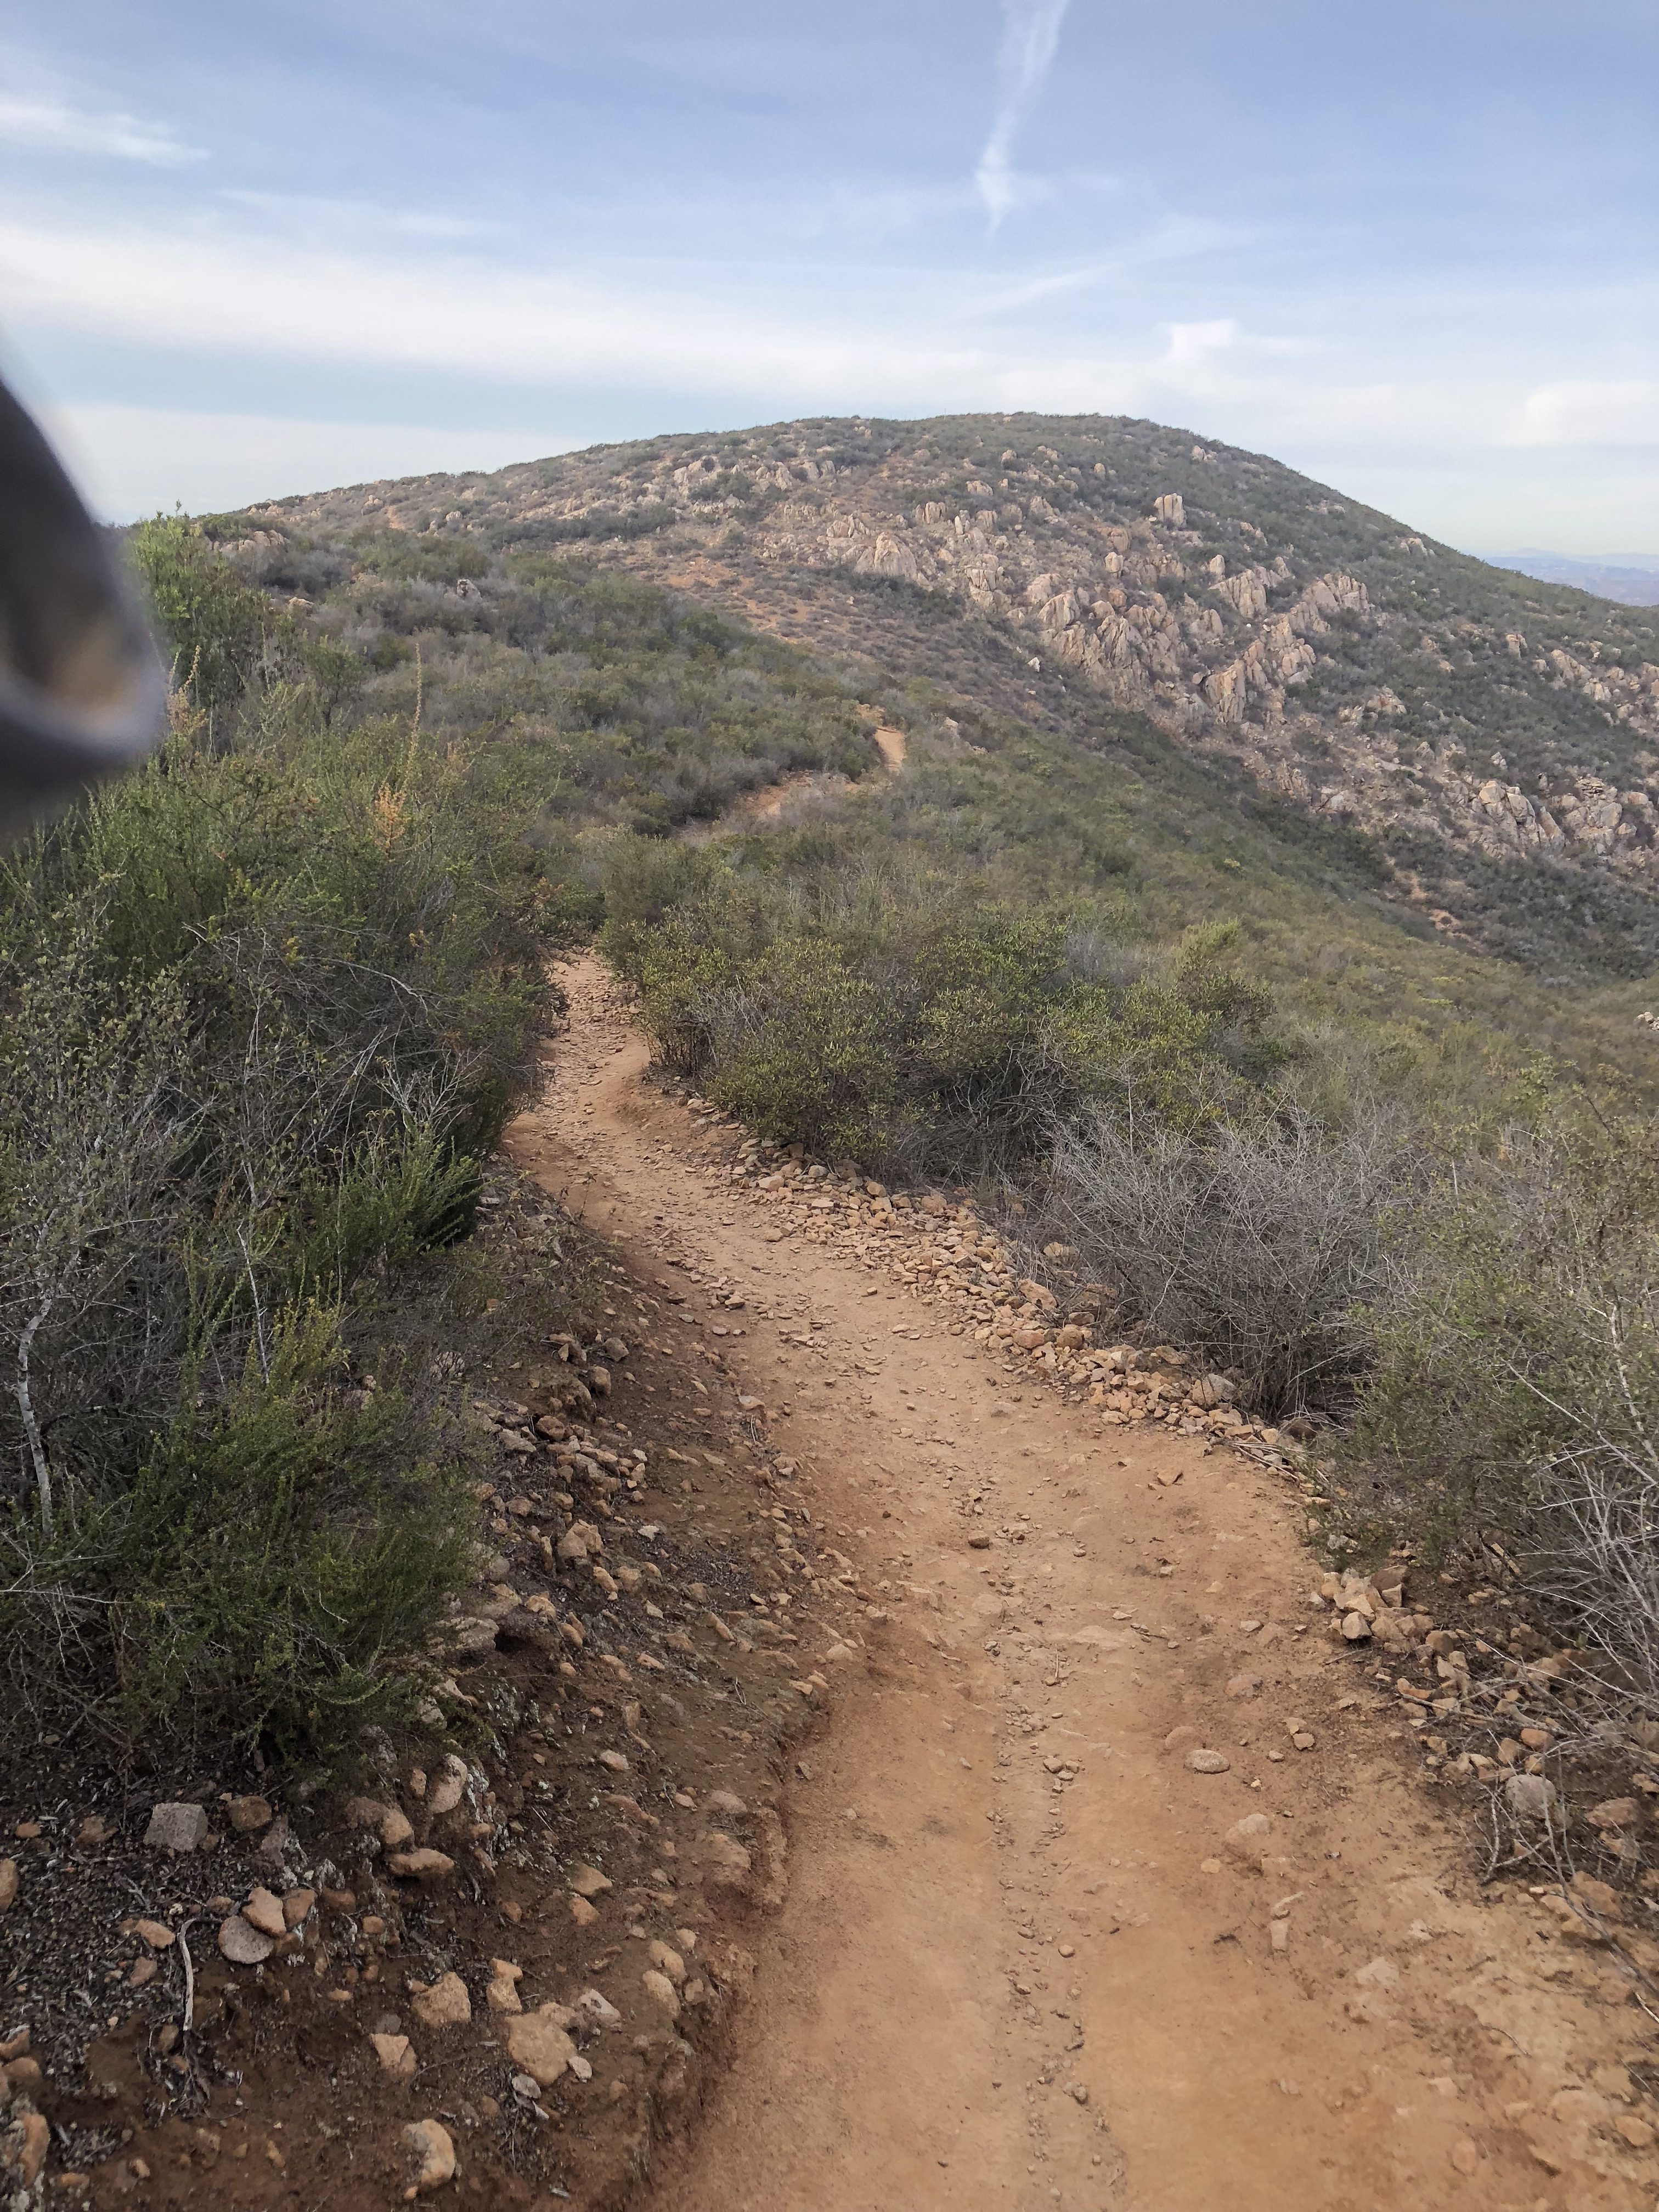
Trail over to Pyles Peak from Cowles Mountain Summit Hiker Therapy
The trail dips and bends on its descent into a flat section that takes you to the junction of the ascent up to Pyles Peak and the Cowles Mt. trail. This time of year the vegetation was somewhat green, not yet flowering. Ive done this hike in March and the flowers on the vegetation are popping then. The vast majority of those who hike Cowles do not continue on to Pyles, which is both a huge plus and a small minus. The minus being there is little contact with others on this trail so its best advised to hike with a partner in case of mishap of injury. Much of the trail is even, sandy, hard packed clay with section of rocky trail, especially on your final ascent up to the Peak of Pyles.
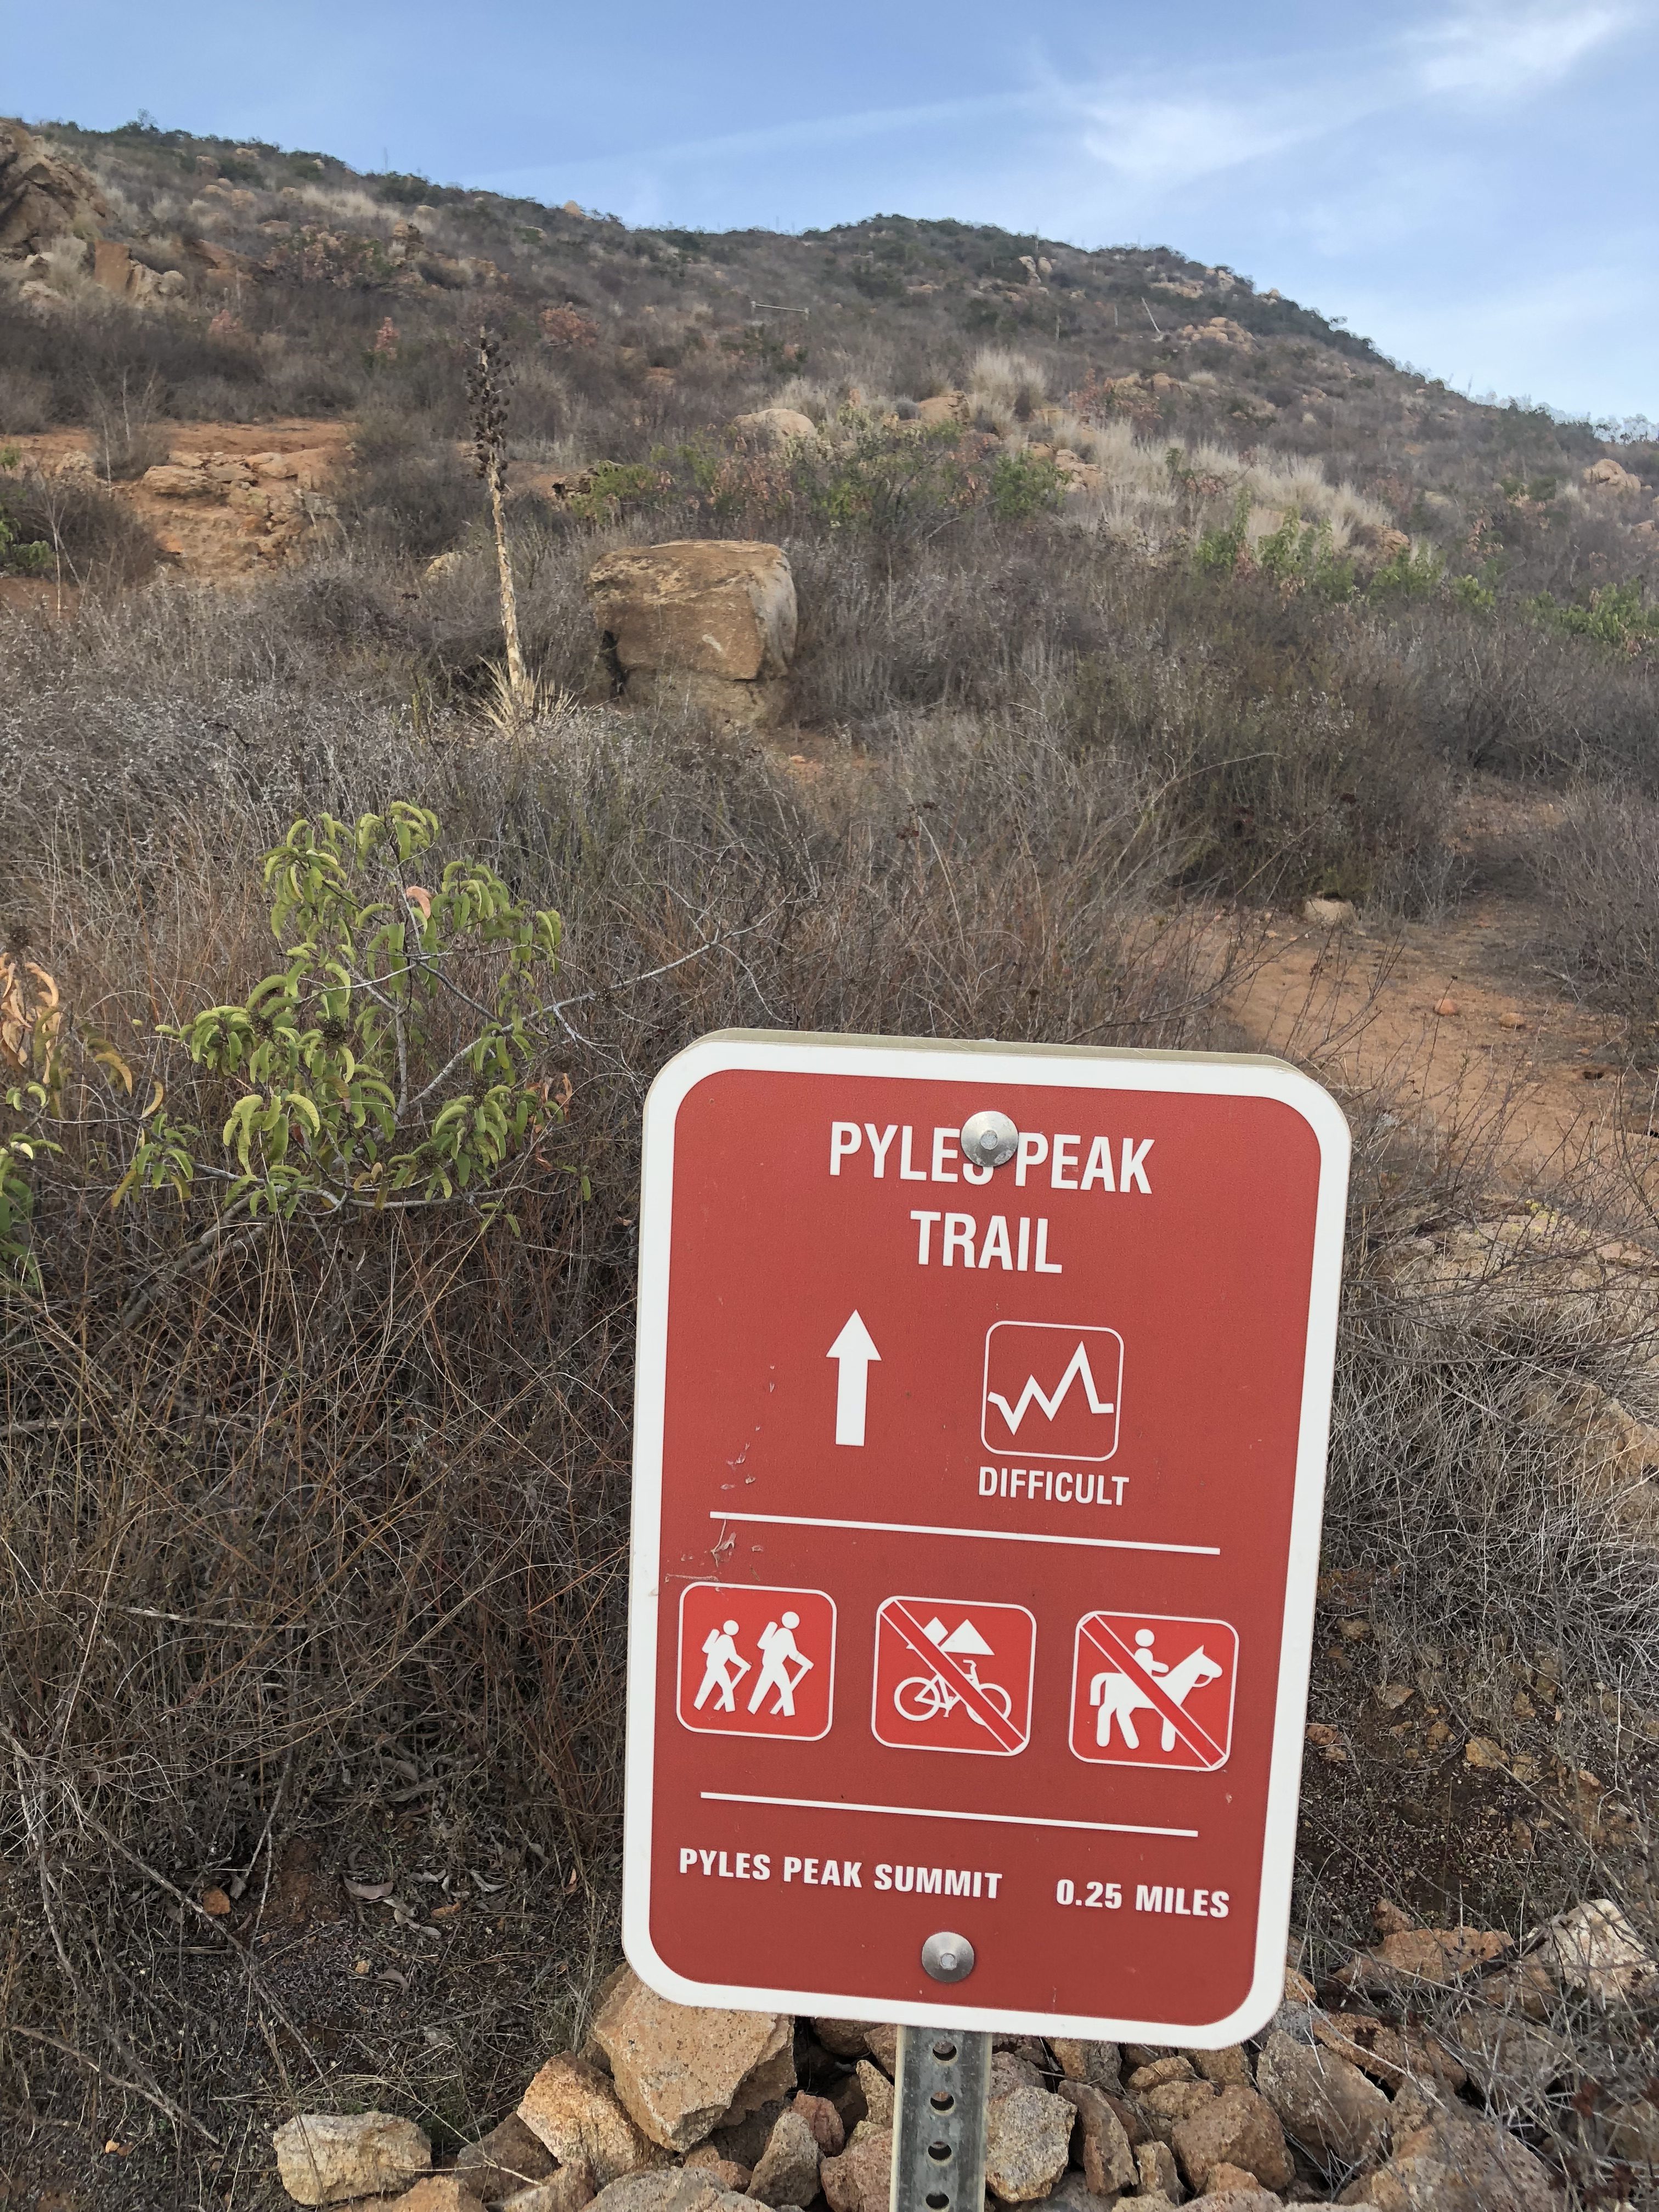
Climb up to Pyles Peak Summit Hiker Therapy
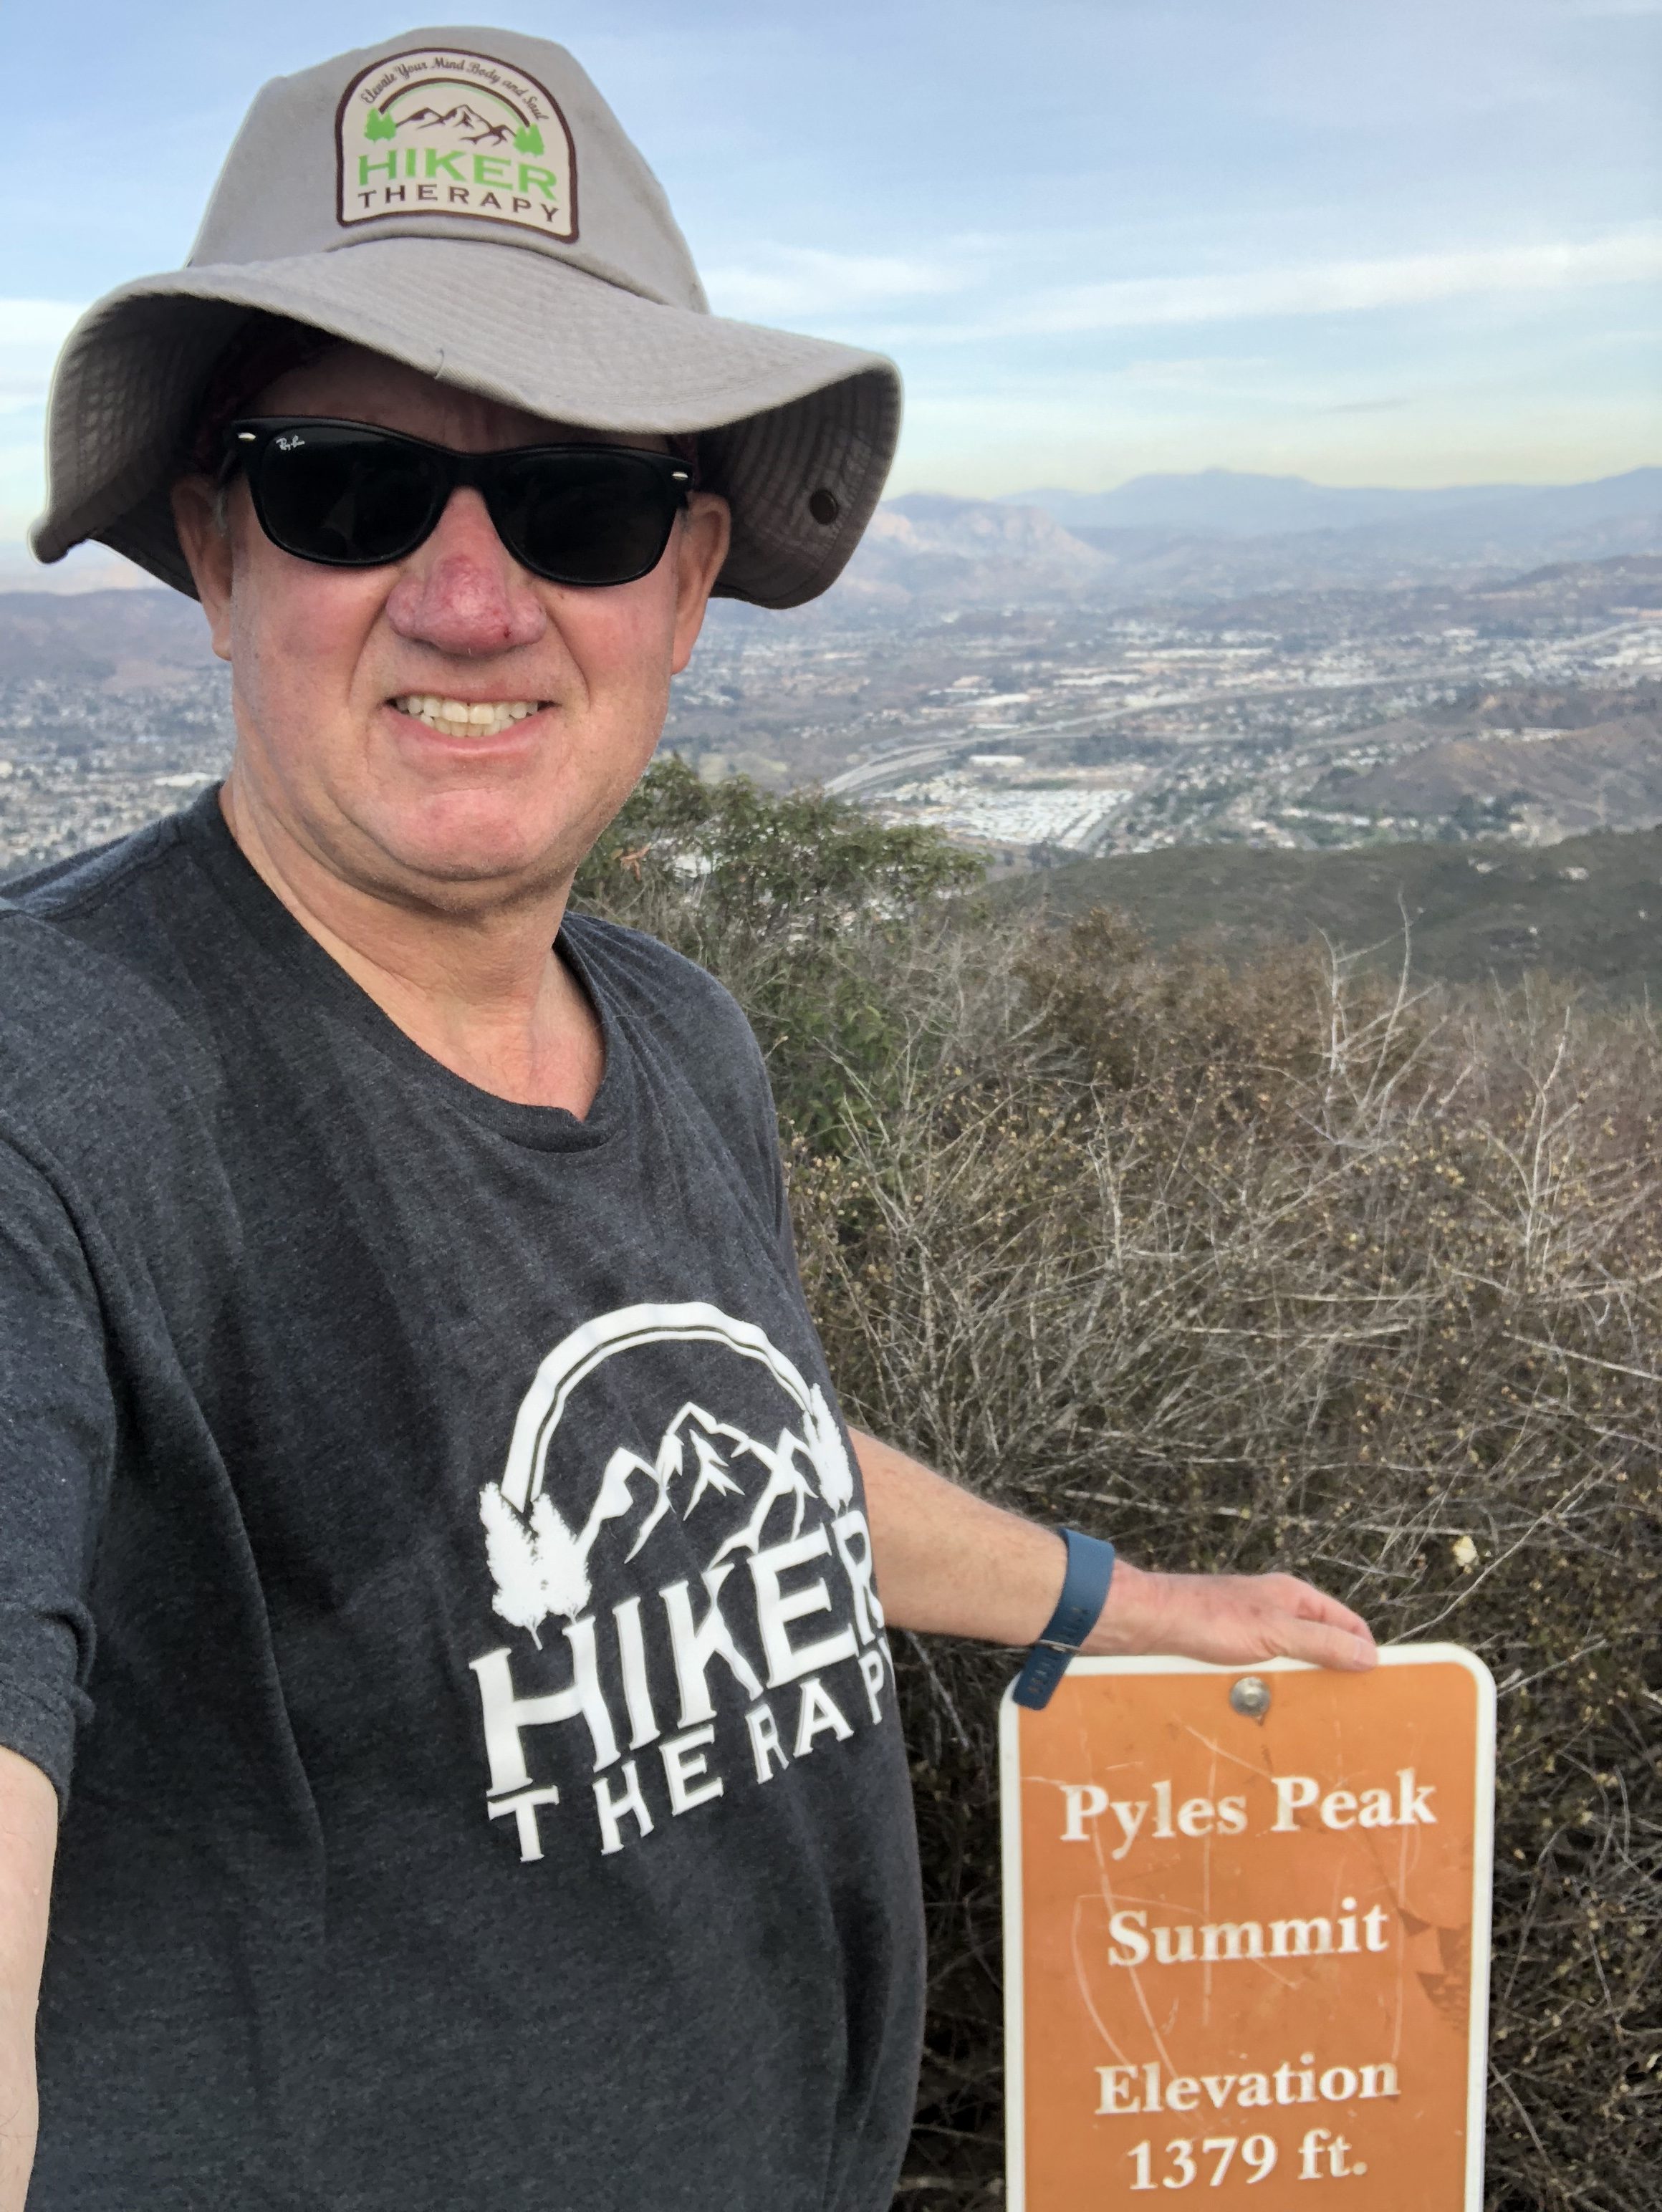
The ascent switchbacks up to the Peak and gets narrow and rocky in spots. Again this is the most diffocult part of the Hike over from Cowles. As you approach the “Pyles Peak Rock” marking your arrival to the summit you will be greeted by the Pyles Peak sign, indicating that you have made it to your second peak of the day. Take in the views, have another snack and scan the surrounding ares between and Cowles and beyond. Looking directly across south you can see the Peak of Cowles Mountain and the radio towers. Although this is a much smaller Peak than Cowles, it is less crowded and in fact for a good amount of my time at the Summit I was the only person there. Another couple came by and we talked. They had been to the other 3 peak in the Mission Trails system this day and just had come over from Cowles, thus making this their 5 of 5 peaks for the day. Nice work indeed! For me the descents challenge me more than the ascents and the descent down the trail from Pyles is challenging indeed. The trail down is about .25 miles and before you know it you will meet up with the main trail junction, go left and follow trail now mostly ascending, back over to Cowles, the radio towers and your journey back.
Summit of Pyles peak Hiker Therapy
Once at the return summit to Cowles you can decide to go back the same way on the service road down to Barker Way or you can descend down Cowles and meet up with the Barker Way trailhead spur about a third of the way down Cowles Mountain trail on your left. I started this hike at 1:15pm, I arrived back at 5pm right about at dusk.My total miles was 7.25 as I hiked around a bit besides the main distance up to Cowles over to Pyles back to Cowles and then down to the Barker Way Trailhead start. The miles achieved on this hike is anywhere between 6-7.5 miles using the Barker Way Trailhead.
View of Pyles Peak looking over from leaving Cowles Hiker Therapy
So there it is, for a challenging and less trafficked hike up to Cowles Mountain Summit and then over to Pyles Peak I highly suggest the Barker Way Trailhead and the Cowles Mountain Service Rd. trail. Not only do you join a minority of hikers who continue on to Pyles peak after summating Cowles you add 2 hikes in one day to your peak conquests and trail resume.
Time to Hike: 12-3pm Distance: 3.5 miles out an back Hikeability: moderate to difficult in spots
Snacks/Water: Orange, snack bar, 2L water and bottle of Gatorade at the end Temp: 70’s
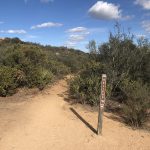
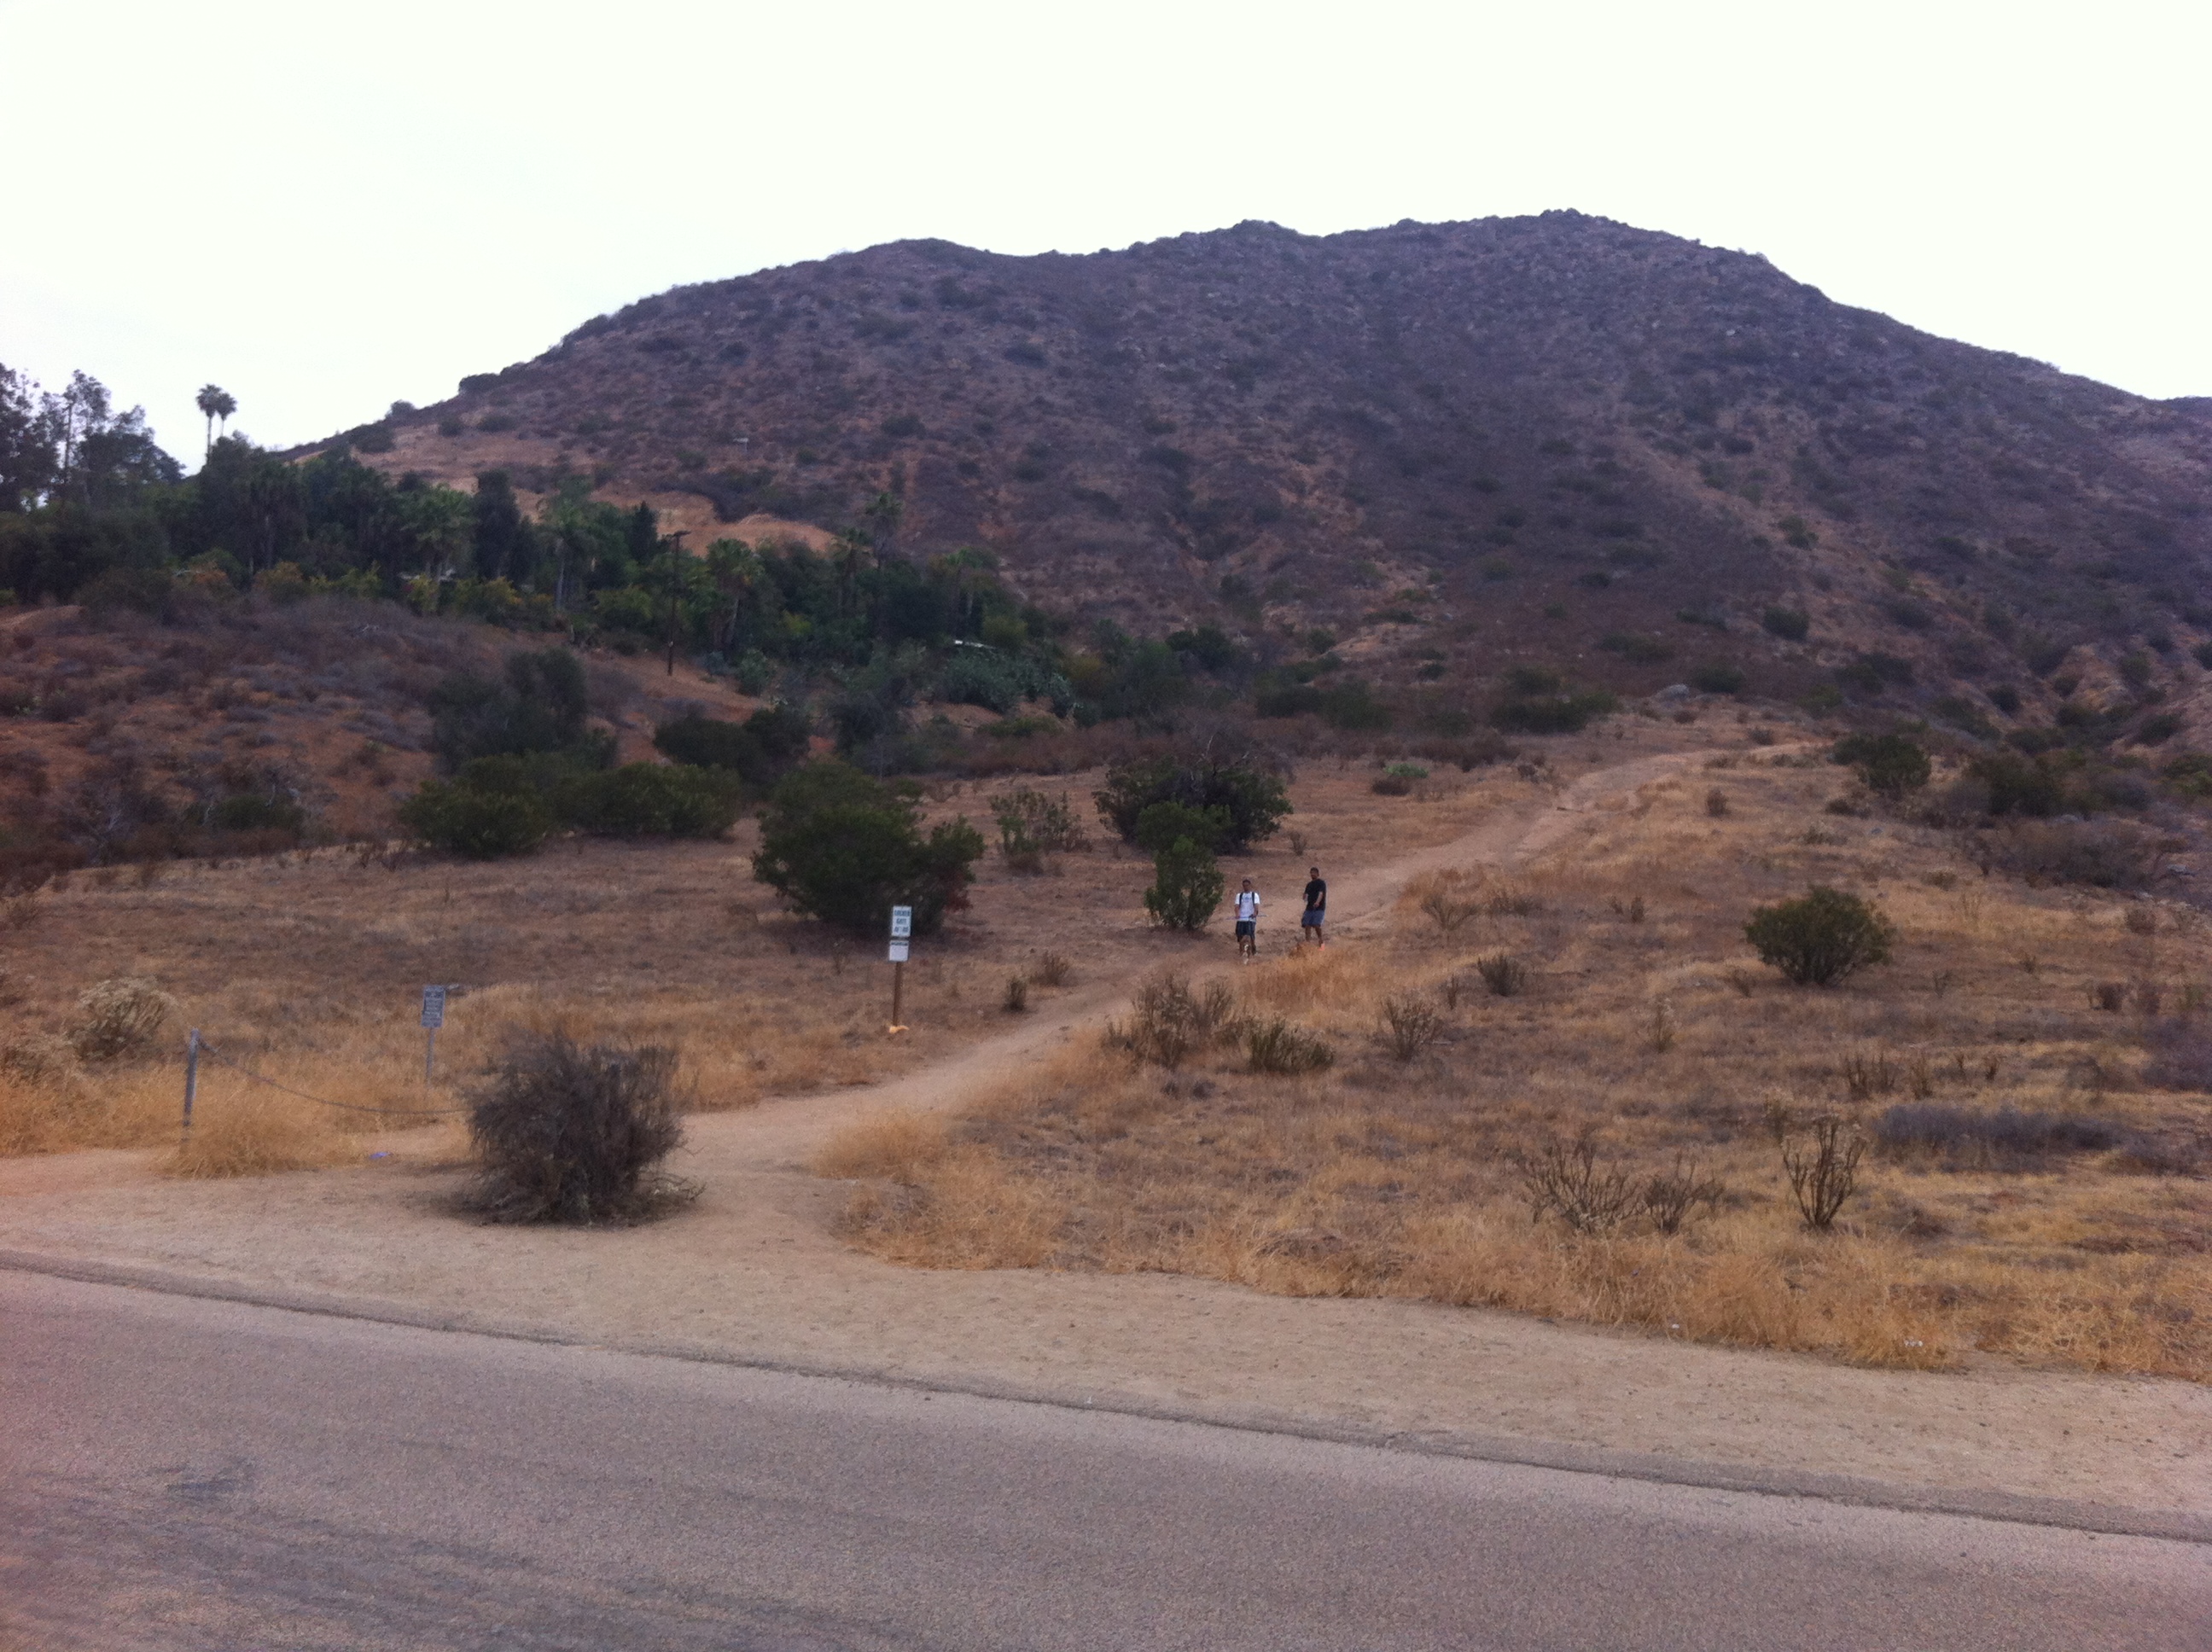
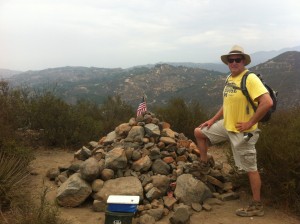
Monserate Trailhead Start HIker Therapy
I’m always so impressed with the amount of quality hiking in our county and no matter what part of the county you live; you can find a hike that will fit the need.I recently moved up to Oceanside from Encinitas and have been looking for hikes up here in the northern section of the county.
I had been used to heading south to such trails as; Cowles Mtn. and the Mission Trails system, Iron Mt. and Mt Woodson in Poway, and even out to the eastern part of the county and the Laguna Mt.’s and the Big Laguna Loop trail.
However, many of the hikes up in the North part of the county were unfamiliar to me.A trail I just discovered through 100peaks.com was Monserate Mountain Loop in Bonsall/Fallbrook area of the county.The Fallbrook Land Conservancy has done an outstanding job of providing a hiking trail in the San Diego North County.
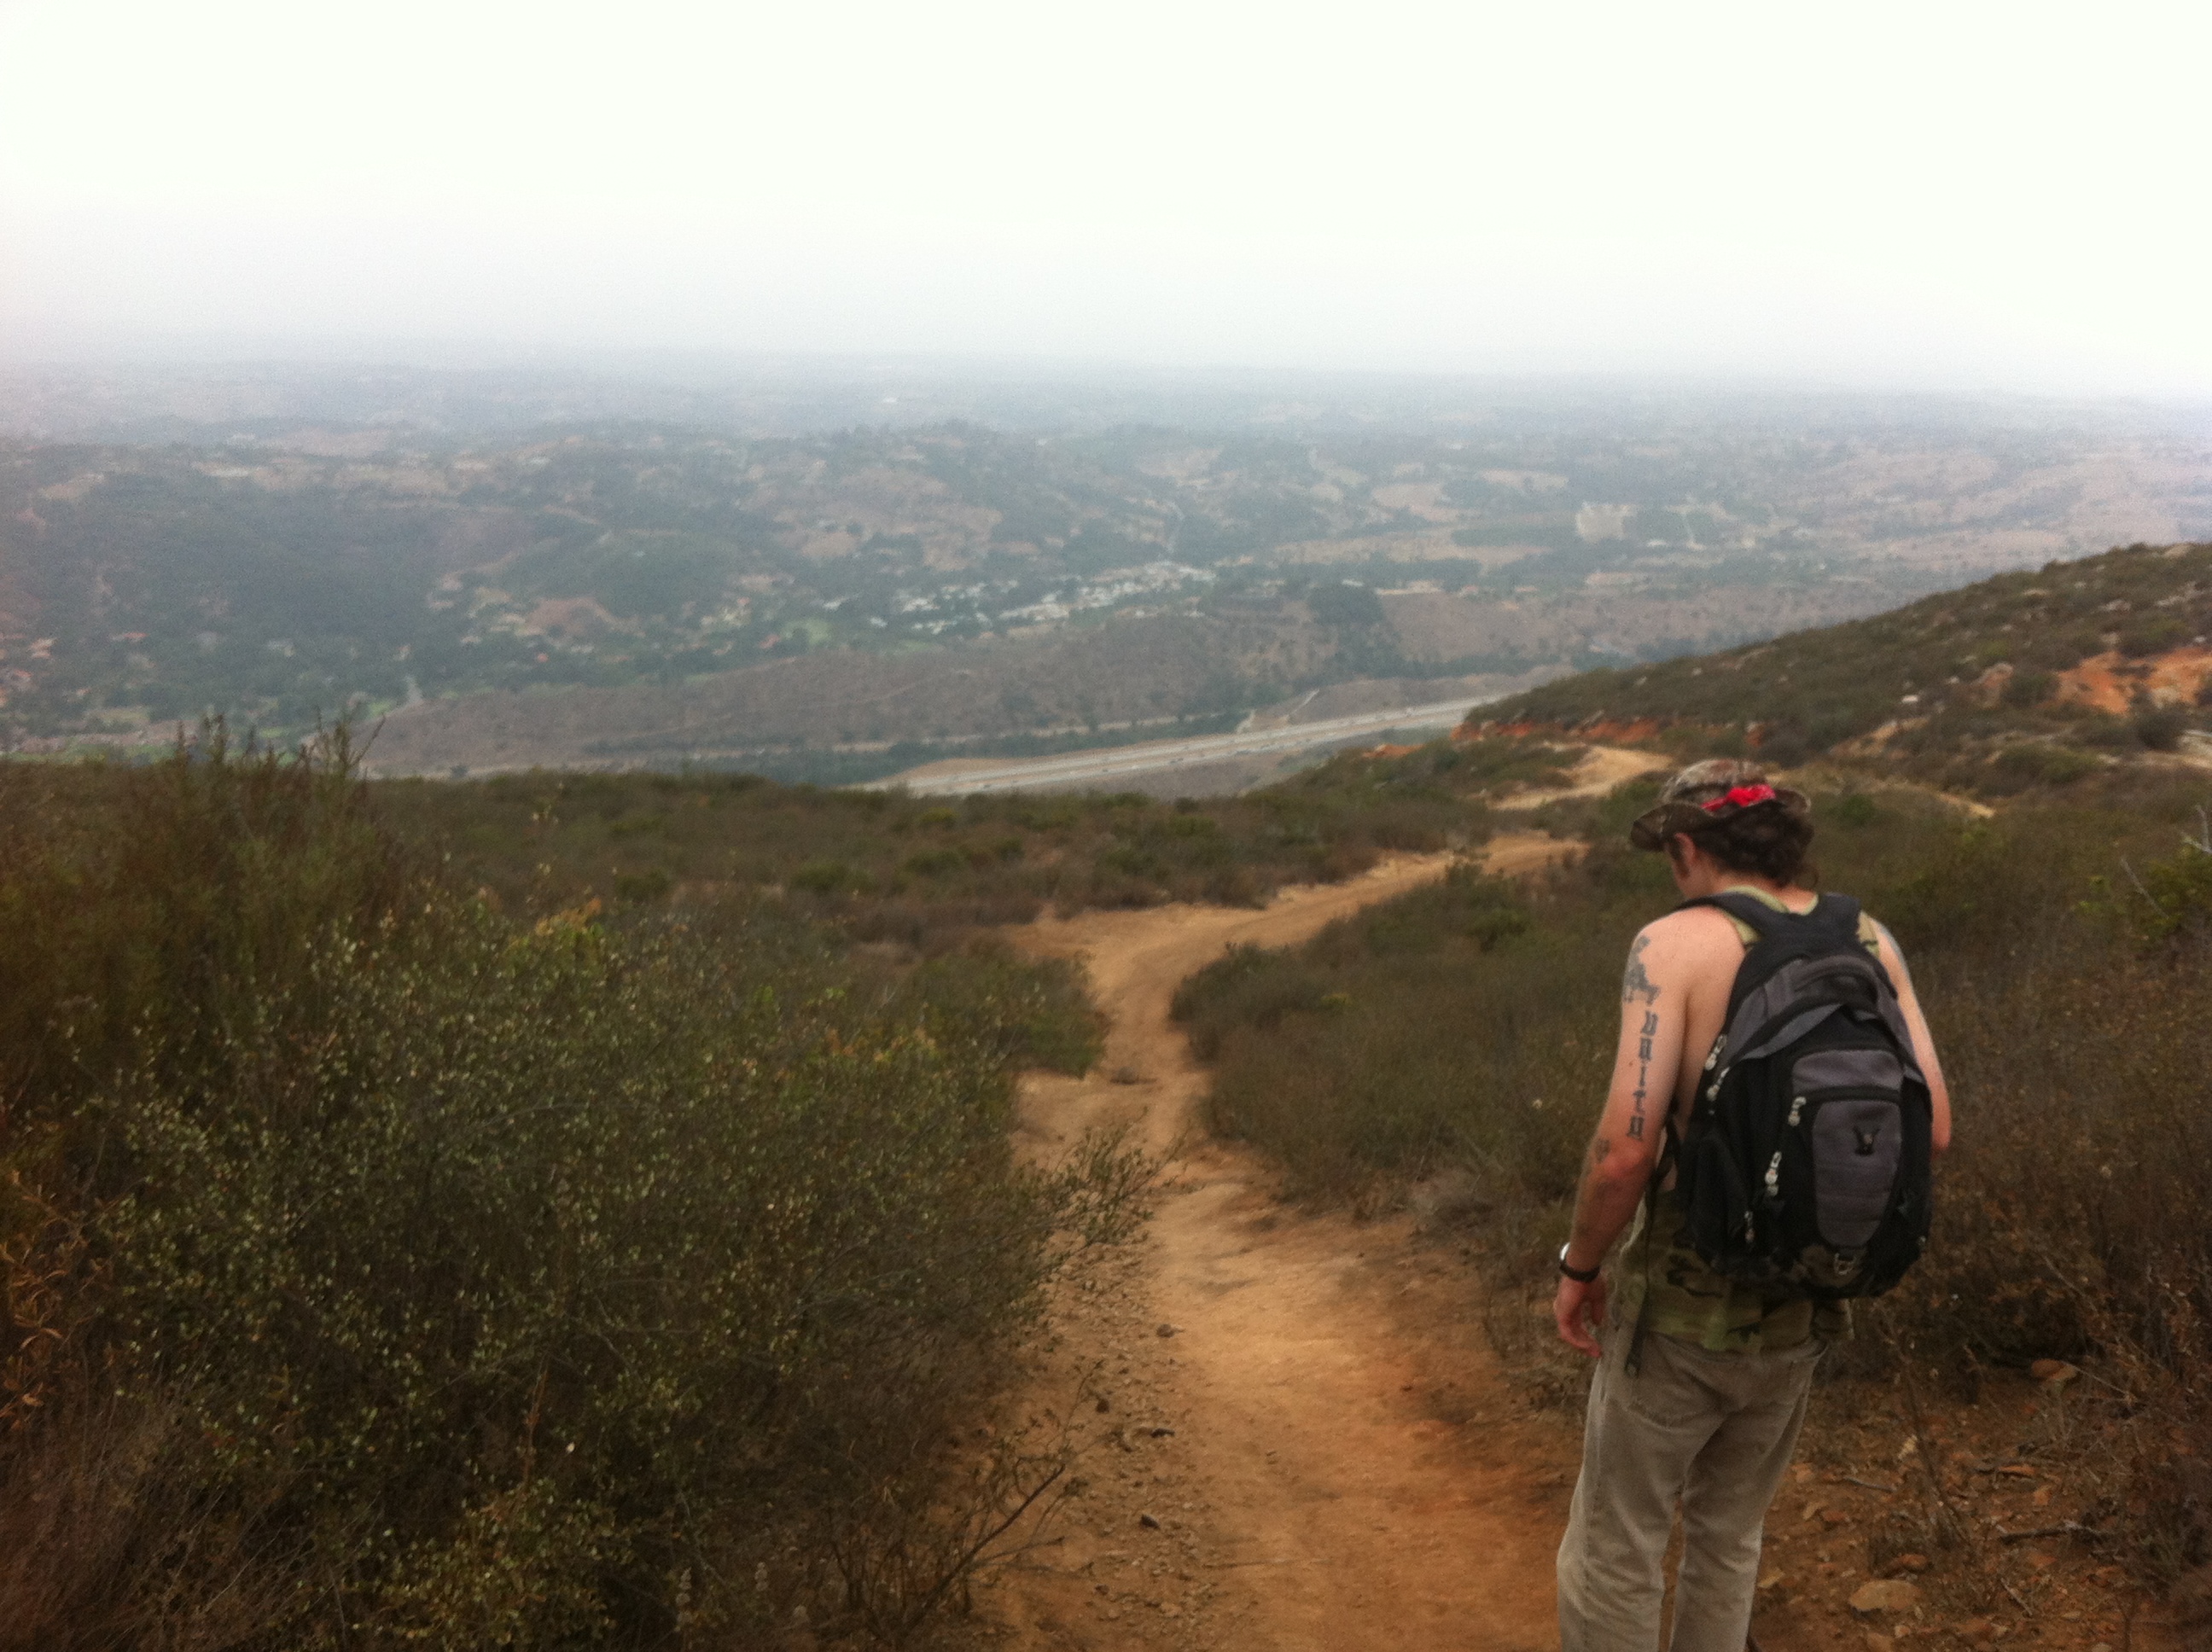
This out and back hike covers about 3.5 miles and has some serious climbing in spots.. This hike has a trailhead to summit net elevation gain of 1,183′ in 1.6 miles so it gets steep quick and exceeds that of Cowles and Iron Mountain as far as steepness.The trail is only 1.75 miles to the 1567 ft. summit but a few side side trips such as a the Red Diamond trail off the main trail, add to the total distance.
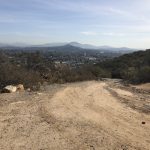
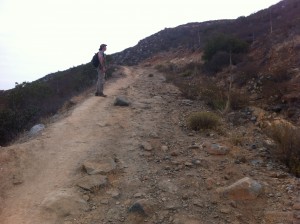
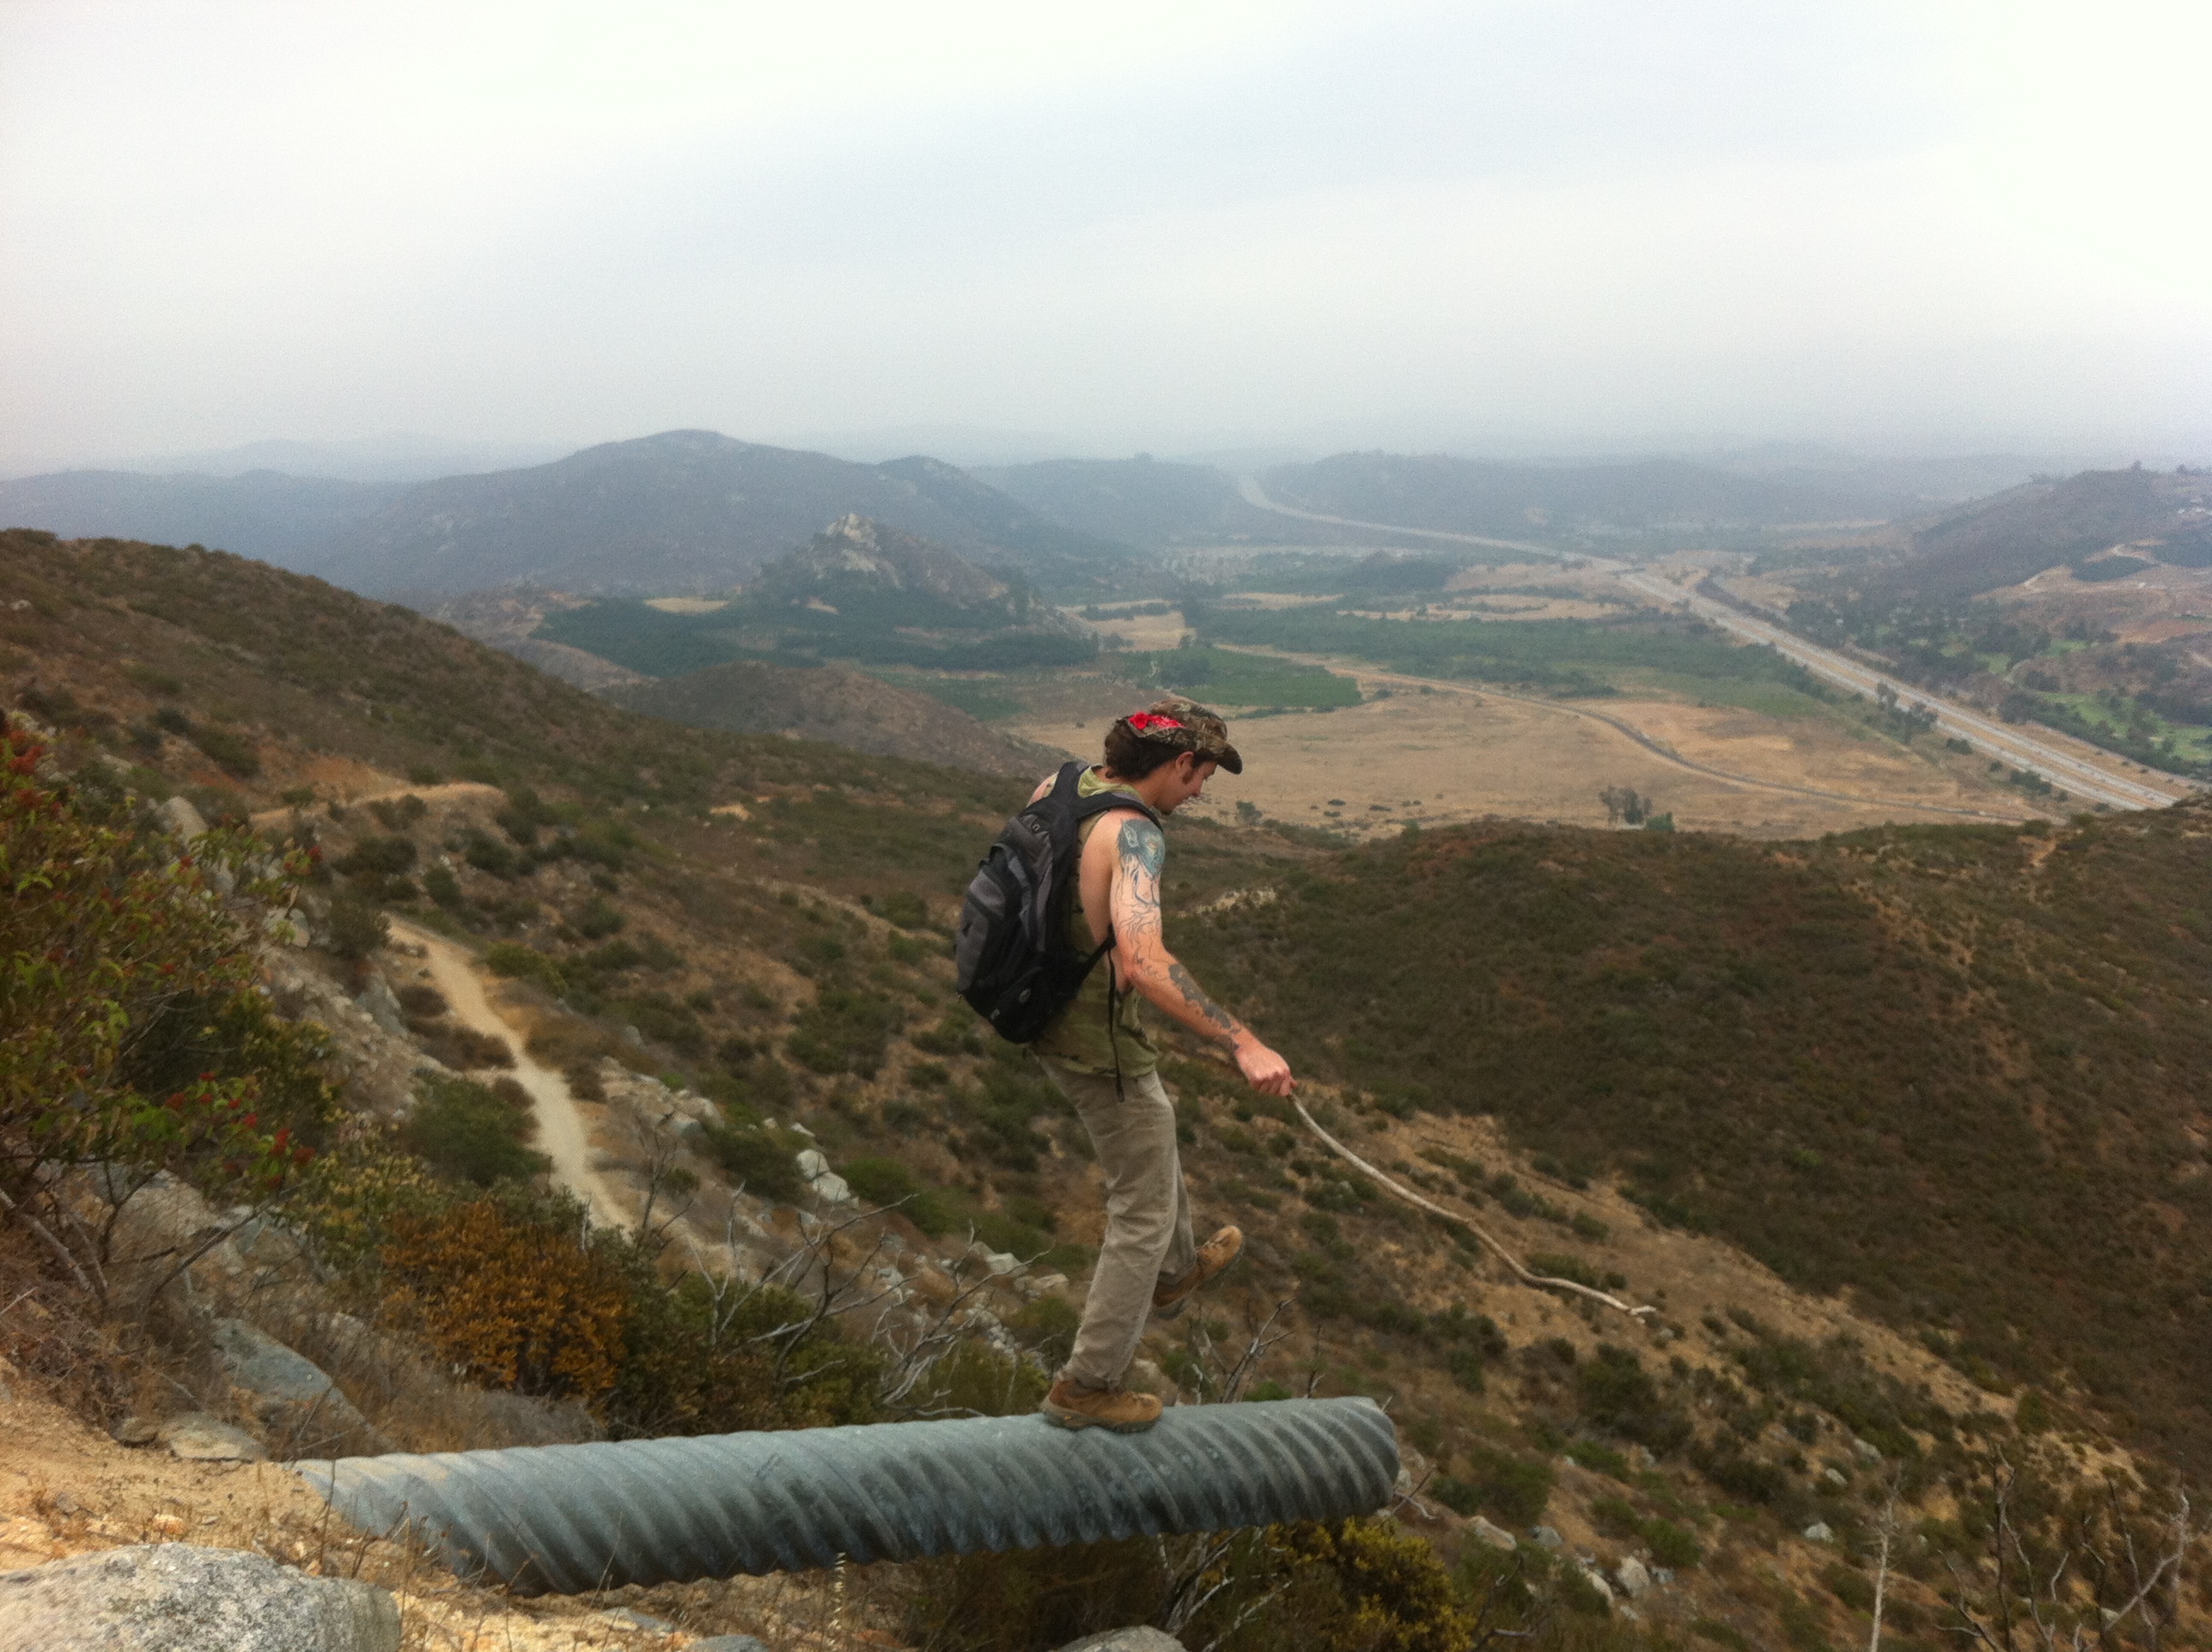
Though short and sweet Id consider this hike more short and steep as right from the trail-head start you begin a rather an uphill climb for the first .75 miles.Even after that as the trail twists and turns, flattens and dips, you are on a continual inclined ascent. The rugged composition of this rocky trail really adds to the feel of being on a mountainous hike as well as offering to the physical demands of the hike.
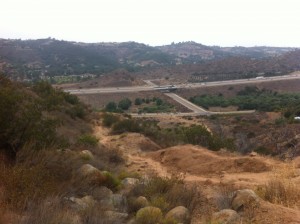
Freeway 15 in distance
going up at .75 miles
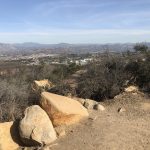
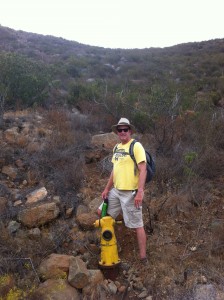
Halfway
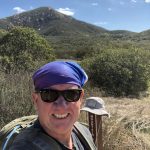
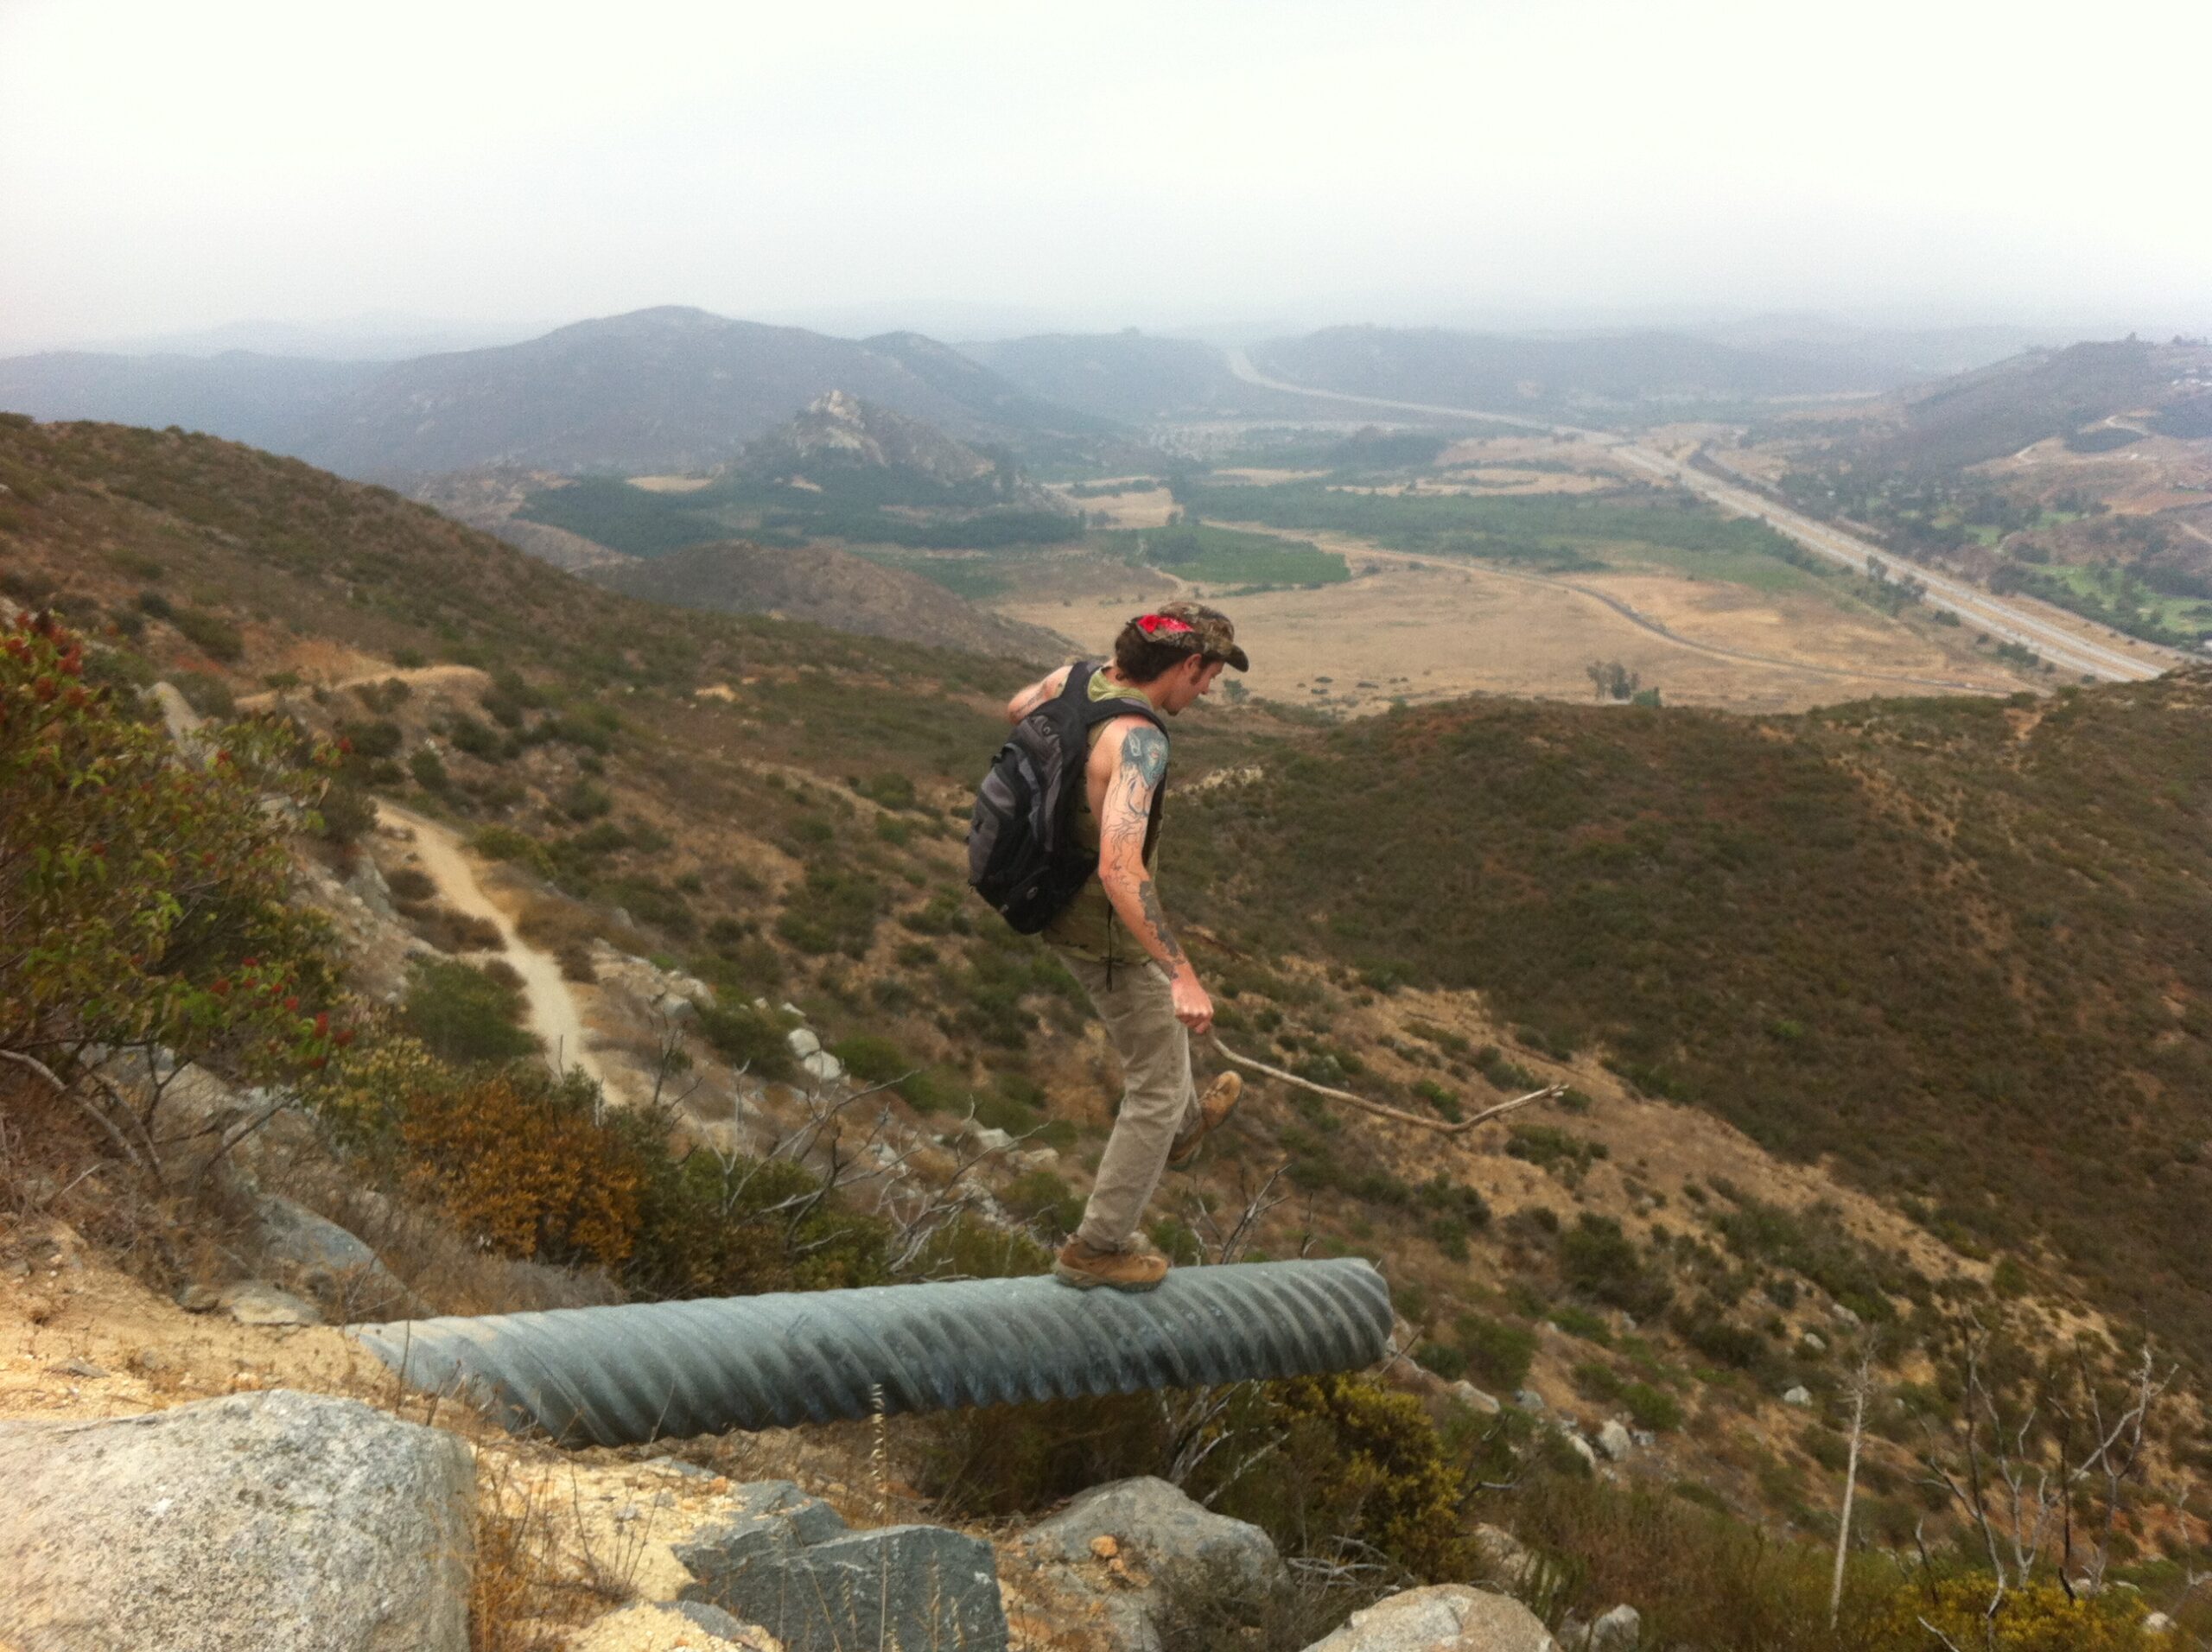
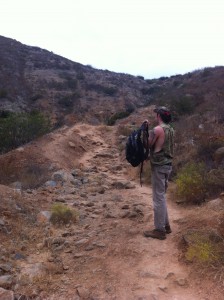
Sam taking in view
Even though the I-15 freeway is in sight for much of the first .75 miles, the noise from the cars starts to dissipate as you climb.In fact, as you turn left at the .75 mile marker and head north east the noise pretty much is nonexistent and the views become even more eye catching, beautiful and absorbing.
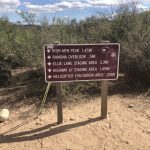
On this day the haze and marine layer kept us from seeing the Ocean and some distant mountain ranges, but even with that you still could het a good sense of the vast openness, mountains and green avocado orchards this part of our county geographically consists of.As you continue the ascent the trail twists and you will come to an arrow made of small rocks, trusts its direction and you will soon be at the summit.
Walk this way
Summit of Monserate,
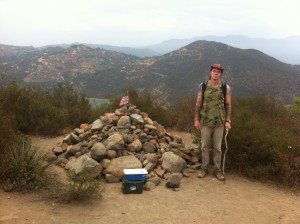
Sam at Peak
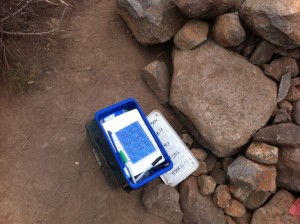
Journal Box
I especially like the summit of Monserate Mountain, not only because of the wonderful views it provides, but this peak also gives you the chance to journal your thoughts or simply sign that you made it to the top!I’d say about 30% of the hikes I do have a journal box atop the summit; a one that immediately comes to mind is Iron Mountain in Poway.Great idea that started this concept and one my son and I took advantage as we always do.
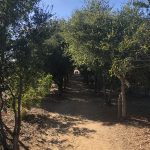
Stepping into nature
After a lunch and 30 minute break we started our descent back.Steep up means steep down, and I usually find this the harder part of the hike for me.However, after a side trip on the short red Diamond trail we were soon heading back down to the trailhead start.The 1.7 plus miles back goes pretty quick.
It had been a few weeks since I had hiked and once again I was in need to be reminded what getting out into nature does for me.Anxieties slip away, purpose and accomplishment are always achieved not too mention the physical aspects and challenges that a hike, and certainly this one in particular, present.
The reward of being up to the challenge both mentally and physically out in a beautiful natural setting surrounded by the sights and sounds that touch all the senses are why the sport of hiking is such a therapeutic gift.Give yourself this same gift and hike Monserate Mountain.
Great Views
Directions to hike : Exit from Interstate 15 at 76/ Pala Road and drive west to Old Highway 395 and turn right (north). Drive 2.6 miles then turn right on Stewart Canyon Road and go east under the Interstate to Pankey Road. Turn right and park on the right. The start of the trail is across the street and is marked by a sign
The beauty of hiking is that it is a sport that requires very little in cost, special equipment or uniform. However, three essential considerations that contribute to your comfort and physical well being when you hike are a must; 1. Quality Hiking Shoes 2. Water 3. Food
FEET!
If there are any pairs of shoes in your closet that require quality and comfort it is your pair of hiking shoes. There is absolutely nothing worse than being 1-2 miles out on your hike and your feet already are screaming! Blisters and crunched toes are not fun.
The two most important things to look for when buying a hiking shoe are size and how it feels when you are hiking down hill. For me, anytime I’m hiking down hill the hike becomes much more physically challenging and this is especially true for the feet! When trying on a hiking shoe make sure you can walk “down hill.” A good outdoor recreational retail store will have a mock “mountain” in their shoe department which will allow you to test how the shoe feels going down hill.
Regarding the size of the shoe, If it feels uncomfortable in the store, it’ll really hurt on the trail, if it feels good in the store you should be good on the hike! When sizing your shoe remember that your feel swell after you have been on the trail awhile. If you are a size 11, chances are you will need at least an 11.5, maybe even a 12 when you try on a shoe at the store. Sock thickness plays into this as well, I prefer a very thin or no sock when I hike, that way when my foot swells a thick sock will not add to what the shoe needs to hold. You can also bring a pair or two of socks with you on the hike and change them as needed.
There are many brands out there, Merrill, Patagonia and Vasque all are quality names, however a shoe that feels good for one may not for another in the same brand. It is imperative that you shop for your hiking shoes in person, not online and not by someone else doing the buying for you. If you are getting hiking shoes as a gift, make sure you are at the store to try them on.
Another suggestion I would offer when buying a hiking shoe is DONT GET CHEAP! Quality absolutely does matter when it comes to hiking shoes and like most things of quality, the better the quality the higher the cost. The good news is a good quality pair of hiking shoes should last you awhile, at least two hiking seasons.
Hiking shoes come in low cut, mid cut and boot style. If you require more ankle support and hike rough trails, I would highly suggest a hiking boot, less rocky more compact trails usually only require a low or midcut shoe. Having said that every trail can offer you a turned ankle, so as always be careful as to where you step.
A good rule of thumb regarding the feet on a hike is to always bring with you over-sized band-aids for blisters, moleskin to cushion the front of the shoe if needed and make sure your toenails are trimmed down short so that your toes are not jammed up against the end of your shoe, especially going downhill.
HEAT!
When recently watching the morning news, a segment came on about hiking safety and tips by the San Diego Sheriff’s Search & Rescue Department on how to be prepared when you hike. First on the list of tips was to respect the heat when you hike and make sure you have enough water and are always hydrated as you hike. In fact, I was surprised to learn that the Sheriff’s Search & Rescue team are called to Cowles Mountain and Torrey Pines hiking trails many times due to emergency issues as related to heat and dehydration. Cowles is always hot when I hike it and a hike where I always consume a lot of water.
Heat plays a tremendous factor when you hike, it not only dictates how much water you should be consuming but the hotter it is the more likely your energy level will be tested. It also requires you take precaution against the sun and be prepared with sunscreen.
As far as how much water to take on a hike, a good rule of thumb is to drink 12-16 oz per hour, more the warmer it gets. On a recent hike to Mt. Woodson, which was roughly 7 miles and took nearly 5 hours on a 75 degree day, I drank nearly 100 oz of water, the Mt. San Antonio hike, which was 11.2 miles took 10 hours and low 80’s required 150 oz of water as well as a bottle of gatorade. Both hikes also required lot’s of sunscreen.
EAT!
Fuel is a must in order to sustain energy on a hike. Fuel equals food! While you are hiking you should try and eat 300-500 calories every hour. Your body has a hard time digesting food while you are hiking, so make sure that you eat and drink small amounts more frequently. Load up on carbohydrates before you hike, potatoes for breakfast do very nicely the day of a hike. I always pack a lunch on any hike over 4 miles. Shorter hikes I take an orange or snack bar. Longer hikes I take all three. I heard someone mention on the Mt. Woodson hike that they expended 2000 calories of energy. I know when my son and I did a recent hike at Mt. Woodson, half of our motivation in getting to the summit lies in the awaiting lunch of tuna fish sandwiches, potato chips and a York Peppermint patty! We also brought along mixed nuts and oranges and as mentioned earlier plenty of water. A quality backpack is always a good idea, especially on long hikes so that you can carry all your essentials. especially food and water.
By paying attention to these three hiking musts, the Heat, your Feet and the need to Eat, you will assure that you maintain optimal phsical condition that will lead to a comfortable hiking experience and a healthy you!
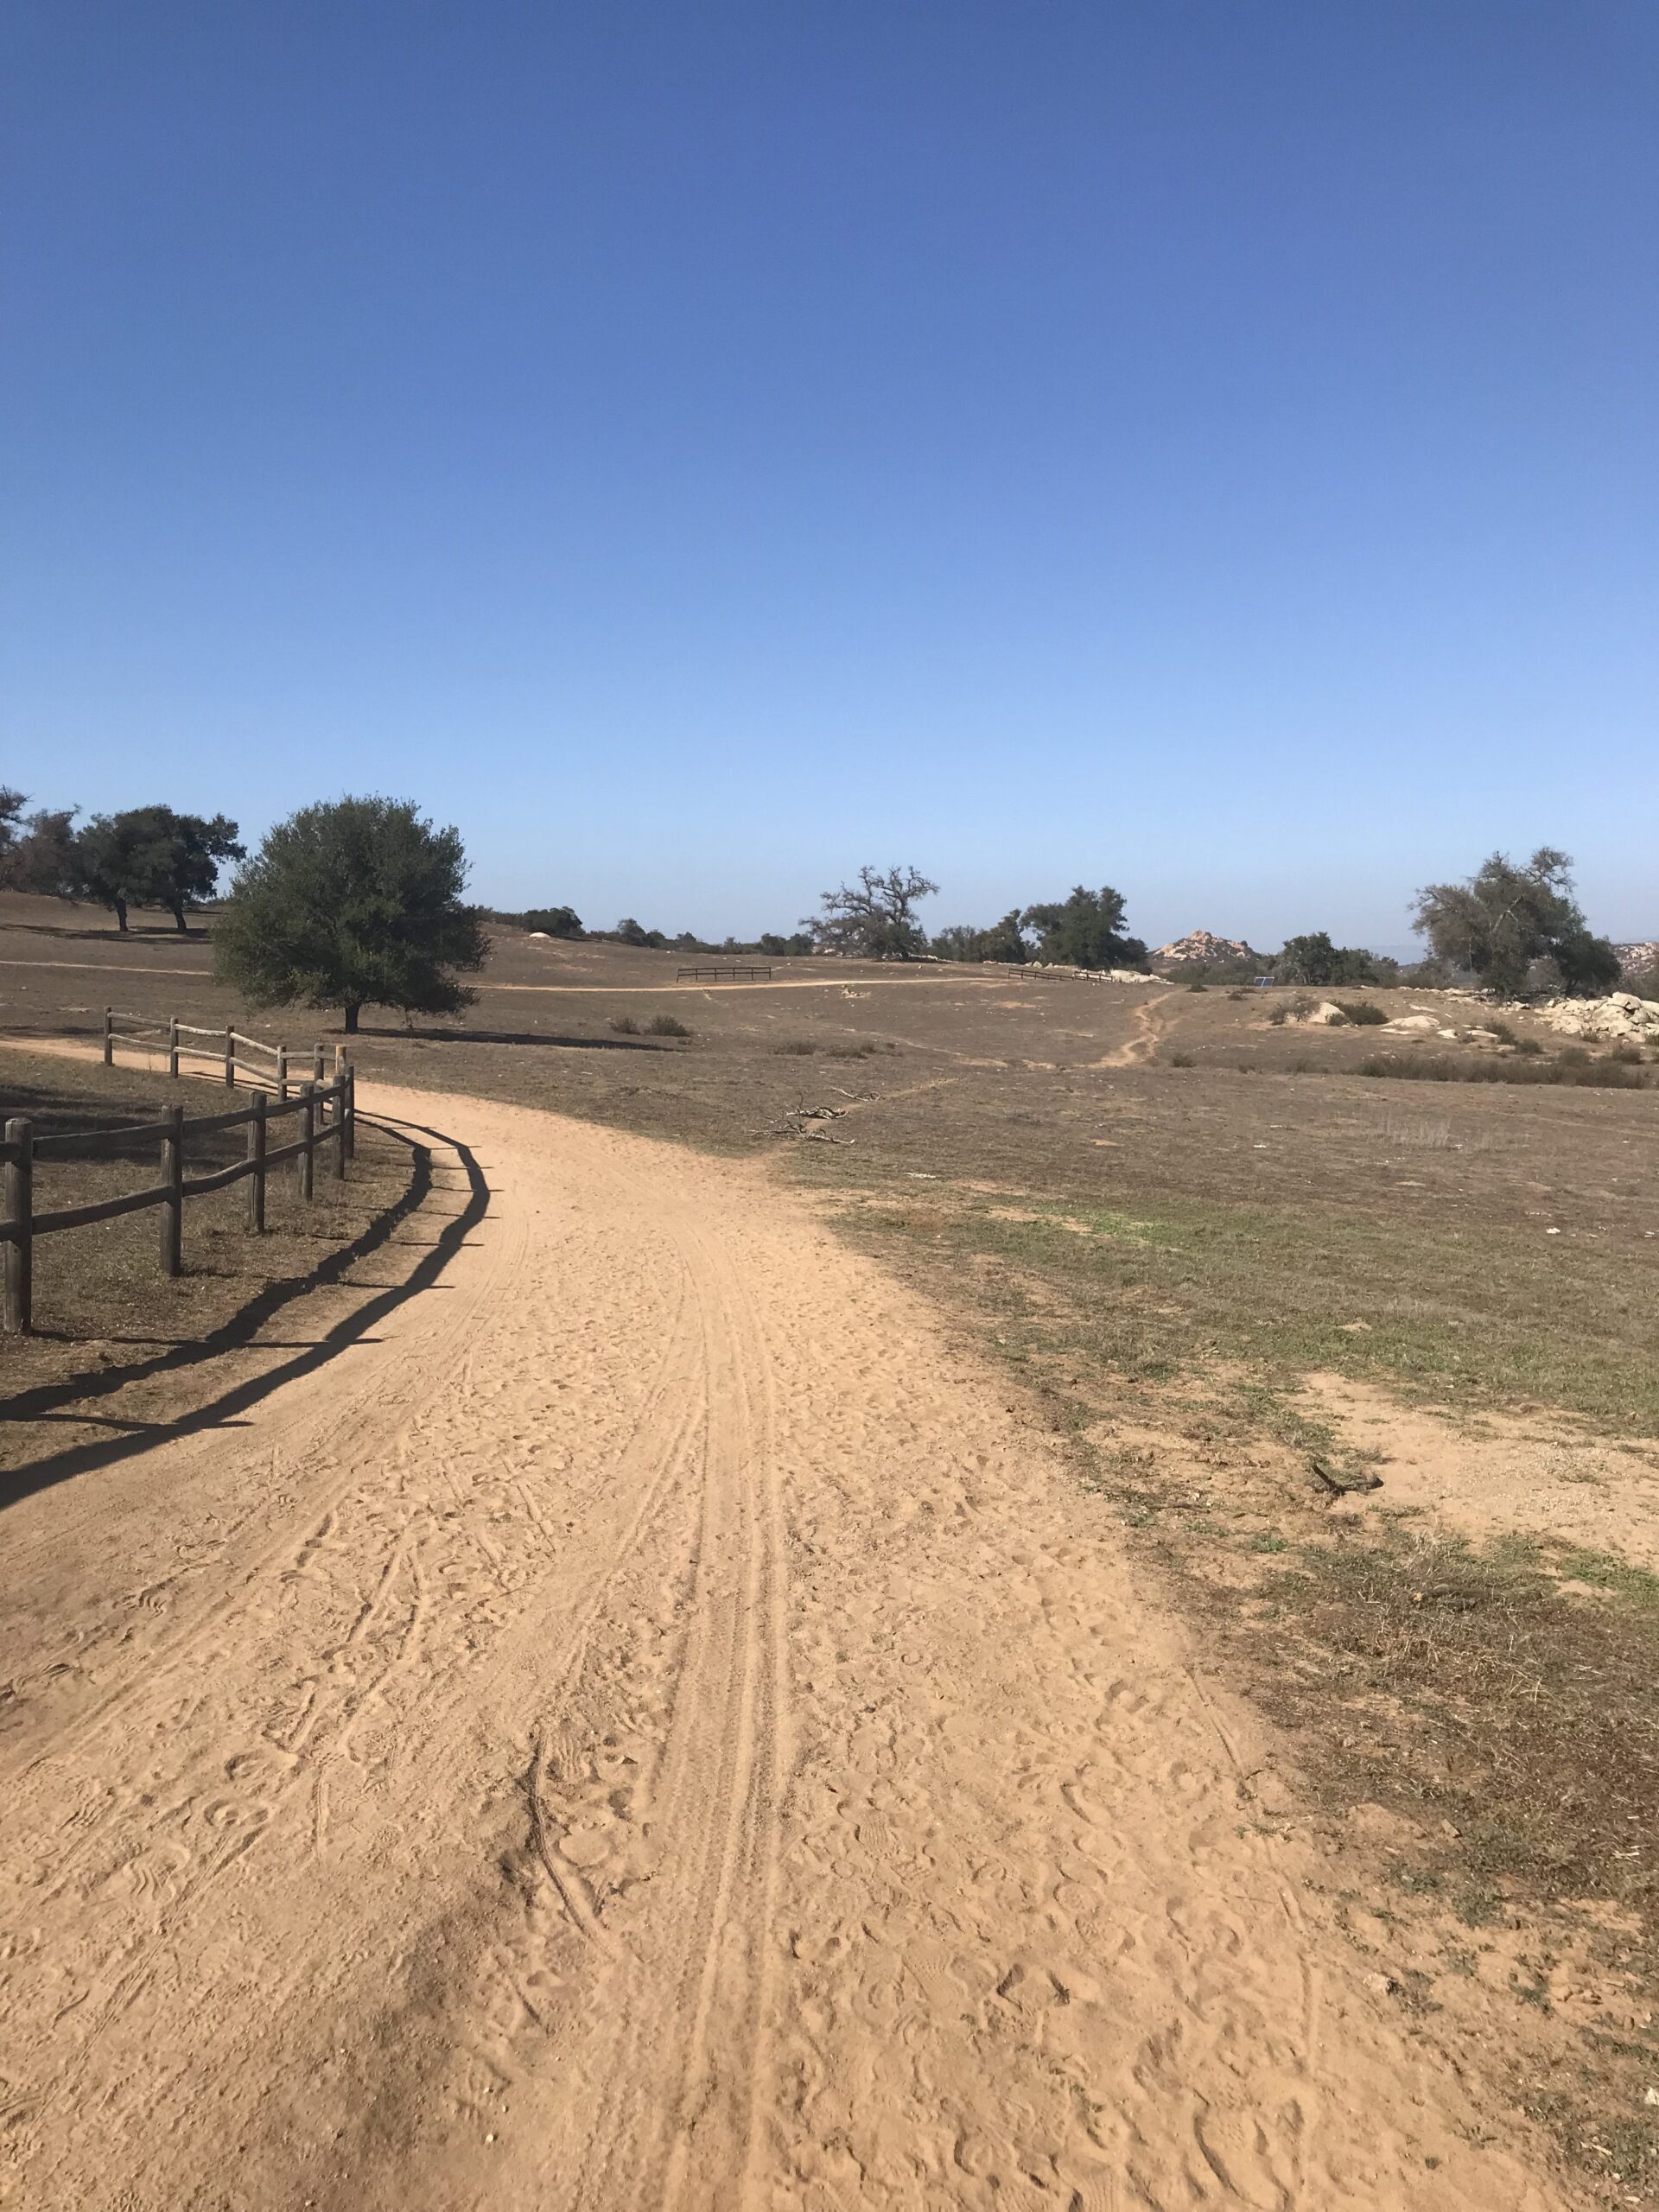
The main trail is pretty much designed for horses so its wide, hard packed sand and very easy on the body. Immediately off to the left and the trailhead start as you head west is the Meadow Loop which is .8 mile in length that offers some diversity in trail and vegetation


You will soon come to a sign post stating .2 miles to the Wildflower Loop, which is a 2.2 mile loop that veers right, continues west, northwest then curves south and then loops around back south east to the Wildflower loop sign, where you started your hike of this section of the Preserve a total of 2.2 miles.