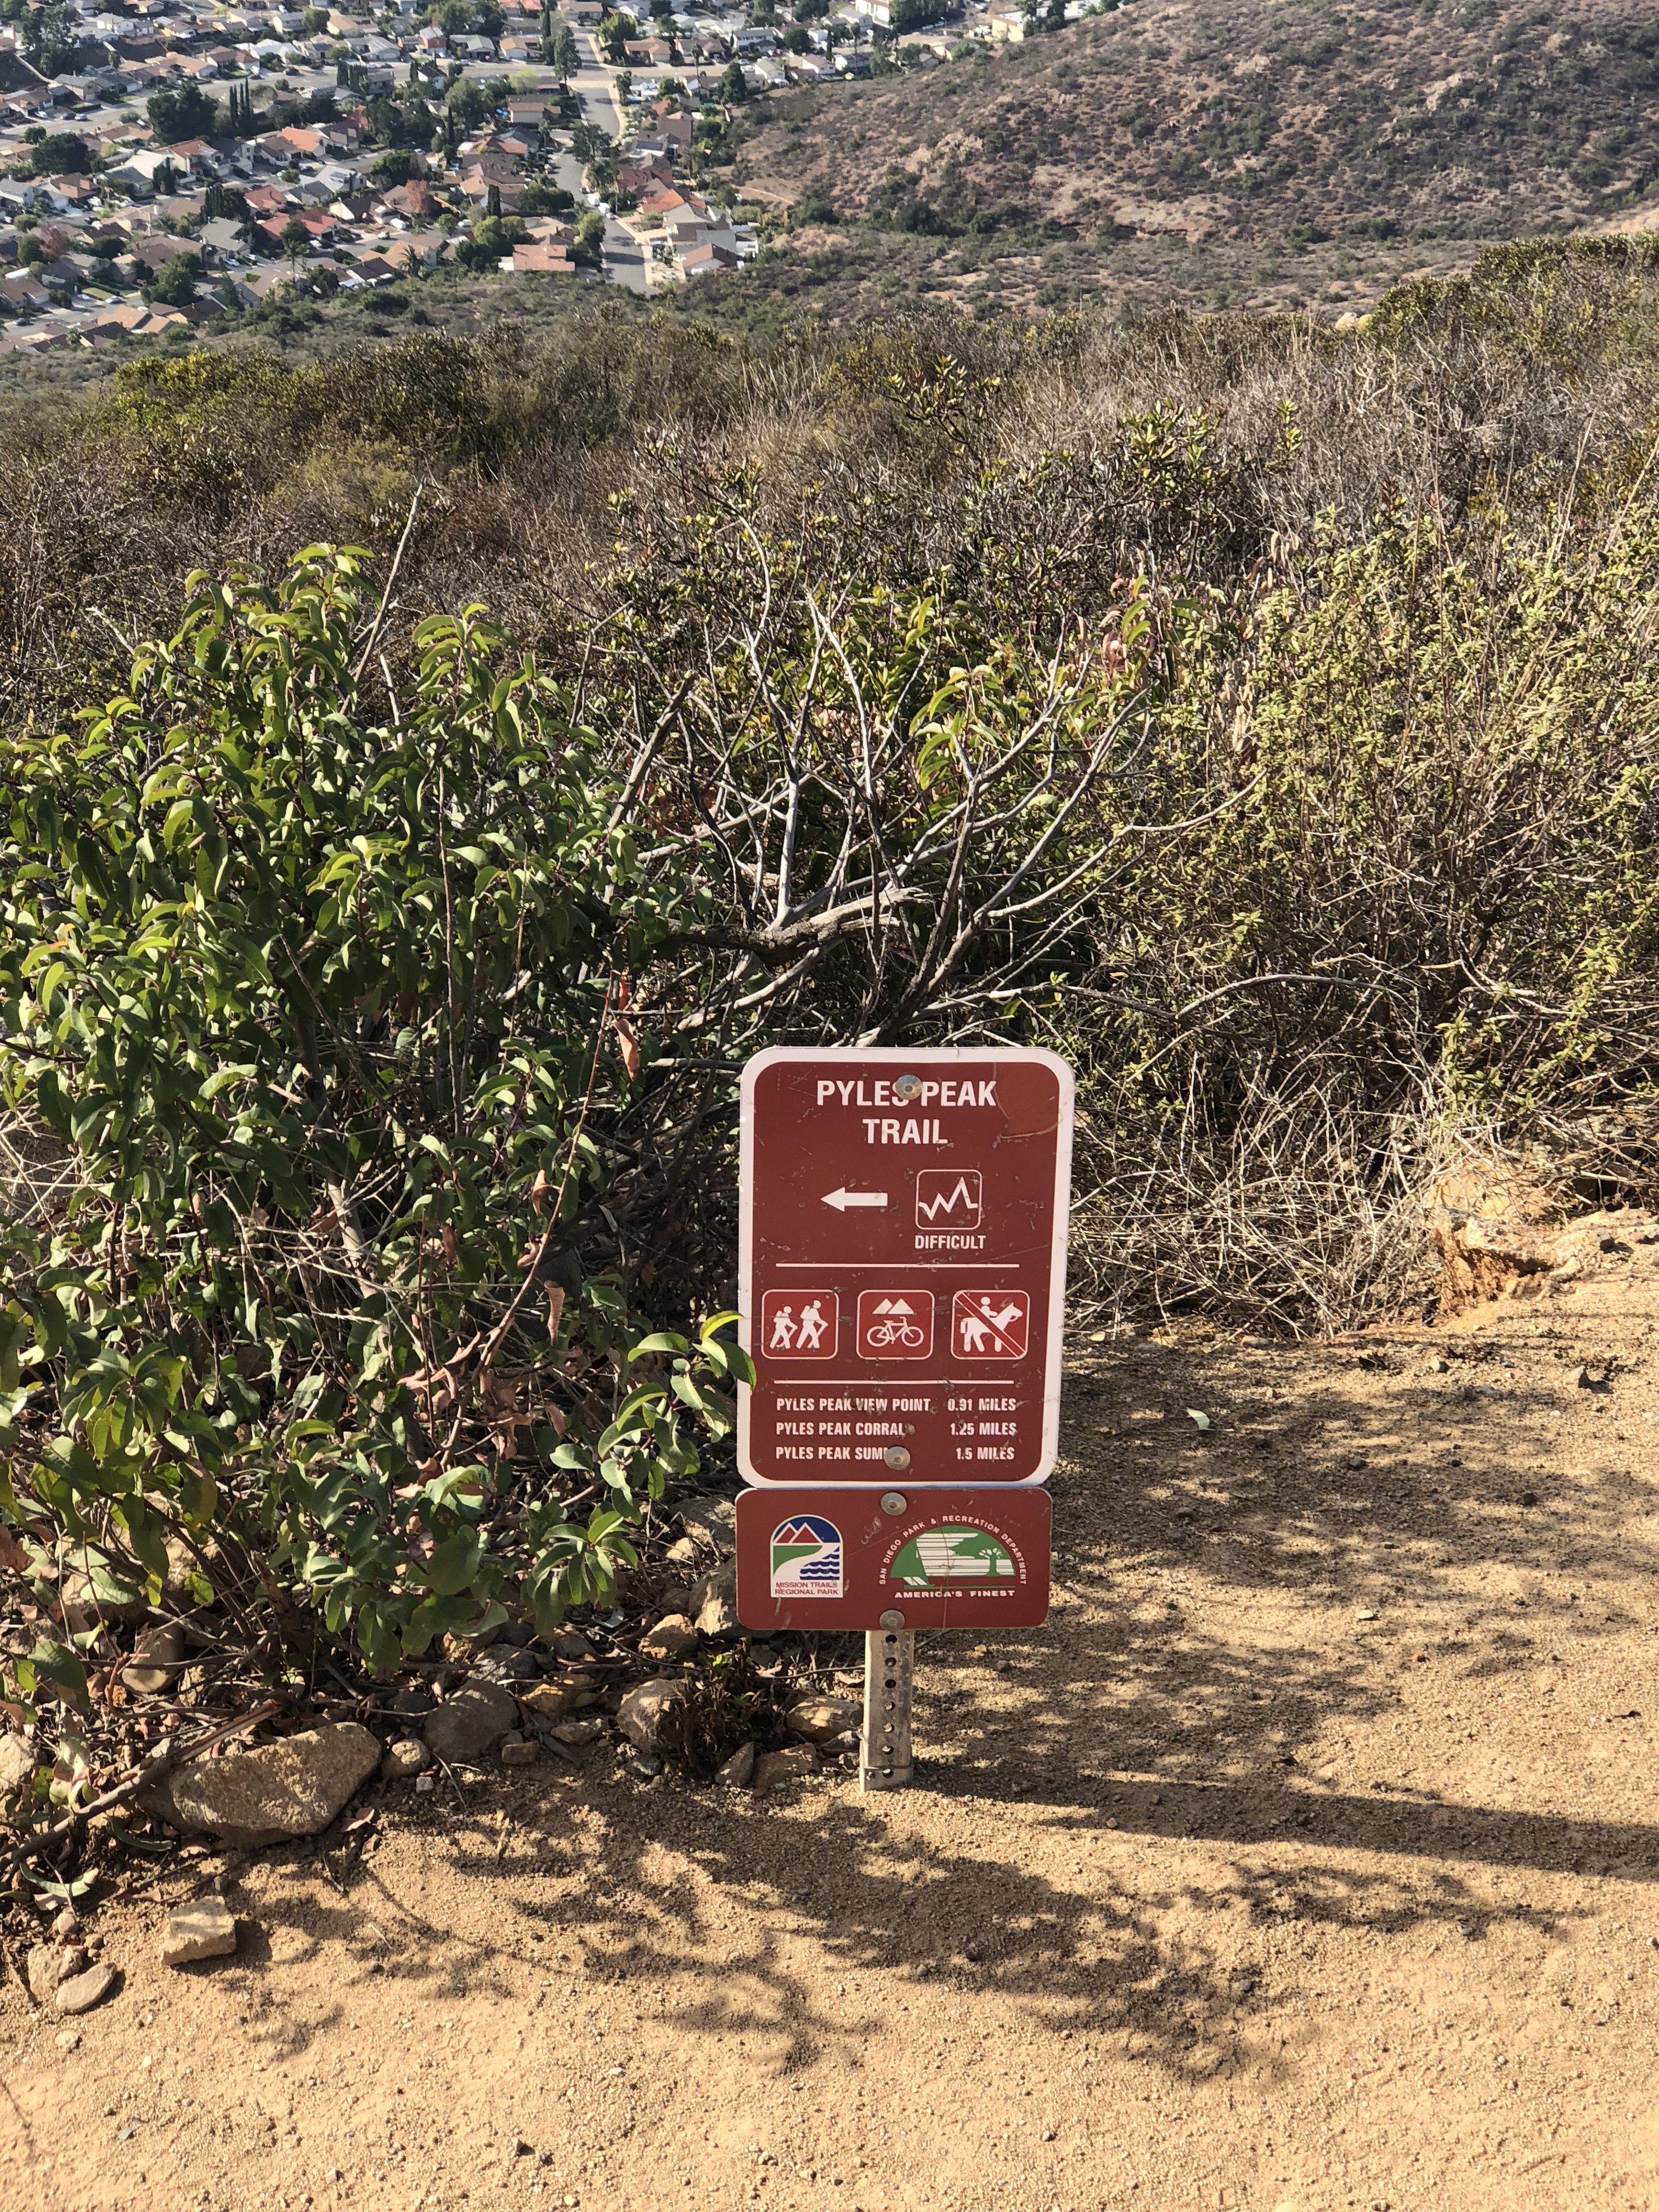
DISTANCE: 5 MILES ROUND TRIP STEPS: 12K ELEVATION GAIN: 800 ‘ HIKEABILITY: scale 0-10, (0 being Batiquitos Lagoon Carlsbad, 10 being Mt Woodson, Poway.) 3.5 WATER: took 2 liters used 1.25 SNACKS: energy bar, orange. CONDITIONS: temperature 80’s, slight breeze, hot sun RESTROOMS: Chemical toilets at trail head, about one mile from the trail head and at the reservoir
LOCATION: 16275 Espola Road, Poway. From I-15, take the Rancho Bernardo Rd. exit (24) and head east for a total of 3.4 miles. En route, Rancho Bernardo Rd. becomes Espola Rd. Just after the road makes a sharp right turn, look for the entrance to the preserve on the left.
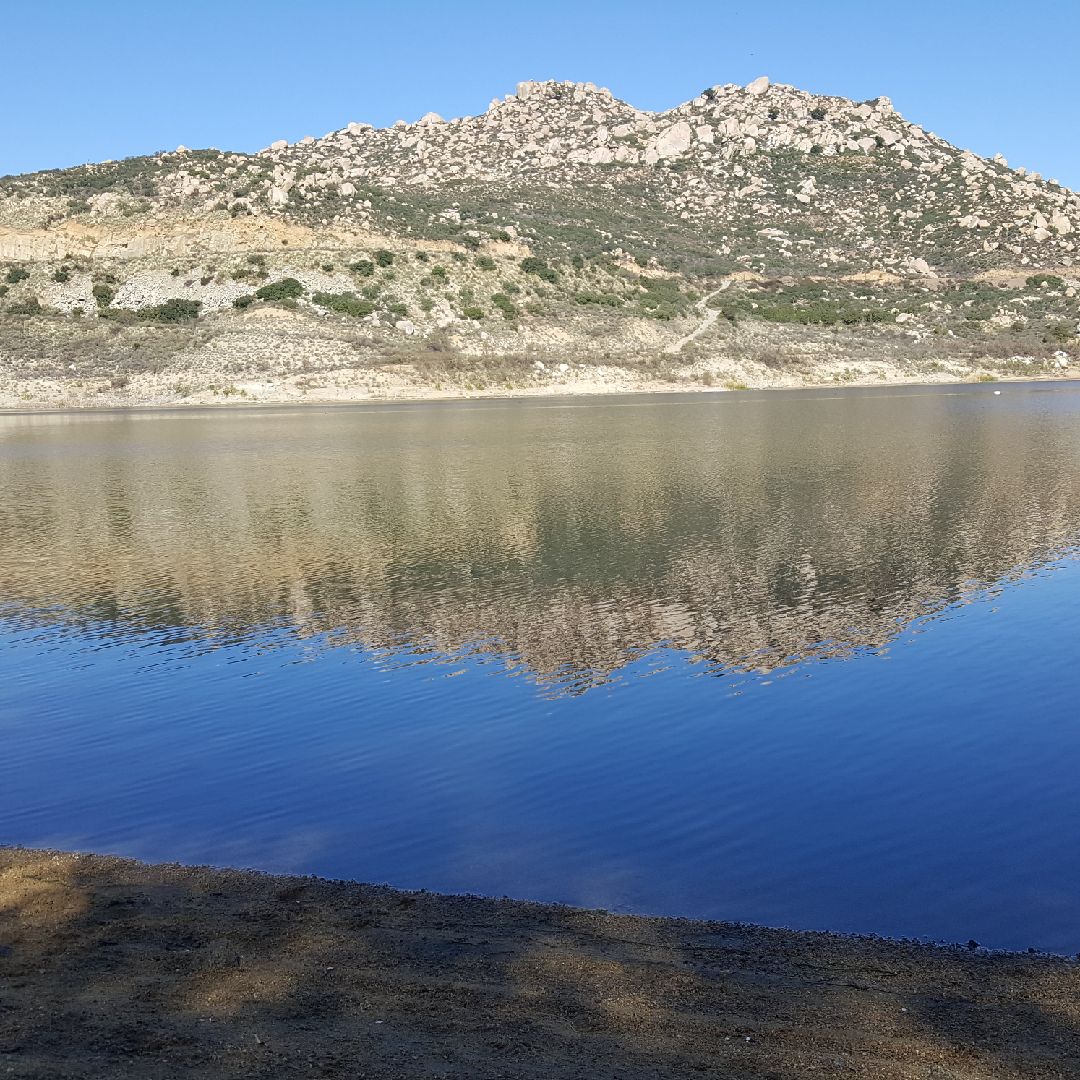
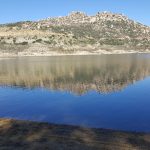
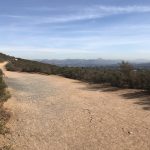
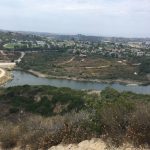
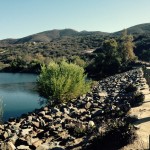
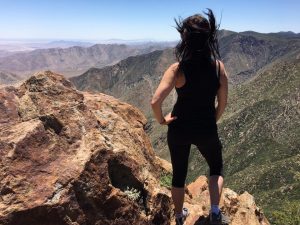
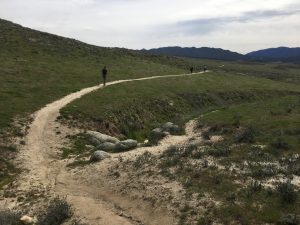
Lake Ramona Poway, CA 2.5 miles from trailhead….Hiker Therapy
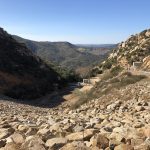
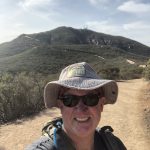
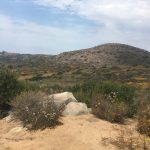
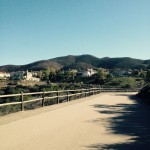
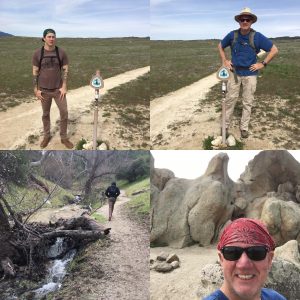
When we talk about hiking the Poway area, a beautiful place to hike indeed, Iron Mountain and Mt. Woodson are always the 2 Peaks that come to mind and rightfully so, both warrant their popularity and “Hikeability”. However another hike in that same general area is the Blue Sky Ecological Reserve. Located off of Espola Rd., in Poway this hike sits in the shadows of Mt. Woodson and in fact a spur off of the Blue Sky Trail can take you to Lake Poway and Mt. Woodson.
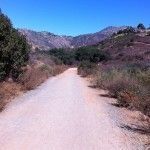
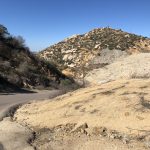
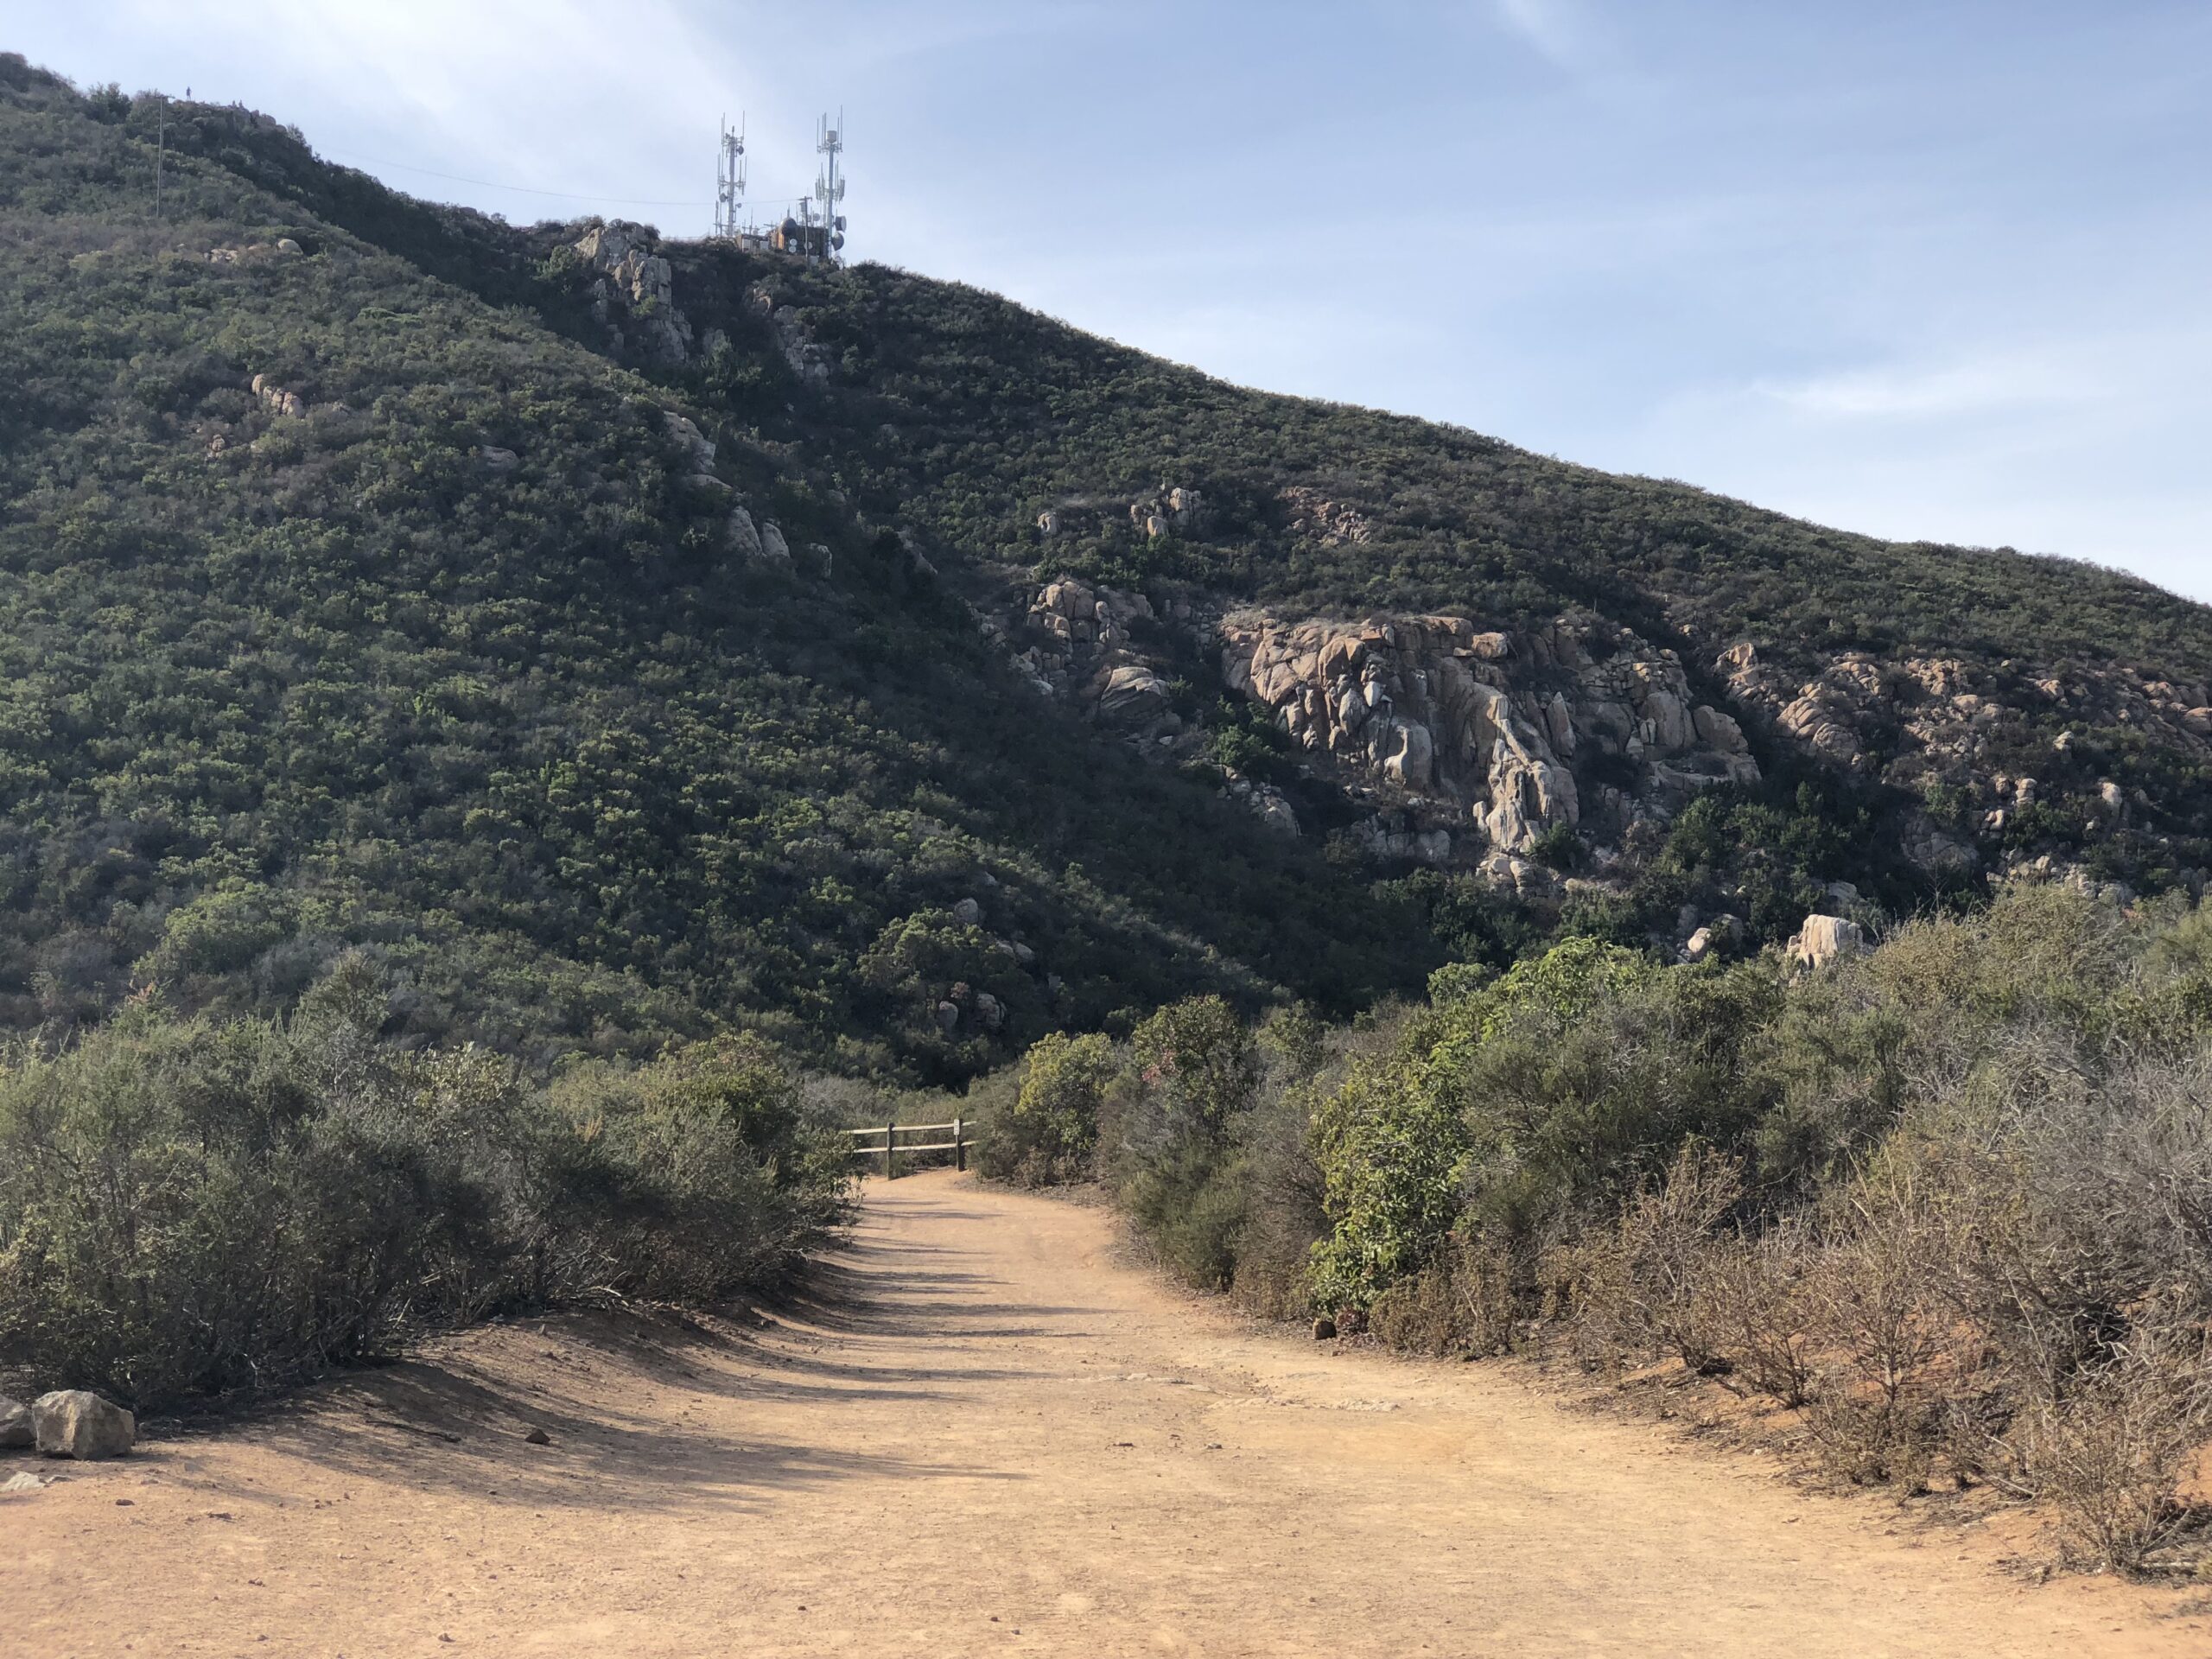
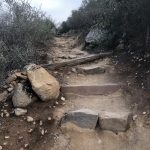
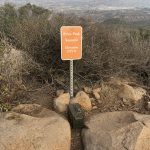
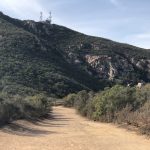
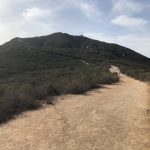
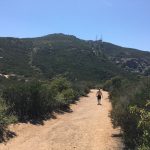
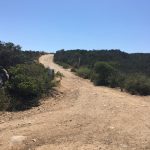
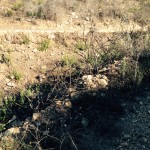
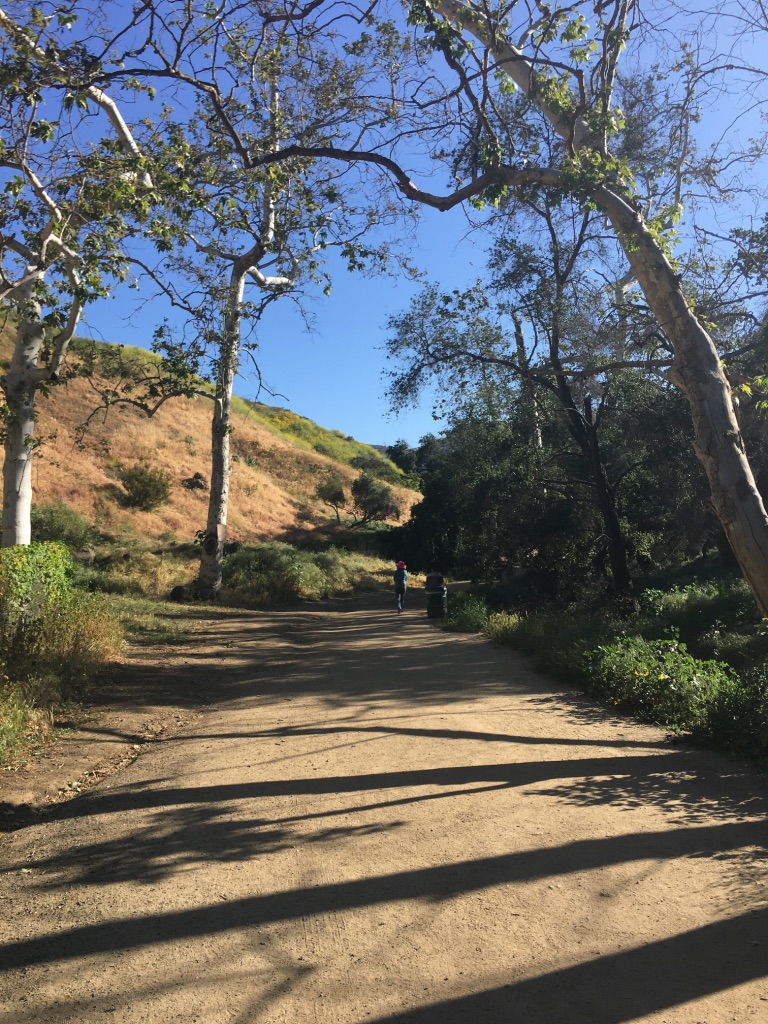
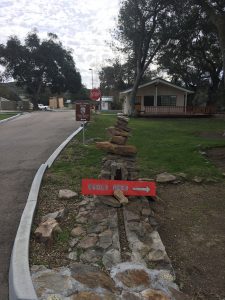
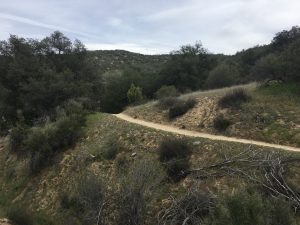
Blue Sky Ecological reserve Trailhead and good indicator of trail composition. Hiker Therapy
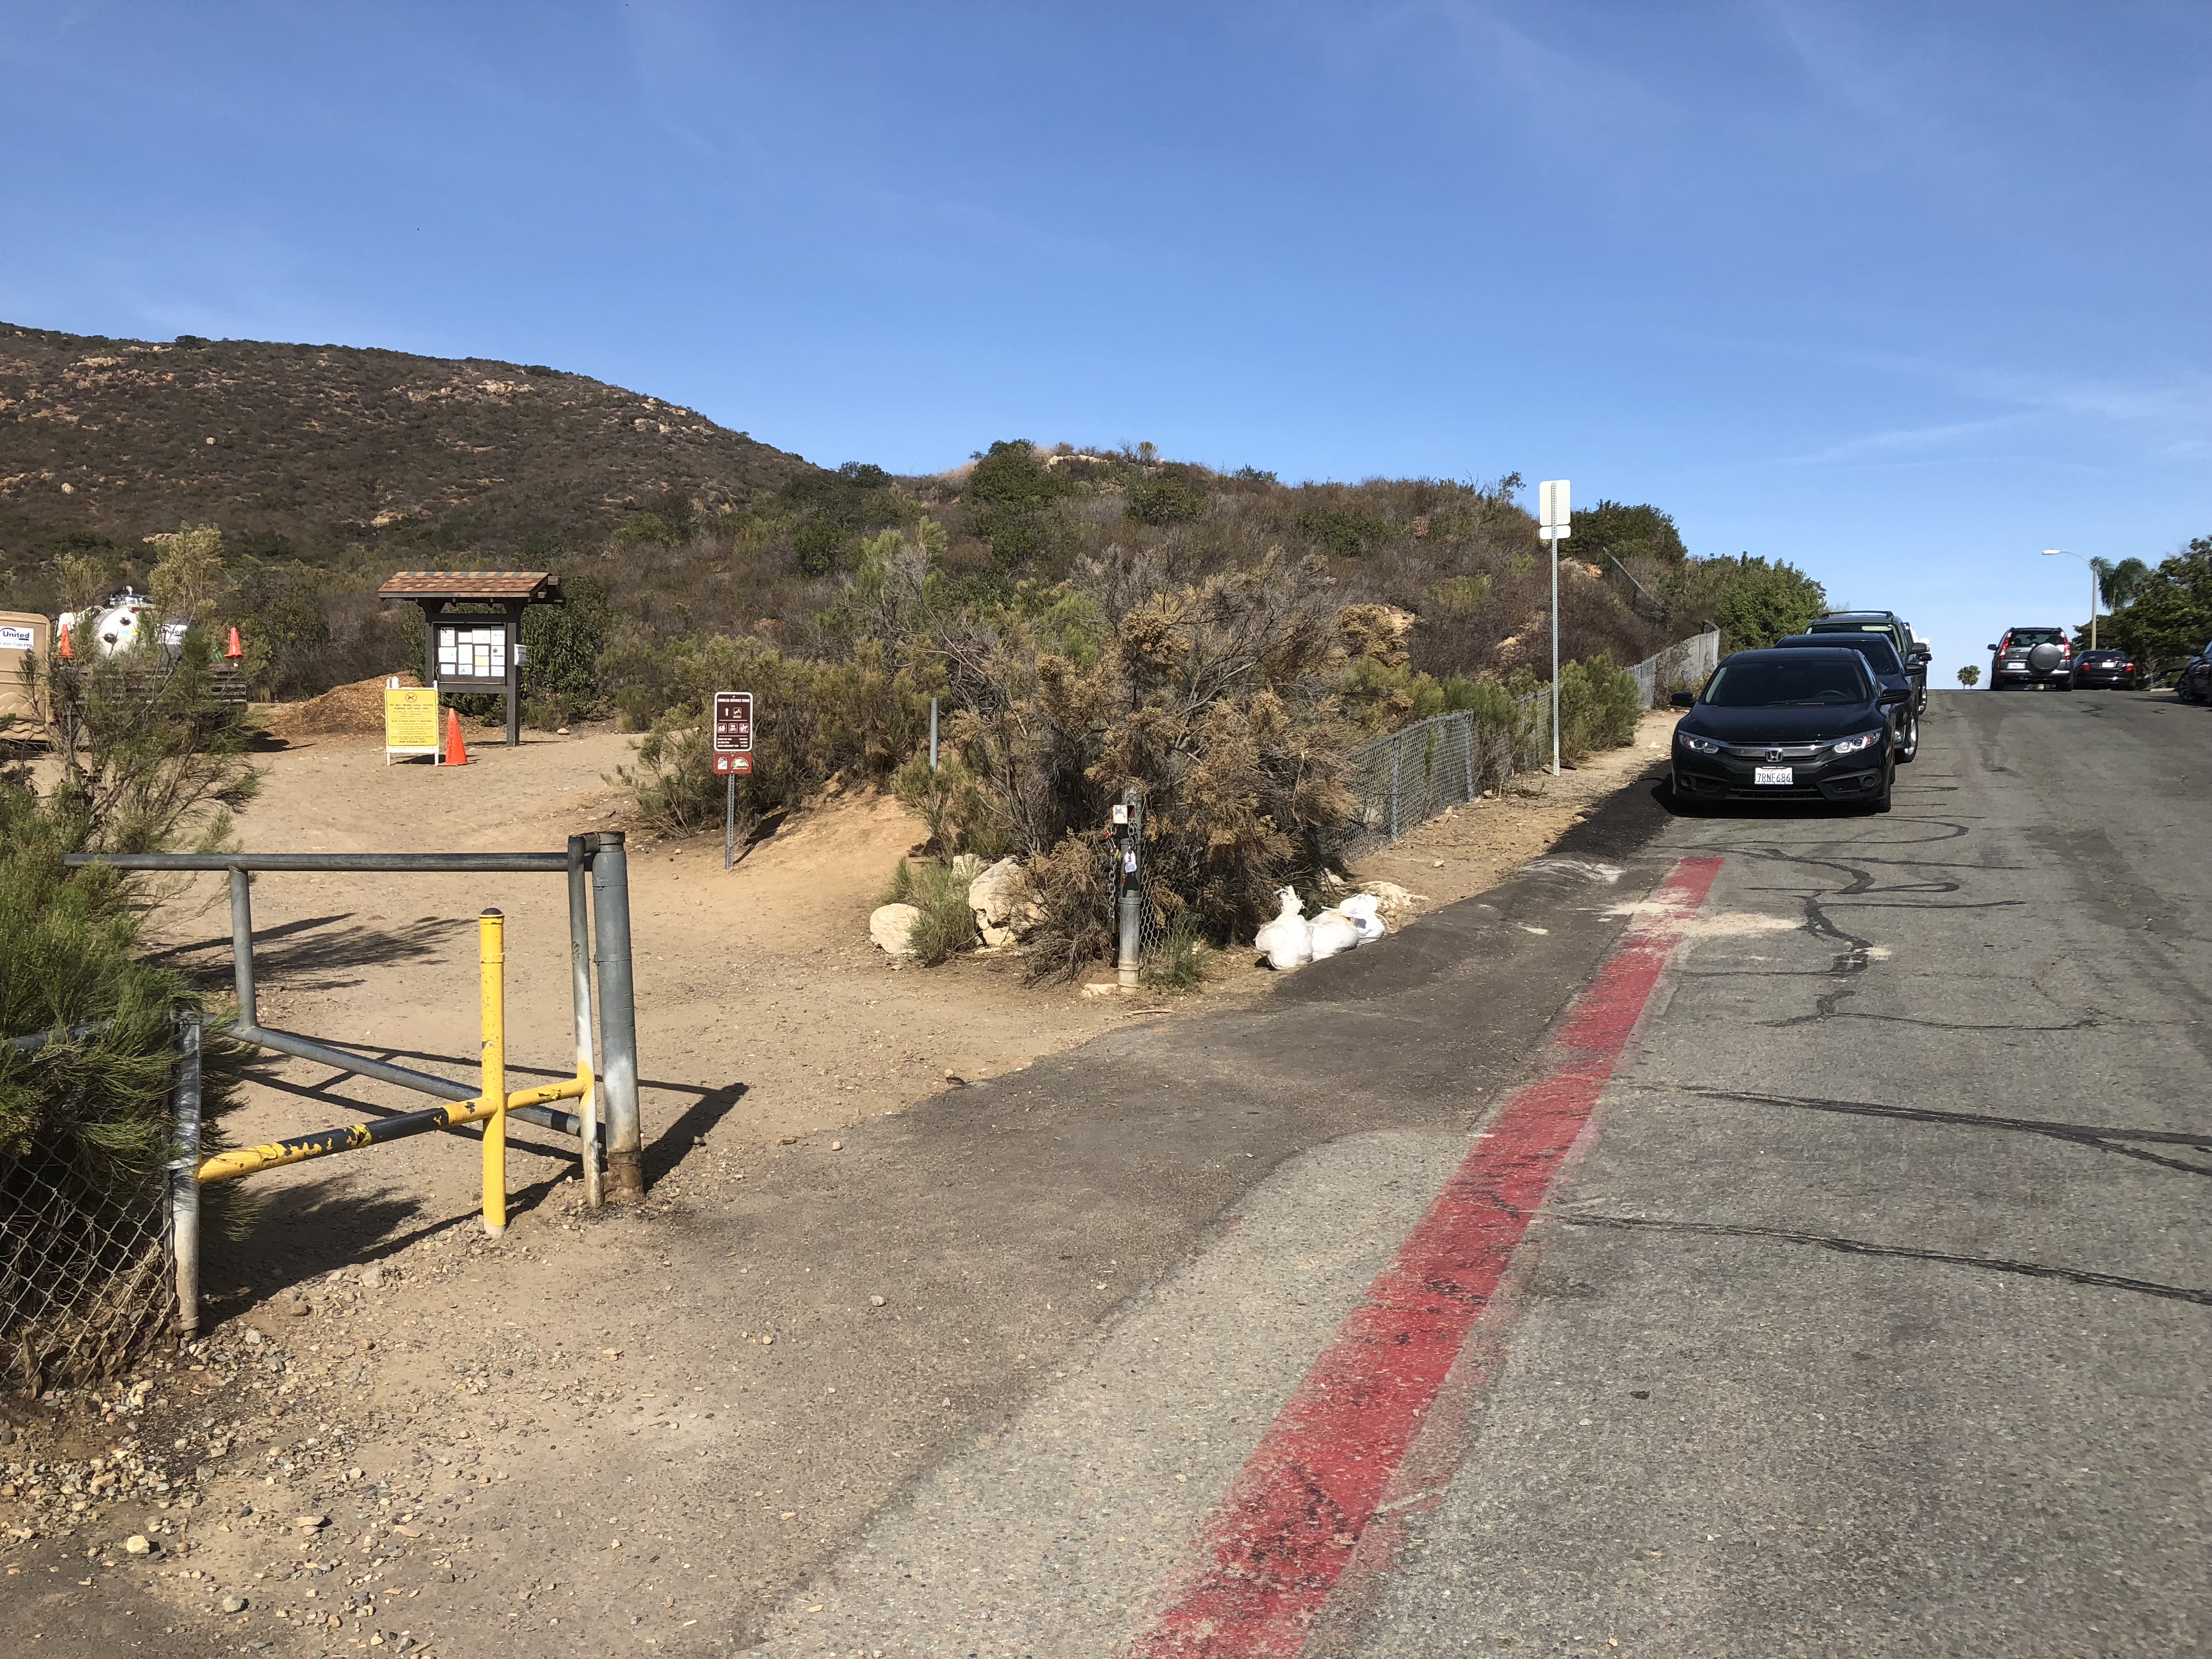
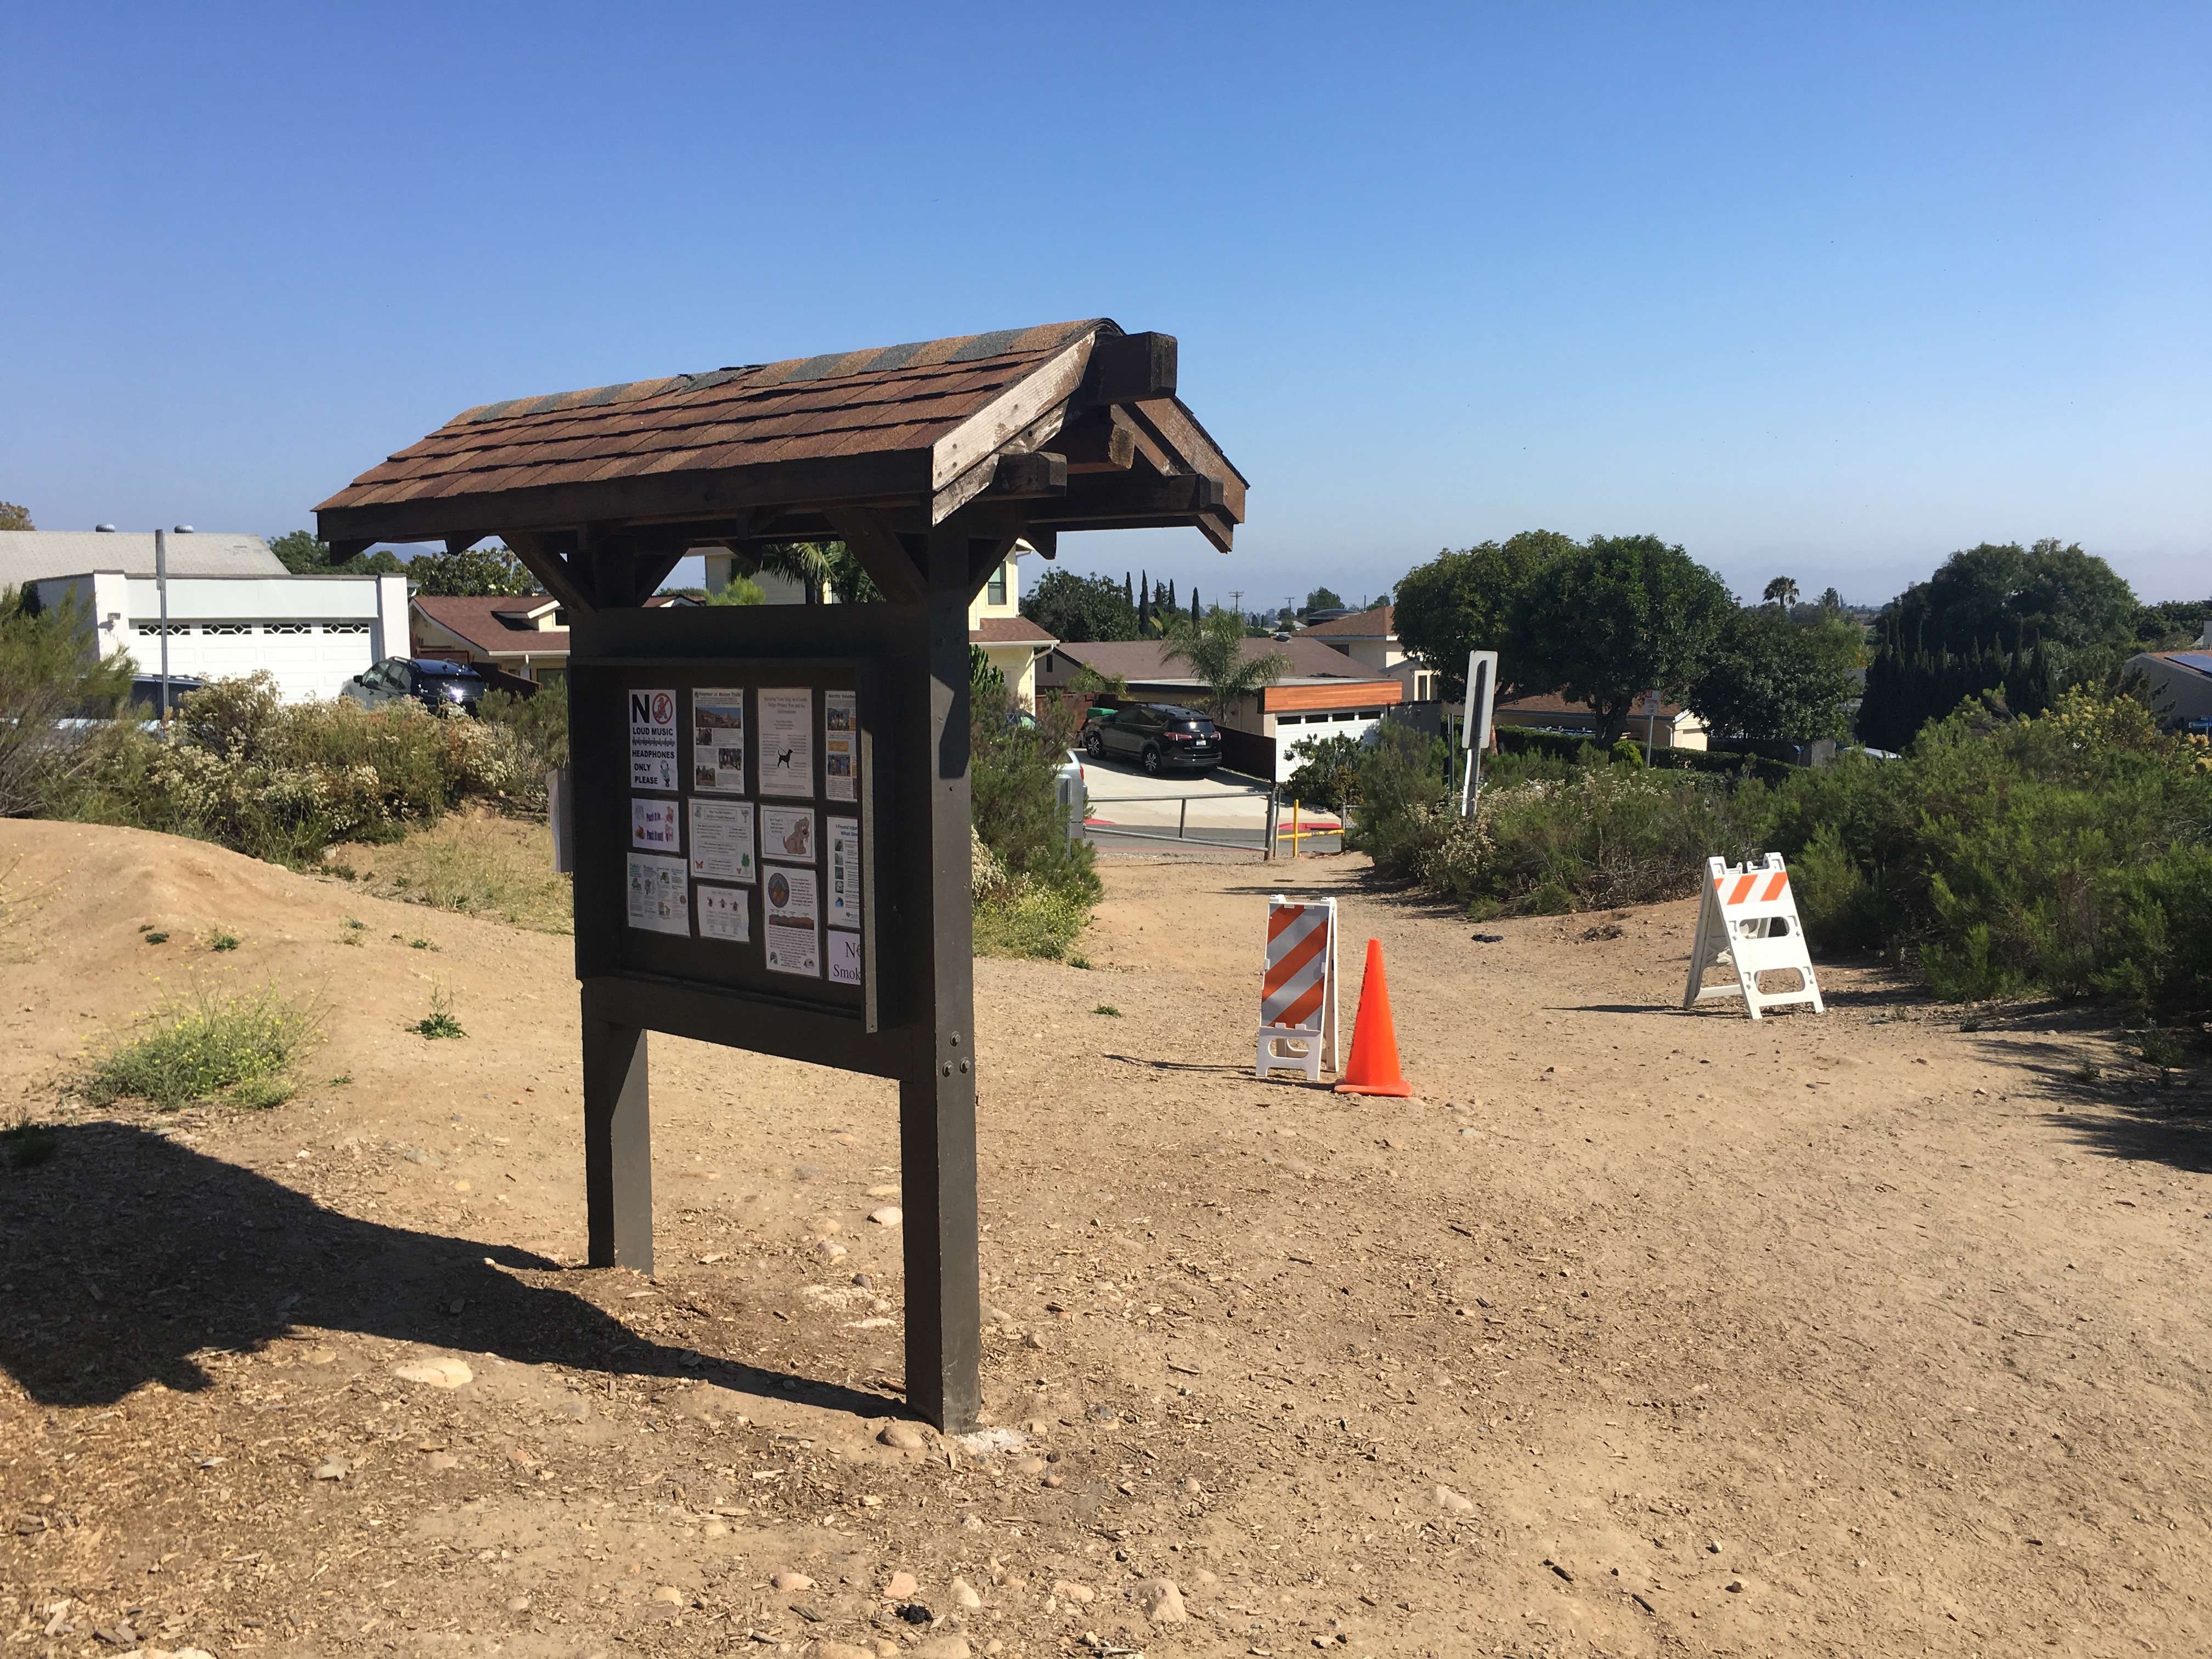
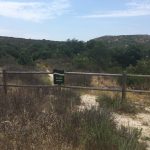
On this Saturday 9AM morning start the first challenge to the hike was finding a parking spot. There is a generous sized parking area off of the Trailhead, but it may take you a few laps before a spot opens up. The trailhead is in the southern most part of the parking area but is clearly visible by an information board. There is a restroom, opposite the information board. There are also 2 other restrooms along the trail, one about midway, one at the top of the Dam, your final destination on this hike.
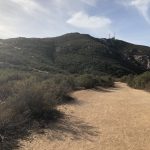
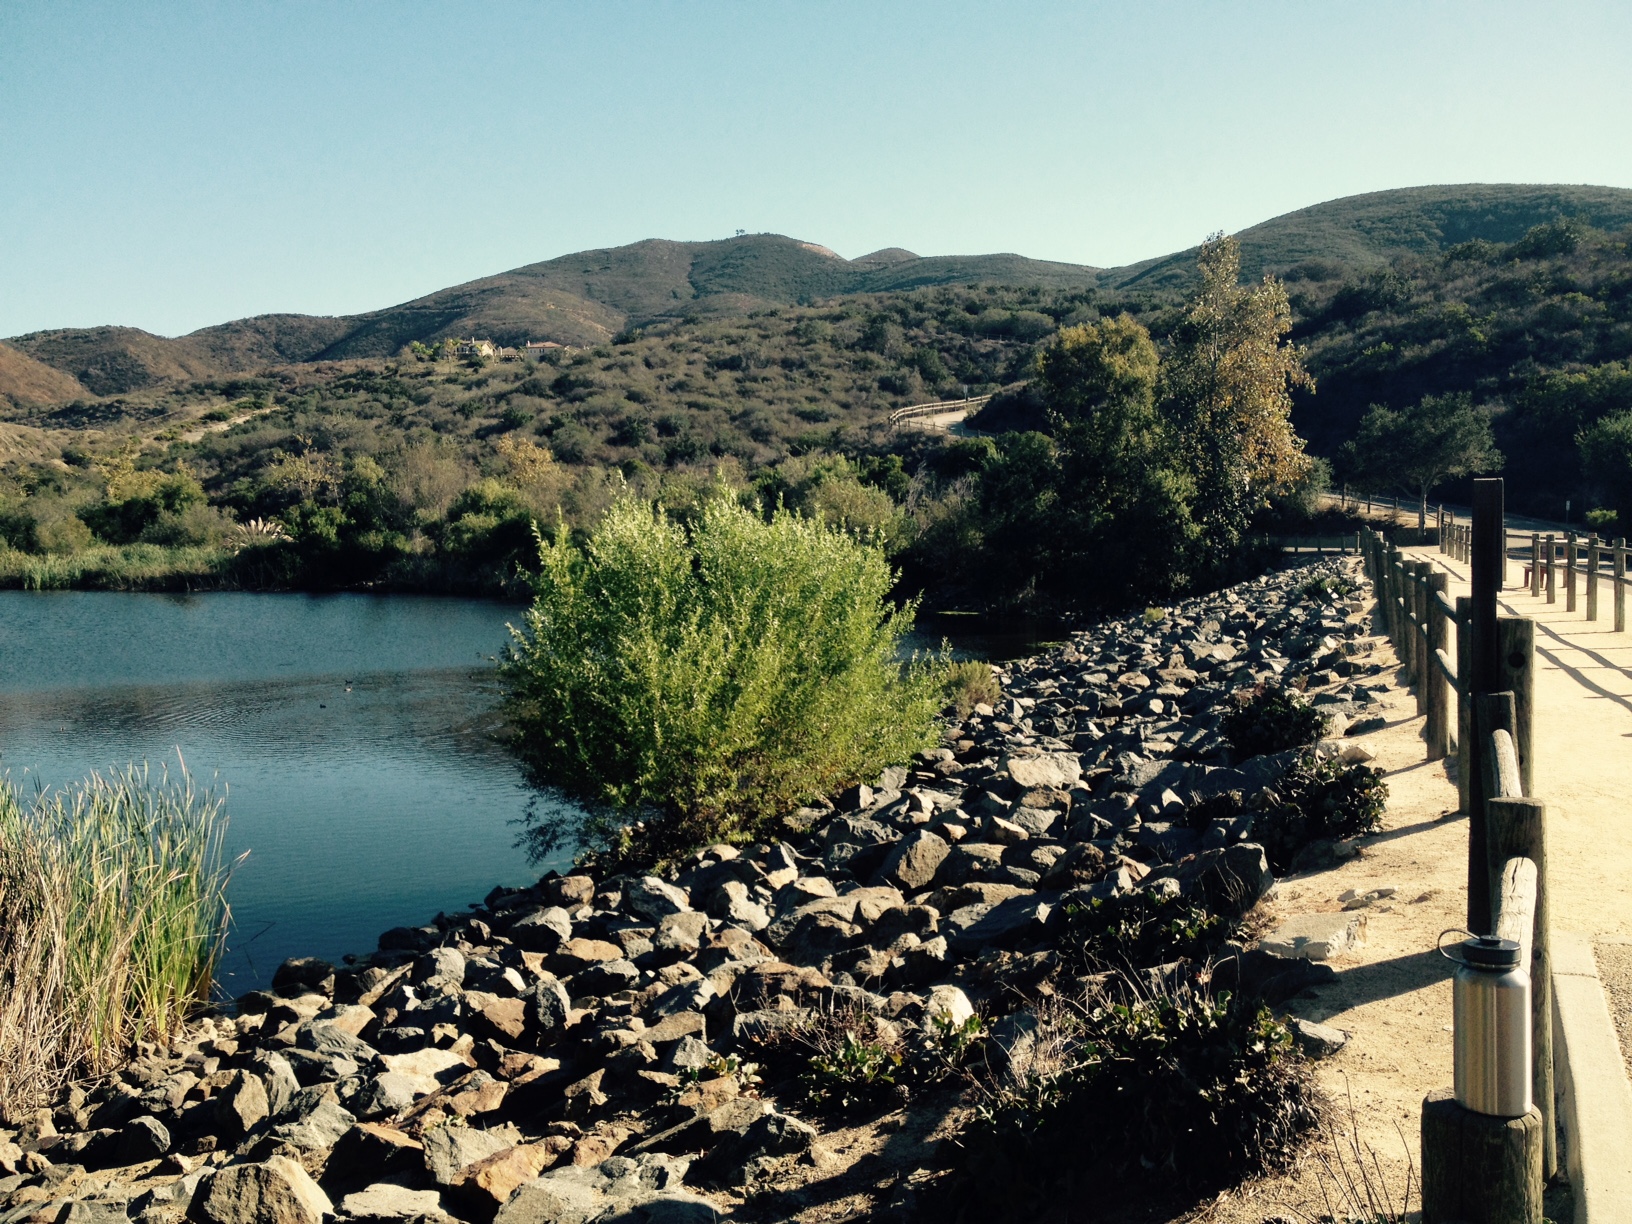
Blue Sky Ecological Reserve Poway, CA Hiker Therapy
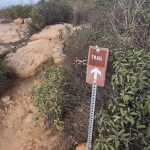
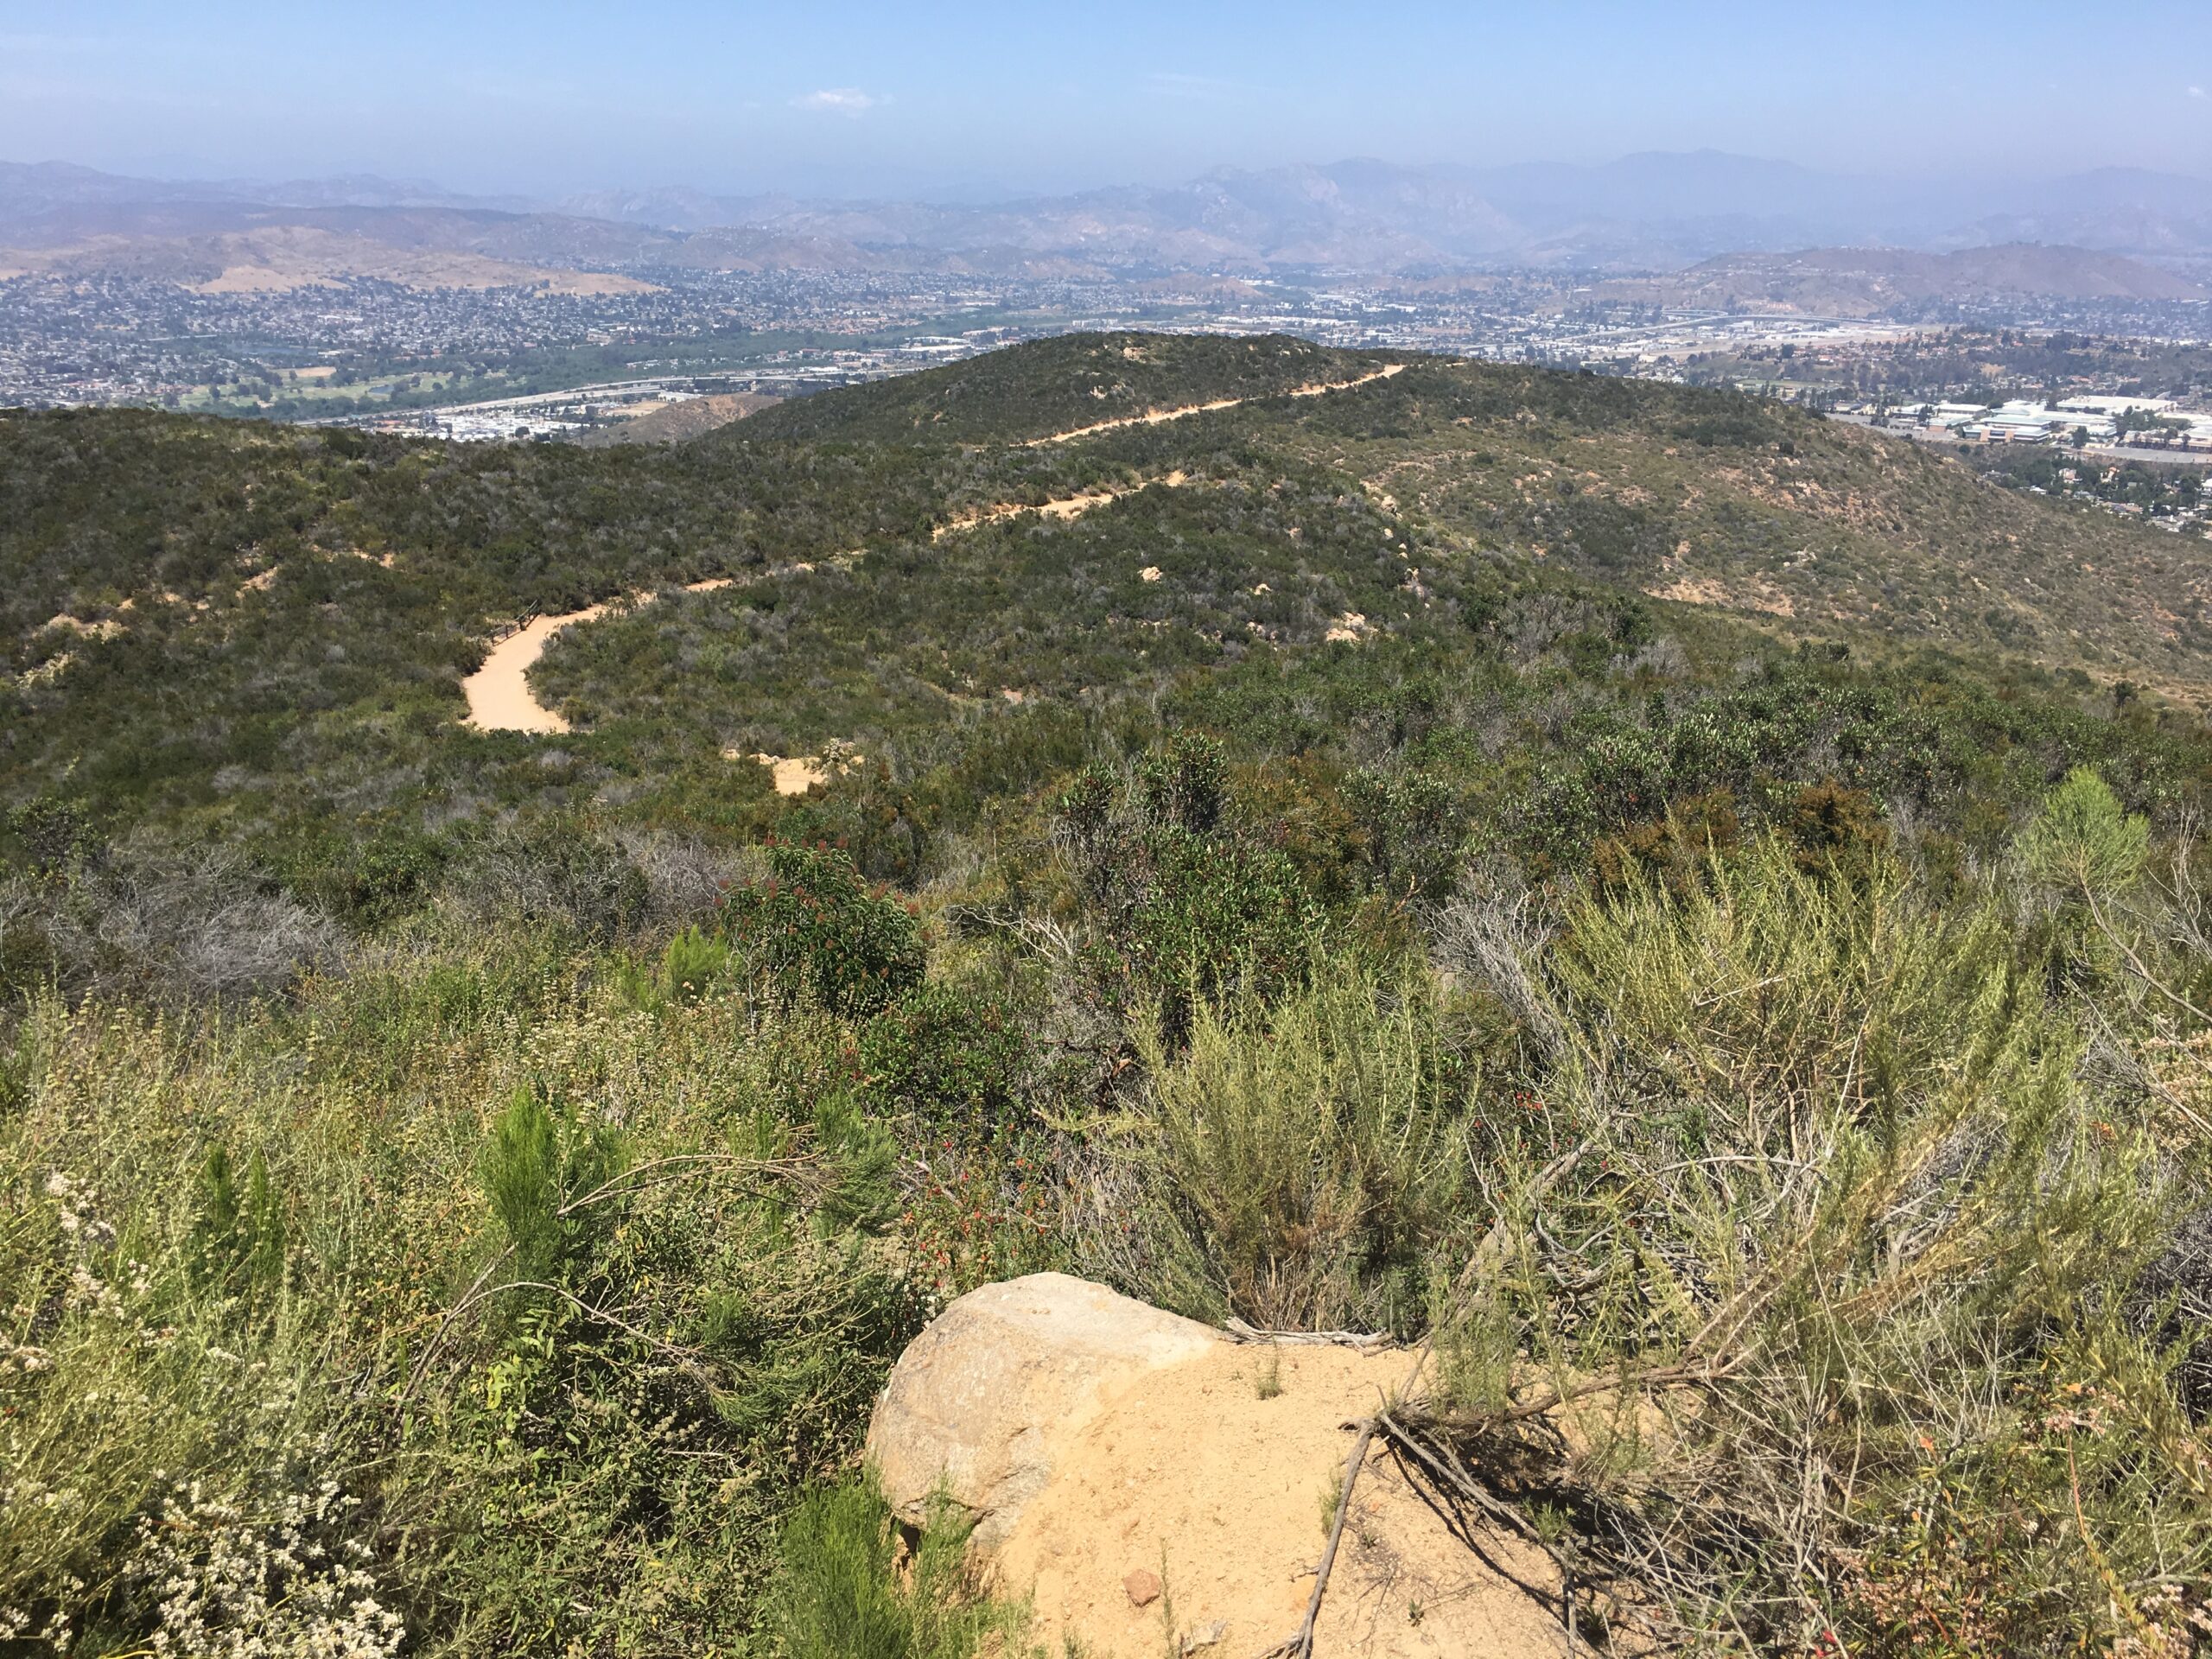
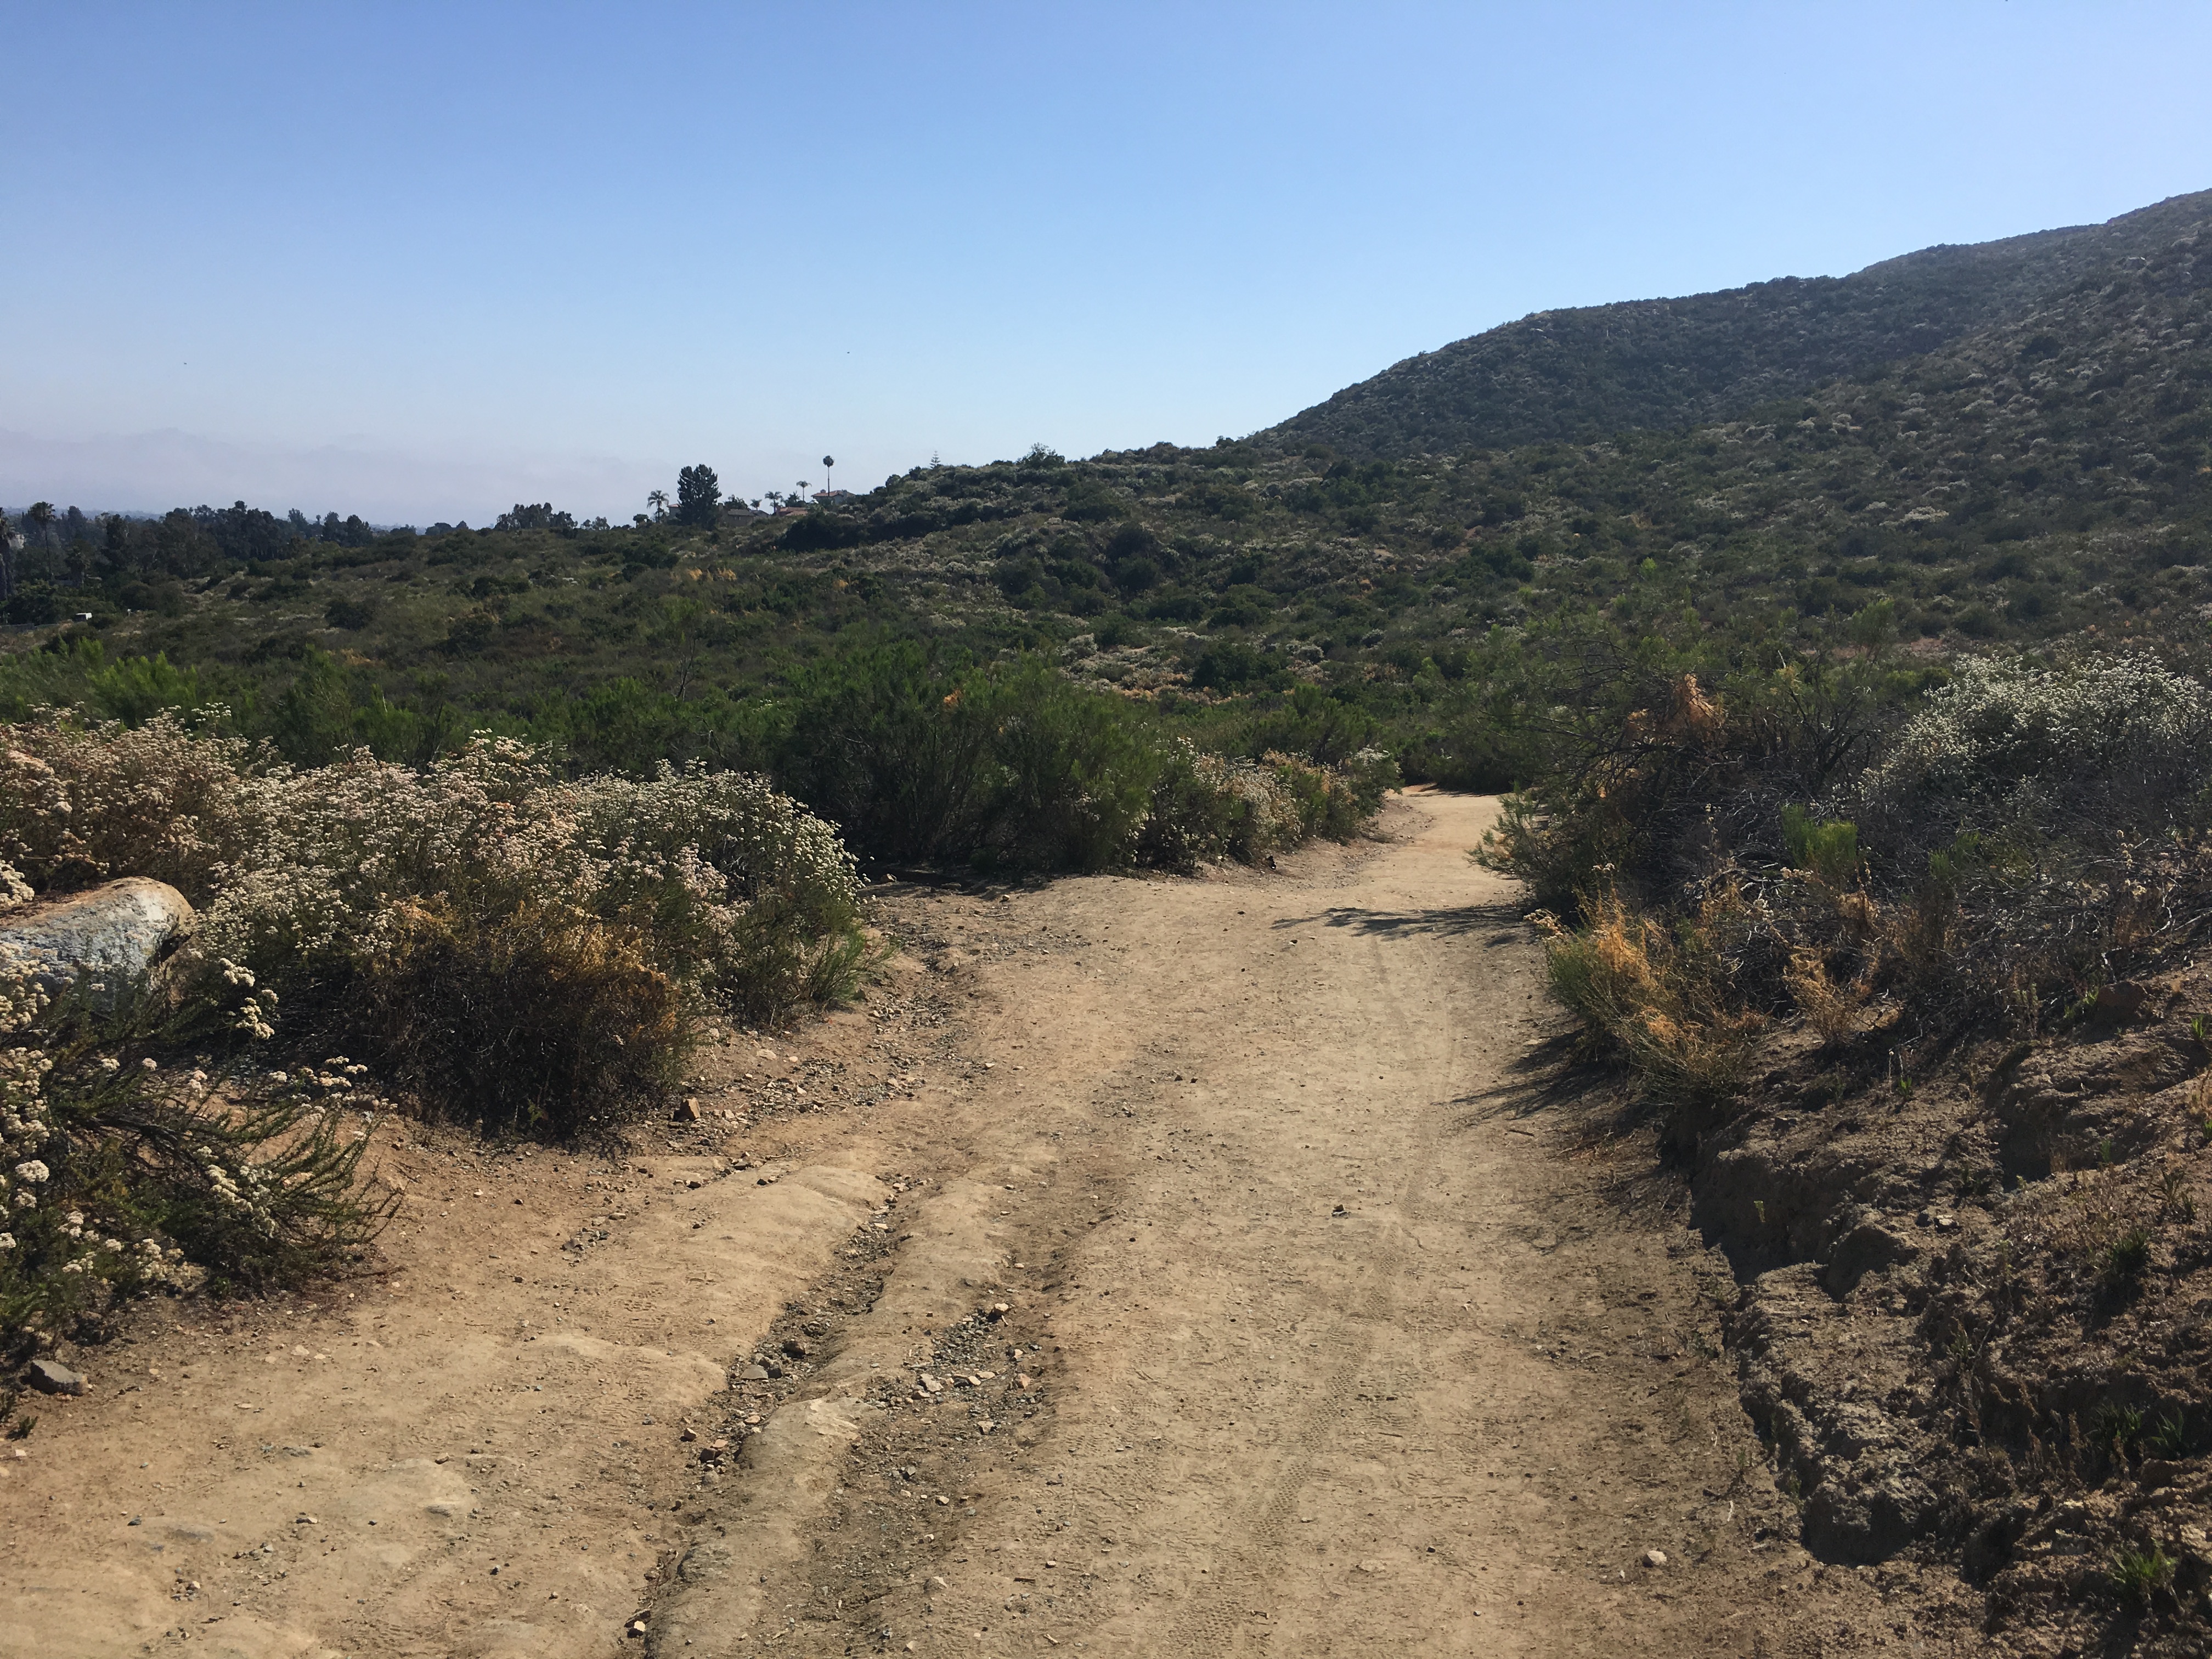
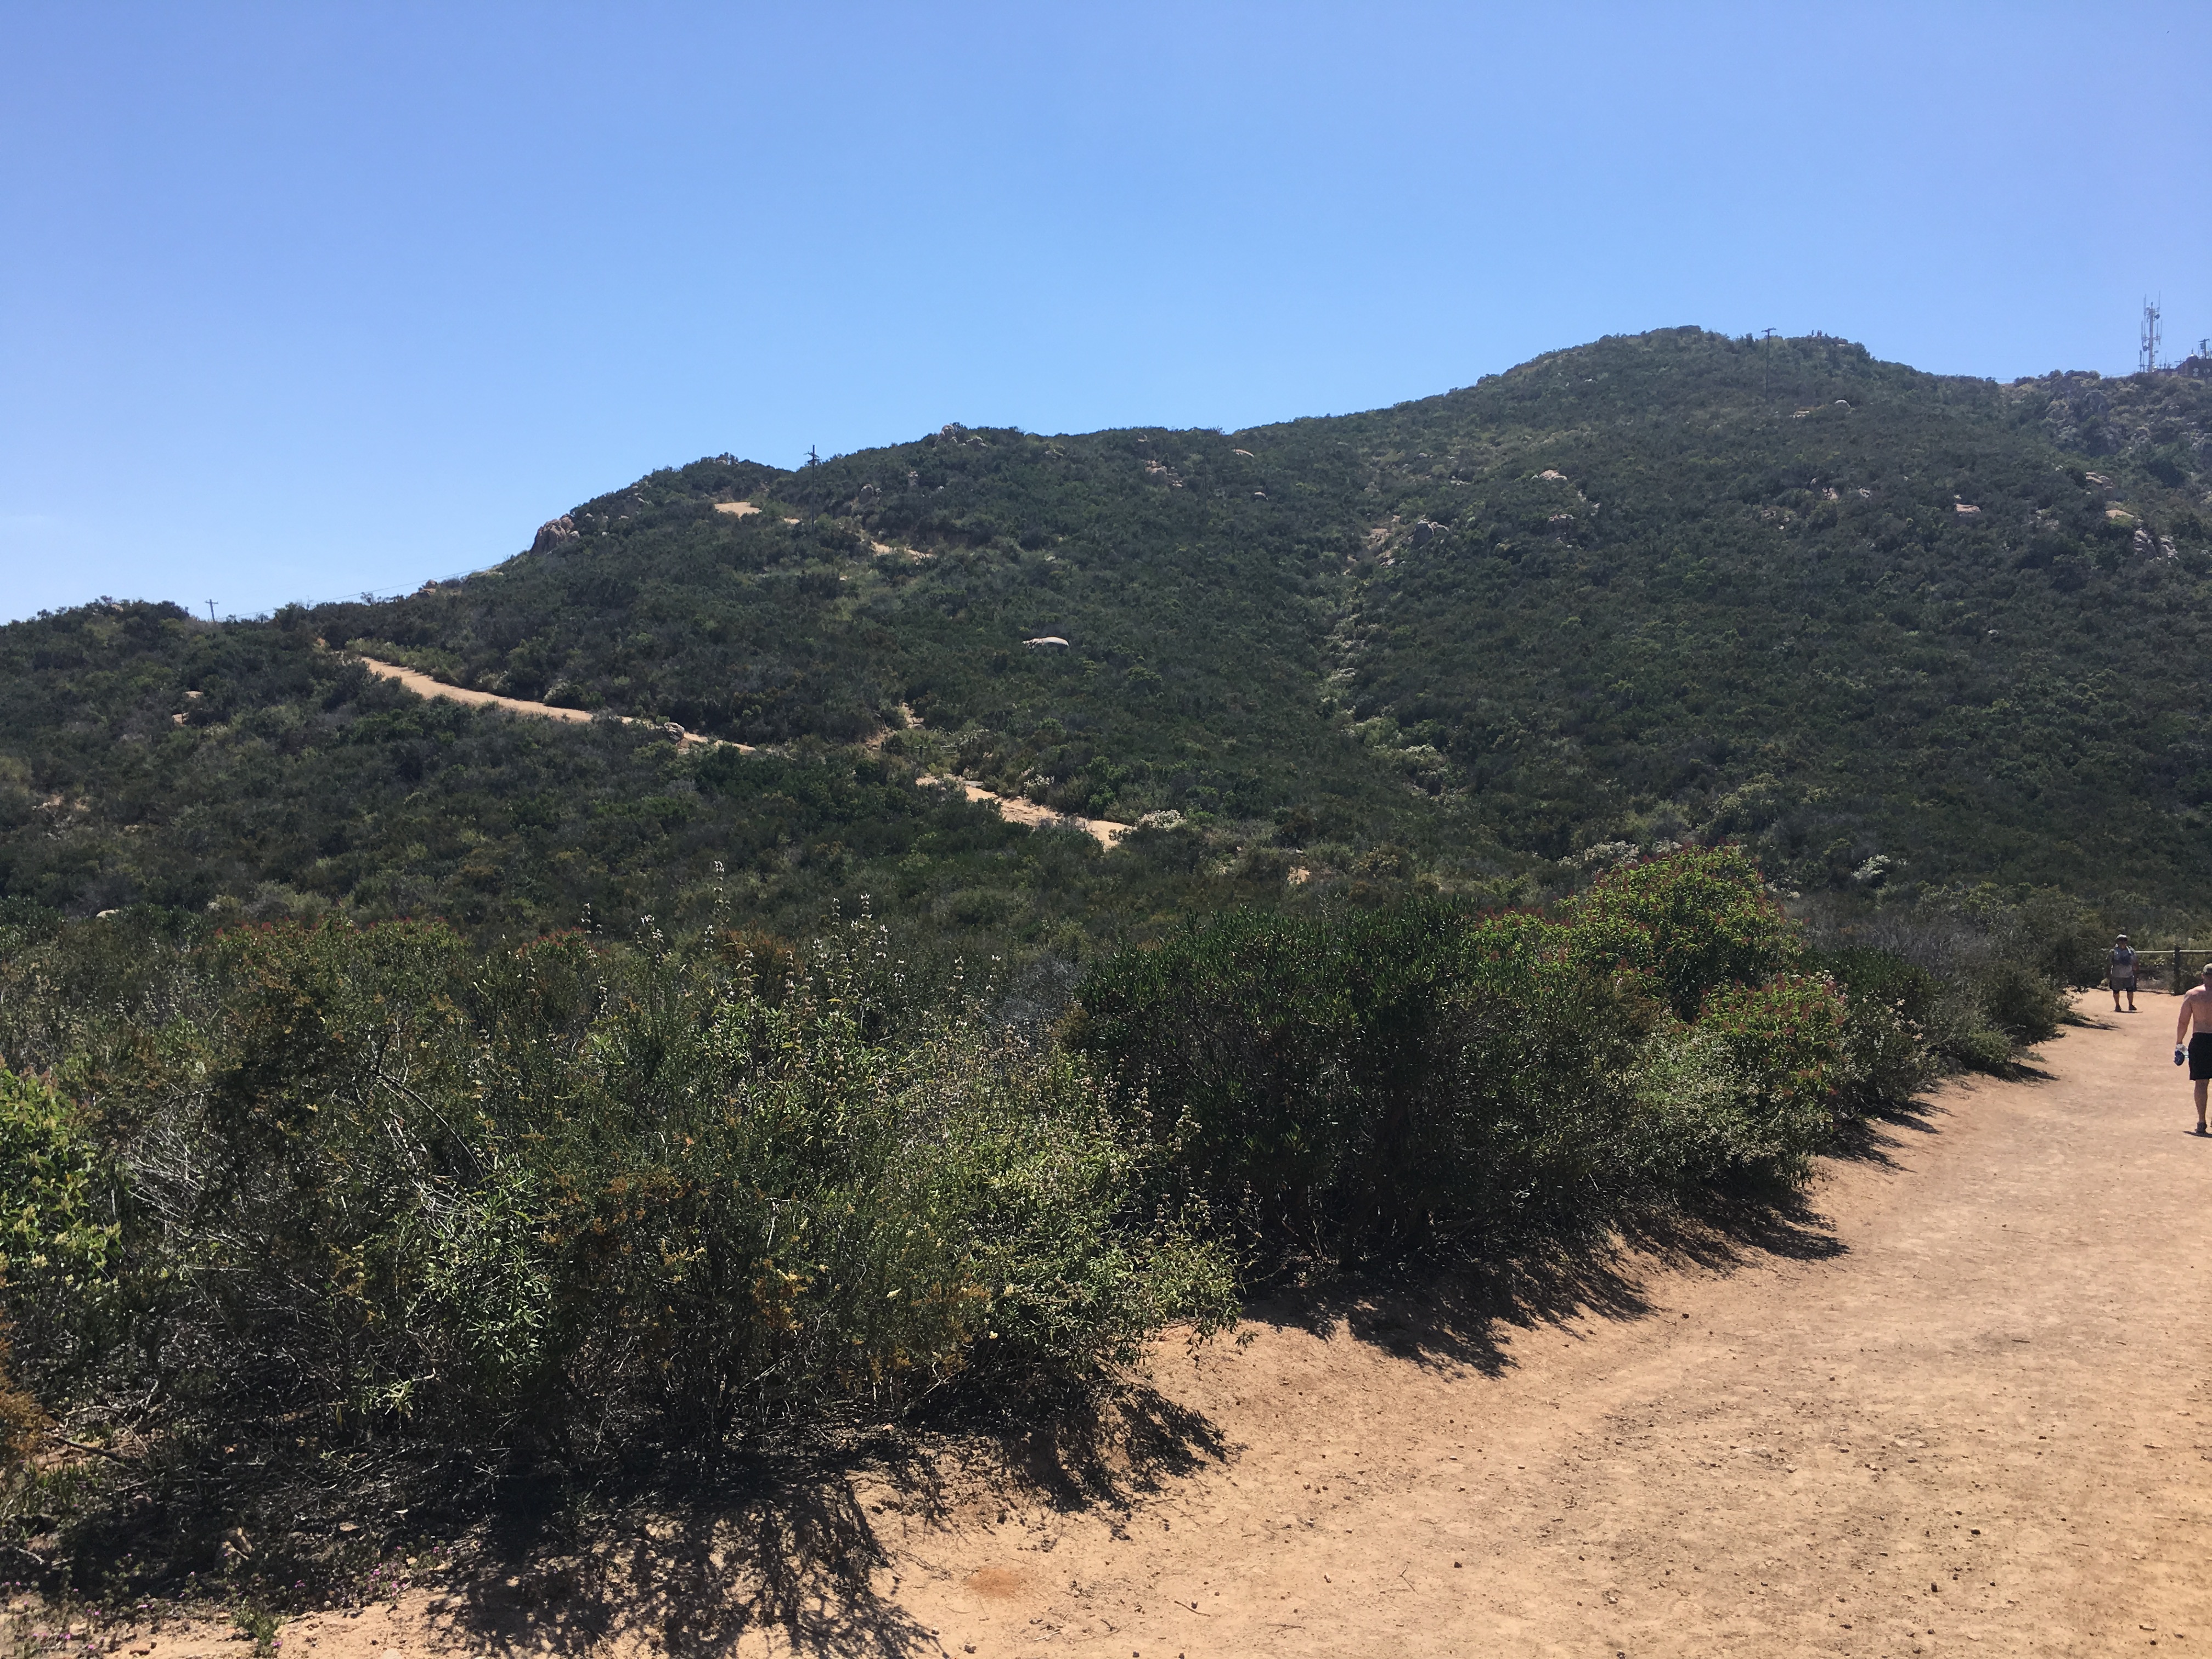
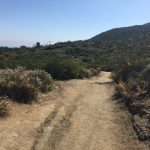
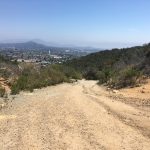
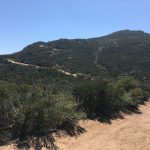
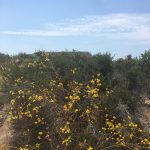
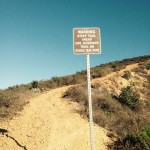
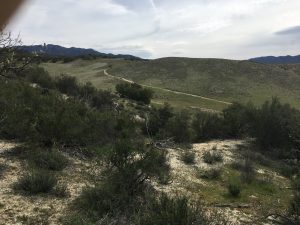
The first 1.2 miles of 2.5 mile trail to the Dam is for at least 75% of the journey, hard packed sand, very wide and easy to navigate and generous shade trees covering the trail. The last section of the hike and climb to the Dam is a little more rocky, but still very easy to negotiate, wide trail and plenty of room. The trail is marked very well with arrowed signs guiding you along the way.
At about the .75 mile mark you will come to a trail spur on the left, which is the Creekside Trail. You can take this to add more diversity, Creekside will detour back into the main trail as indicated on the trail mp on the left. Stay on the main trail for about 1.2 miles.
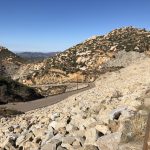
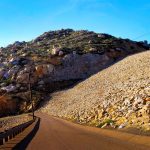
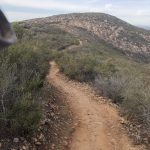
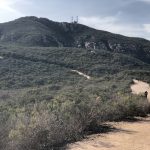
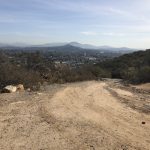
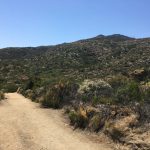
You will come to the Lake Poway Spur. Stay on the main trail as it veers slowly left and to the trail up, again take a left and the final climb to the dam. A sign here makes your journey and the final 3/4 mile ascent to the Dam.
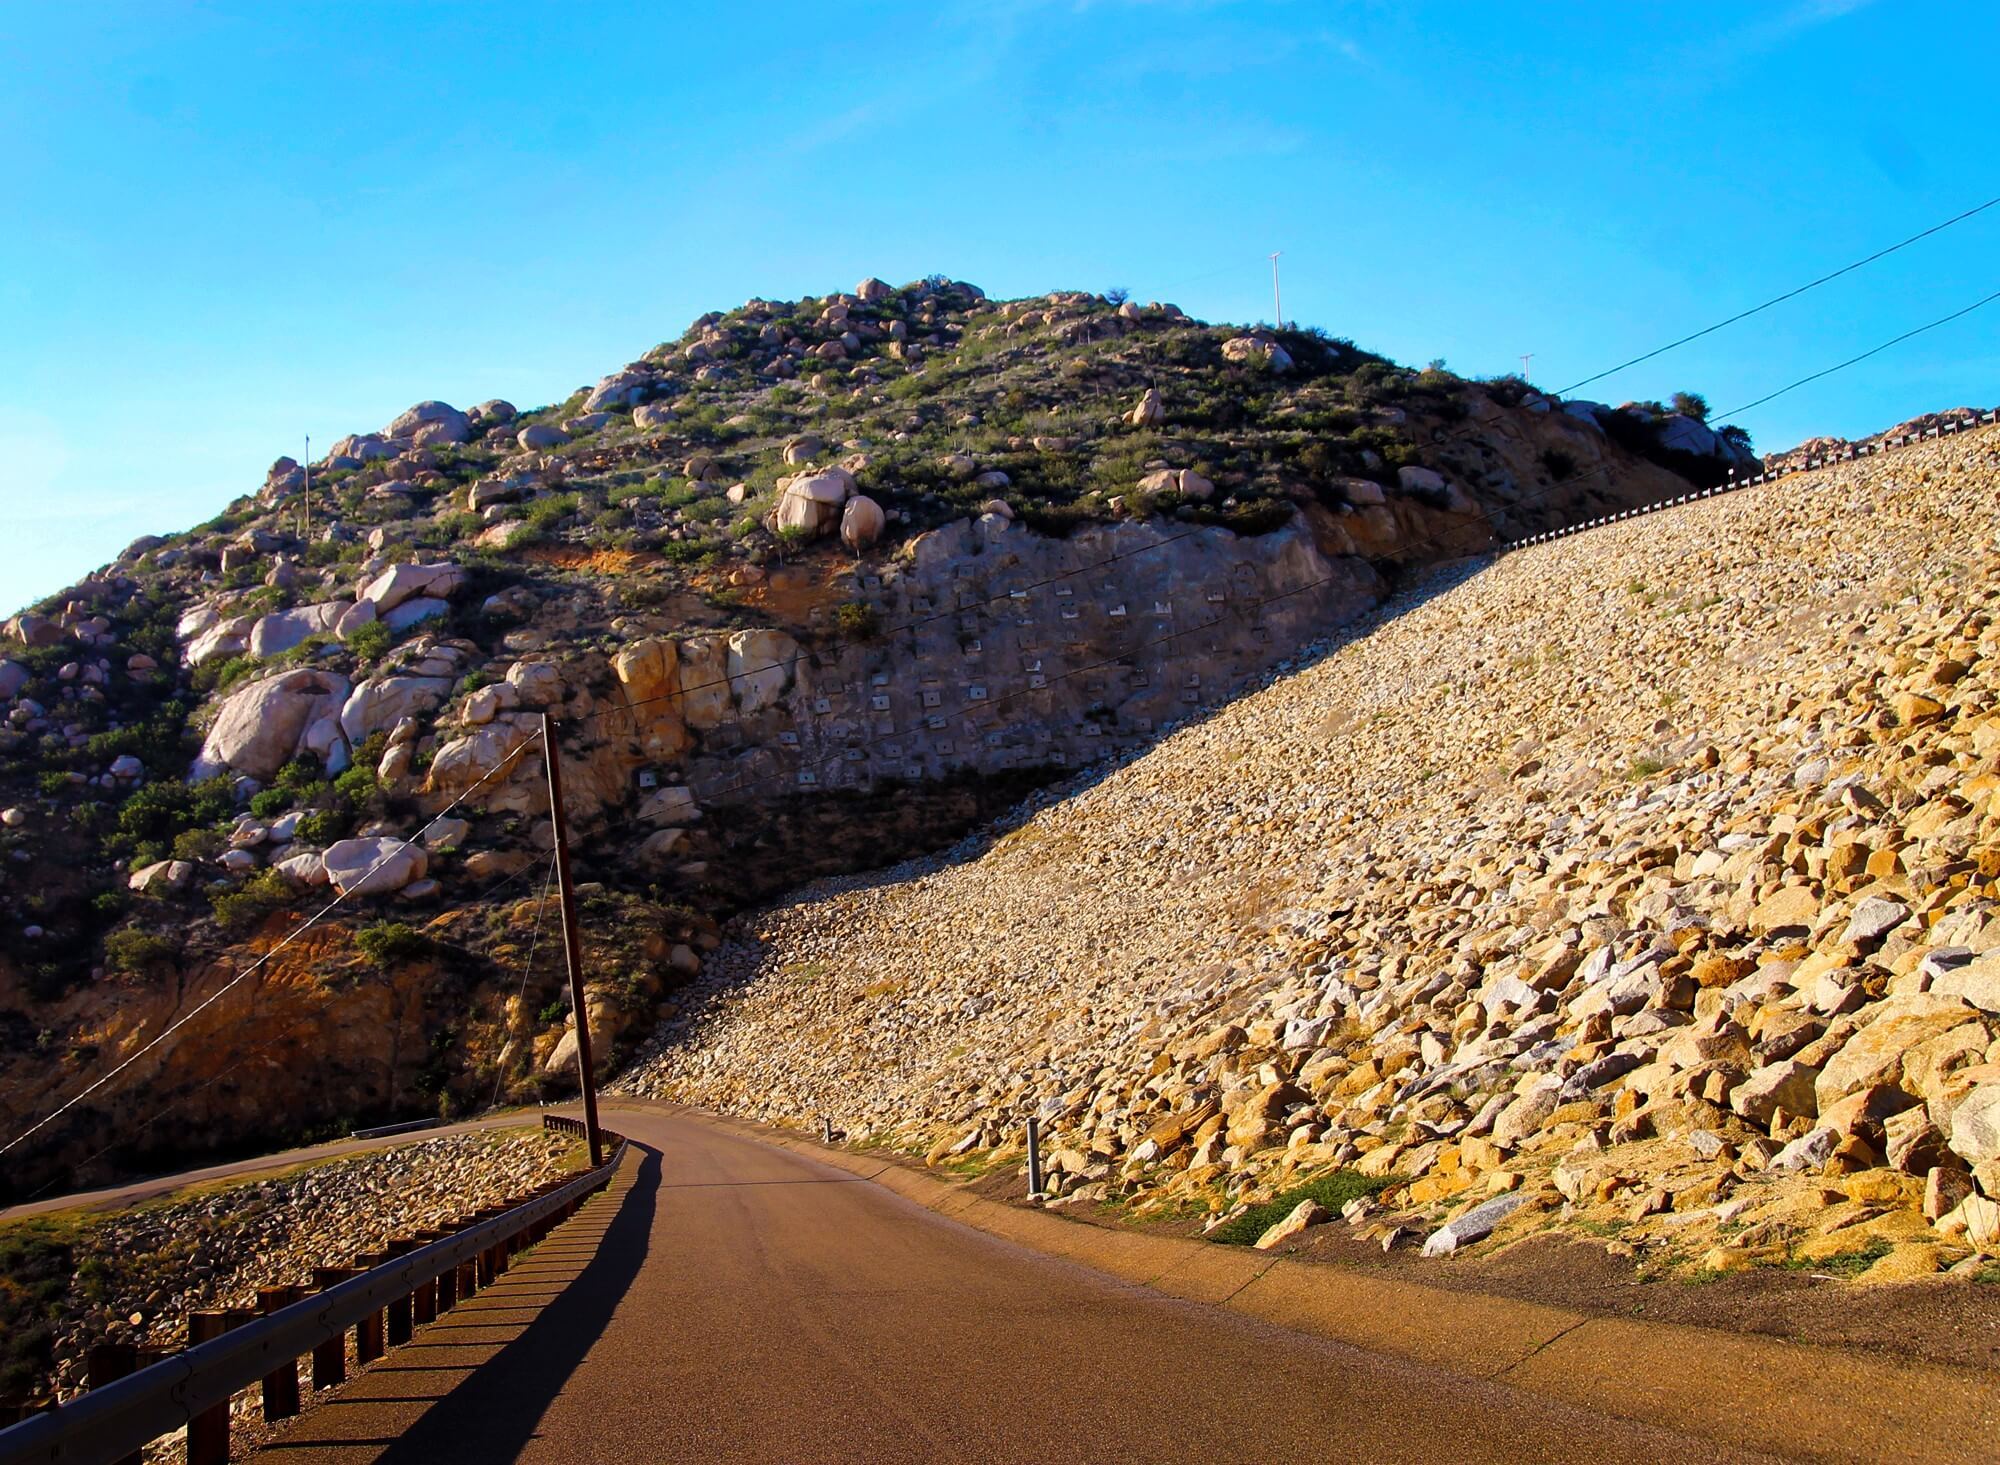
Last 1/4 mile up to Lake Ramona Dam is paved, steep the most challenging part of the hike. Hiker Therapy
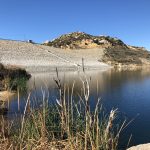
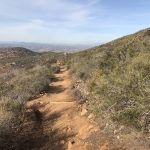
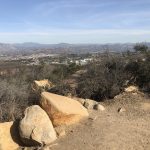
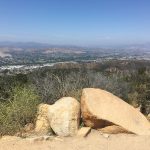
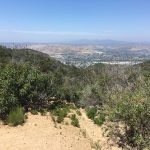
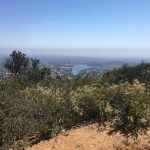
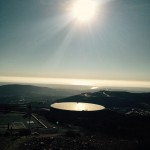
This part of the trail is very strenuous and for the last 1/4 mile is a paved road to the Dam. Once at the top stop here, rest, snack, hydrate. There is a restroom here as well. Once at the “summit” of Blue Sky take in the view of Lake Ramona and consider the option to add more distance and scenery to your hike by heading down to the lake.
The trail down to lake is just to the right on the restroom. A larger paved trail continues on and around the lake. The trail is marked by a chain crossing the path, step over this chain and meander down to the “beach’ below. Very quiet, calm and peaceful here. A great spot for lunch and a well deserved break.
Lake Ramona, Poway, CA Blue Sky Ecological Reserve Hike: Hiker Therapy
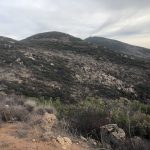
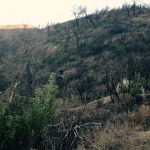
Great views of shimmering Lake Ramona and the surround mountainous scenery of the area. There is not much coverage on the ascent up and at the Dam so be aware of hiking in the heat at Blue Sky.
This is a great way to hike the “Hills” of Poway and still get a feel of the diversity of the area, hike a not so common trail as compared to Iron and Woodson and get in a good 5 mile challenge rich in reward and mental and physical health well-being.
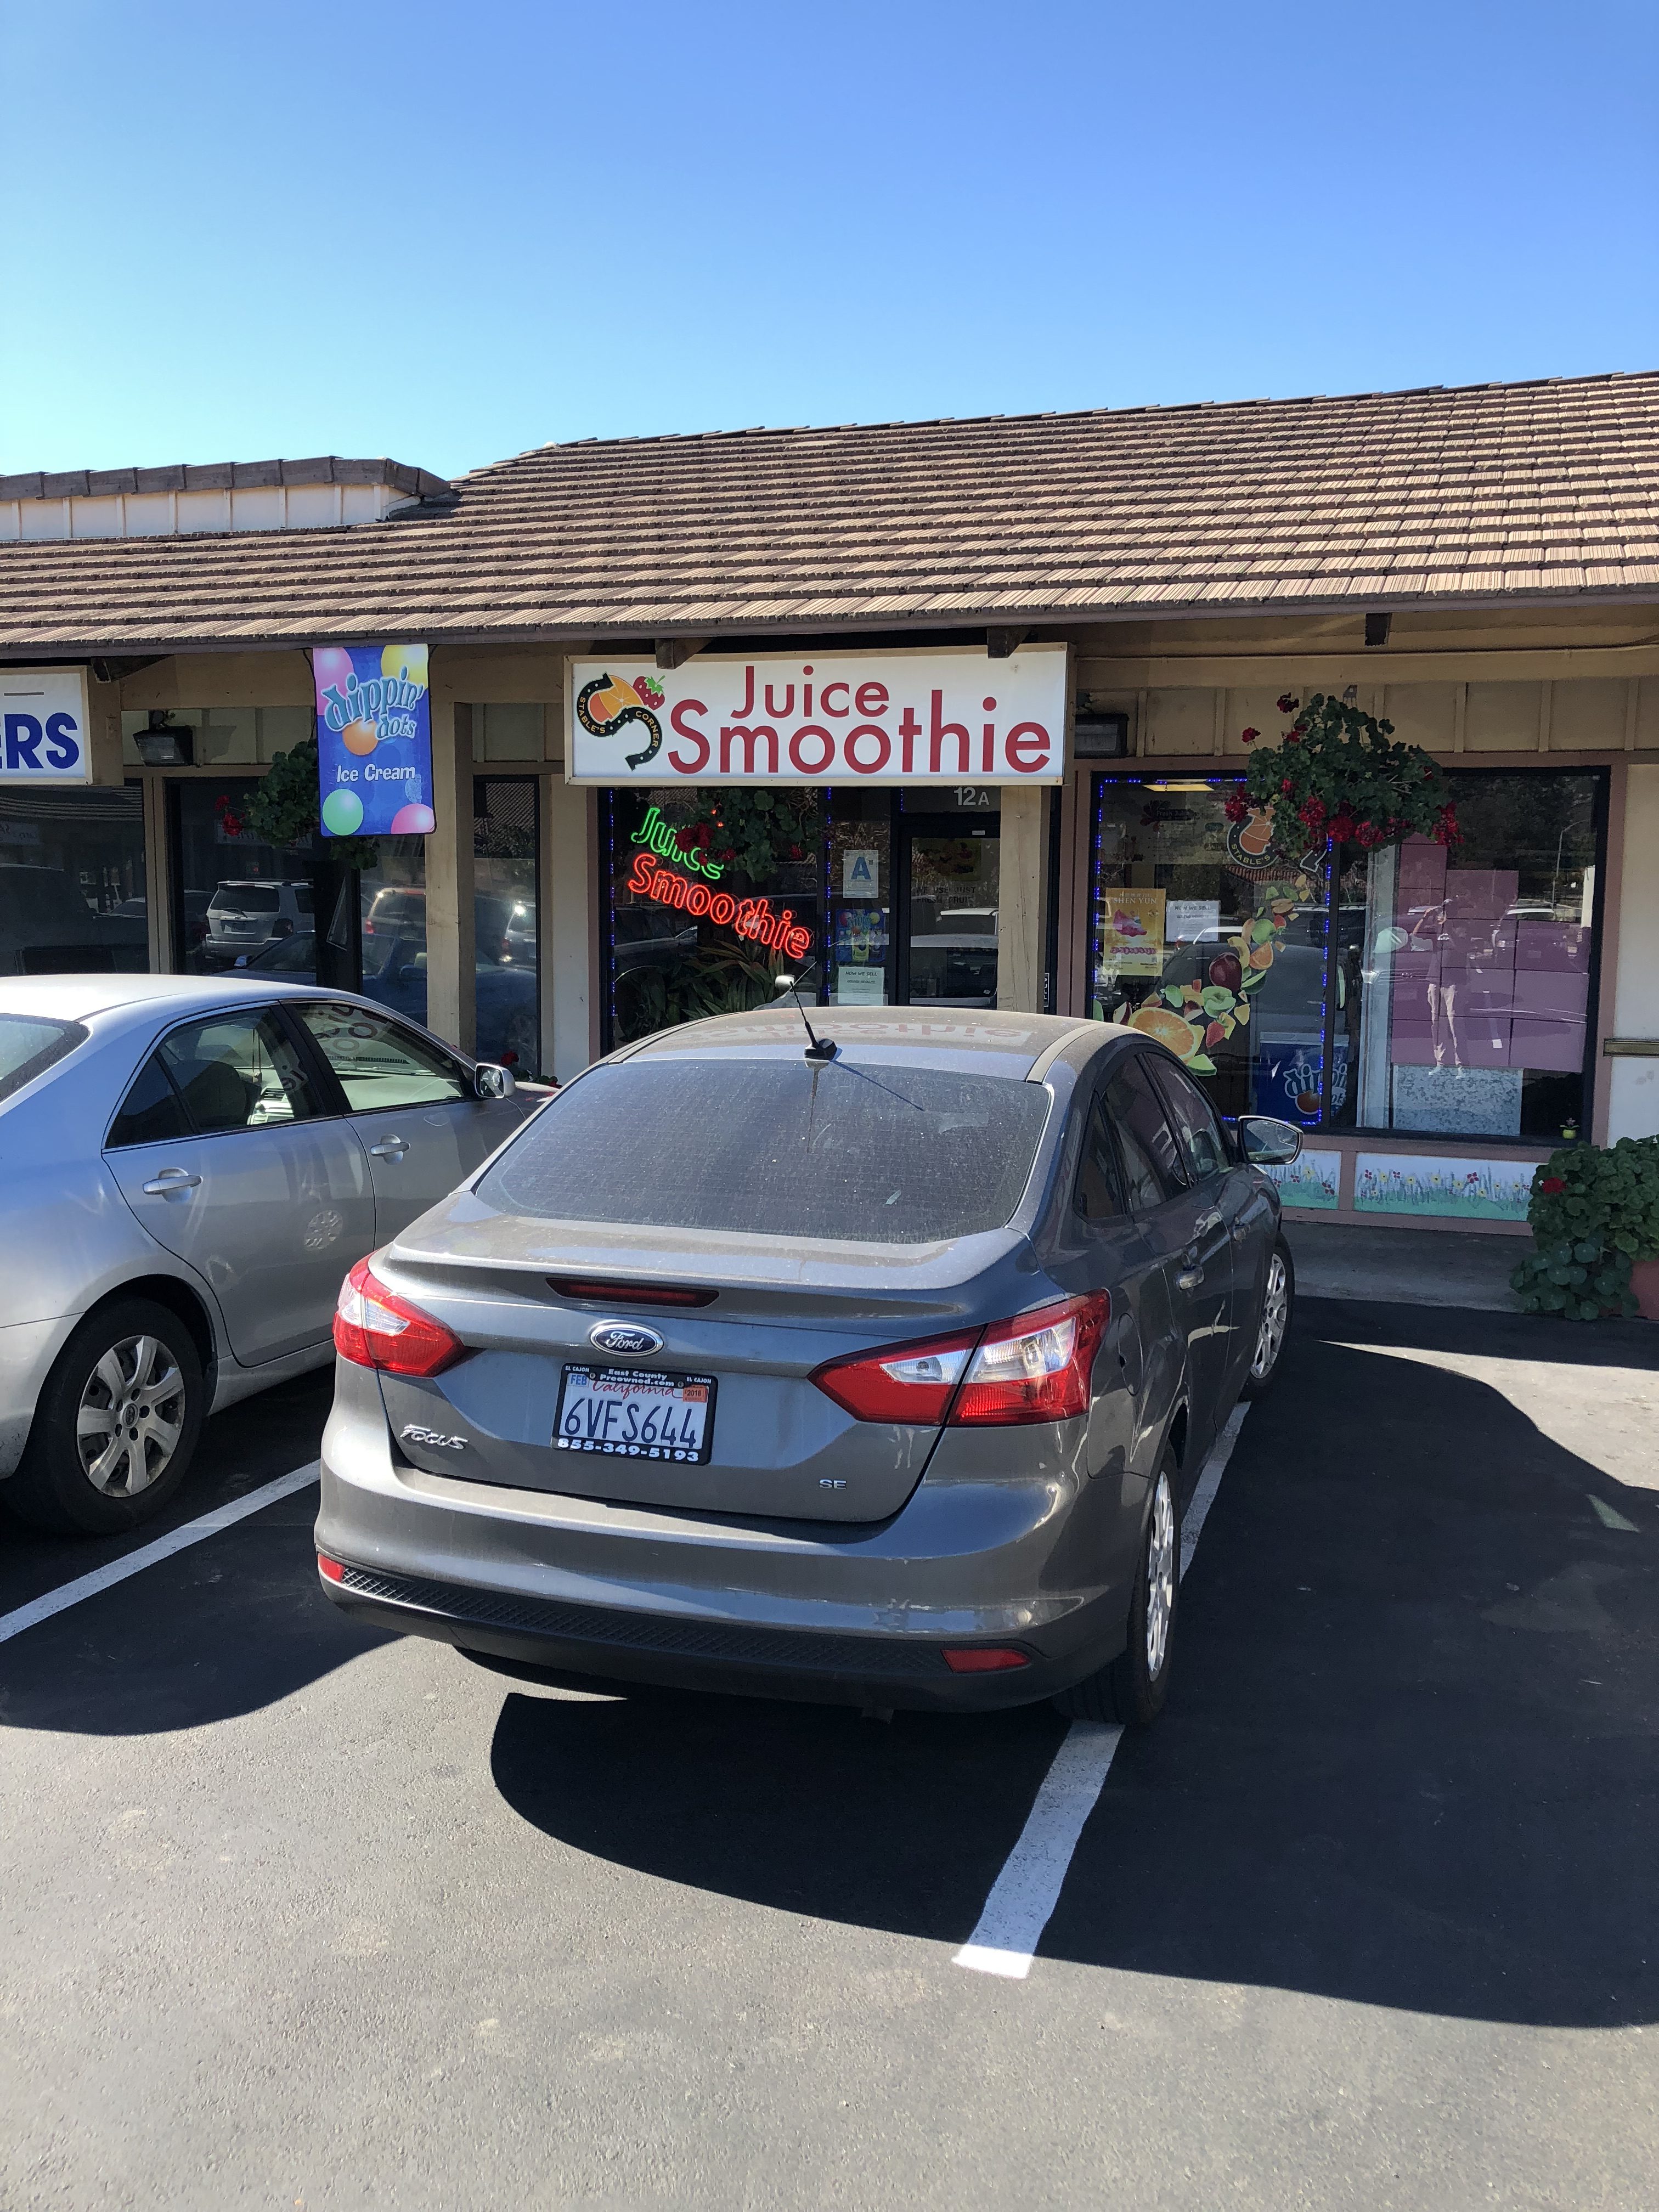
The Stable’s Corner Juice & Smoothie.. Hiker Therapy
An added bonus to hiking Iron, Woodson or Blue Sky is the The Stable’s Corner Juice & Smoothies shop at Espola and Twin Peaks Rd. Hands down the best smoothie shop in San Diego County.
“Hydrate, Respect your Limits, Respect your Partners Limits”
Hike On!
Blue Sky Ecological Reserve Gallery
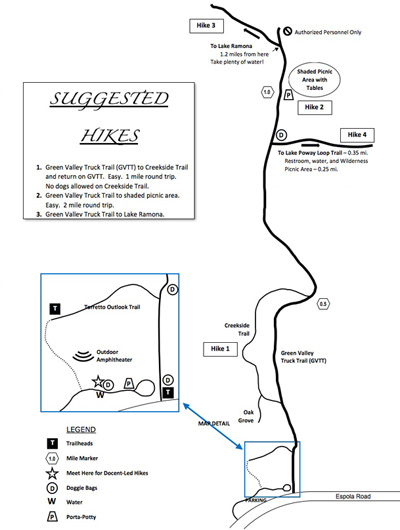
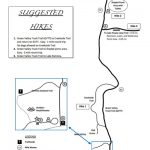
Blue Sky Ecological Reserve Poway, CA Trail Map
Blue Sky Ecological reserve Trailhead and good indicator of trail composition. Hiker Therapy
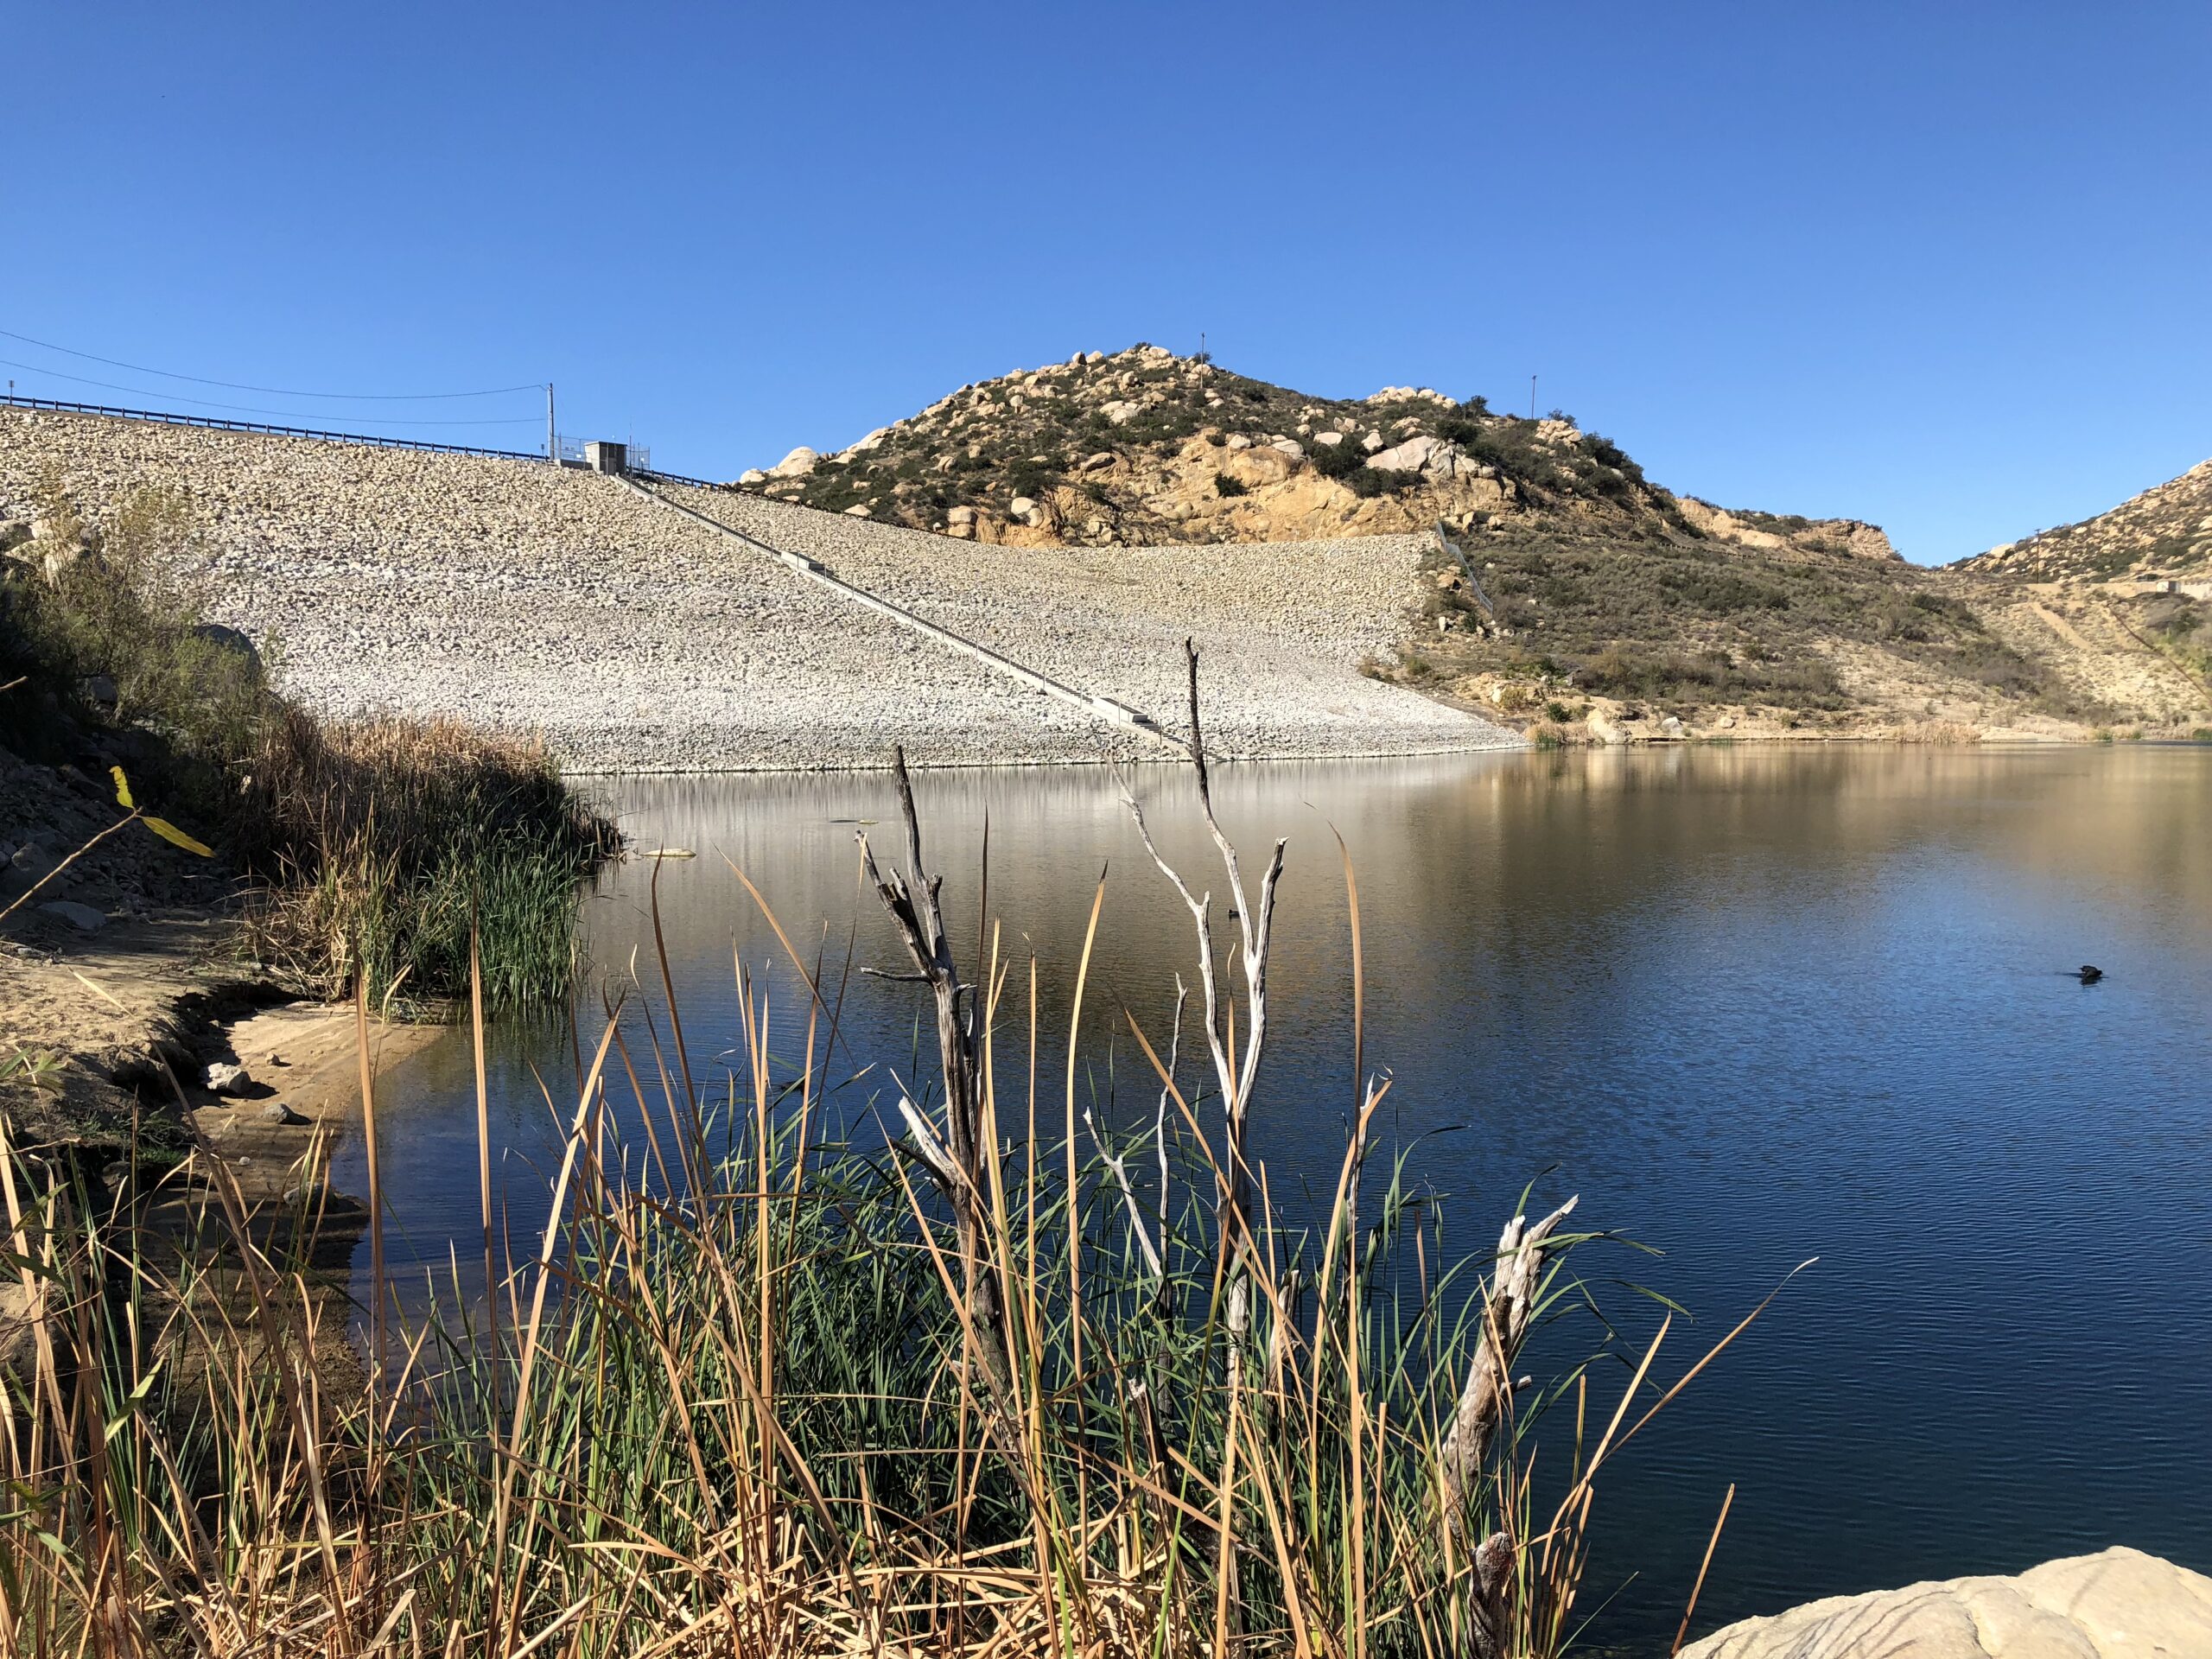
Lake Ramona Dam
Lake Ramona Poway, CA
2.5 miles from trailhead….Hiker Therapy
Trail up to the Dam
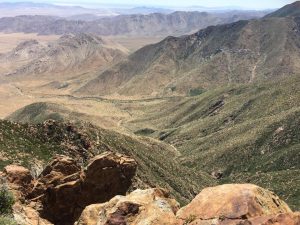
View of Blue Sky Ecological Reserve from Lake Ramona Dam
Blue Sky Ecological Reserve
Ascent up to Lake Ramona Dam
View from “The Beach’ at Lake Ramona Dam
Hiker Therapy
Lake Ramona, Poway CA Blue Sky Ecological reserve Hike: Hiker Therapy
The Stable’s Corner Juice & Smoothie..Best smoothie shop in the County Hiker Therapy
Water: 1.5 L Snacks: Orange, Pro bar, hard boiled egg
For a hike that covers a lot of diverse trail, assorted vegetation, gorgeous views and beautiful scenery then the Pyles Peak via Cowles Mountain Service Rd, Barker Way Trailhead is the hike for you. Not to mention you bag 2 peaks in one hike. In the Mission Trails Hiking system Pyles and Cowles are 2 of the 5 hikes to bag. The other 3 being both Fortunas, North and South as well as Kwaay Paay.
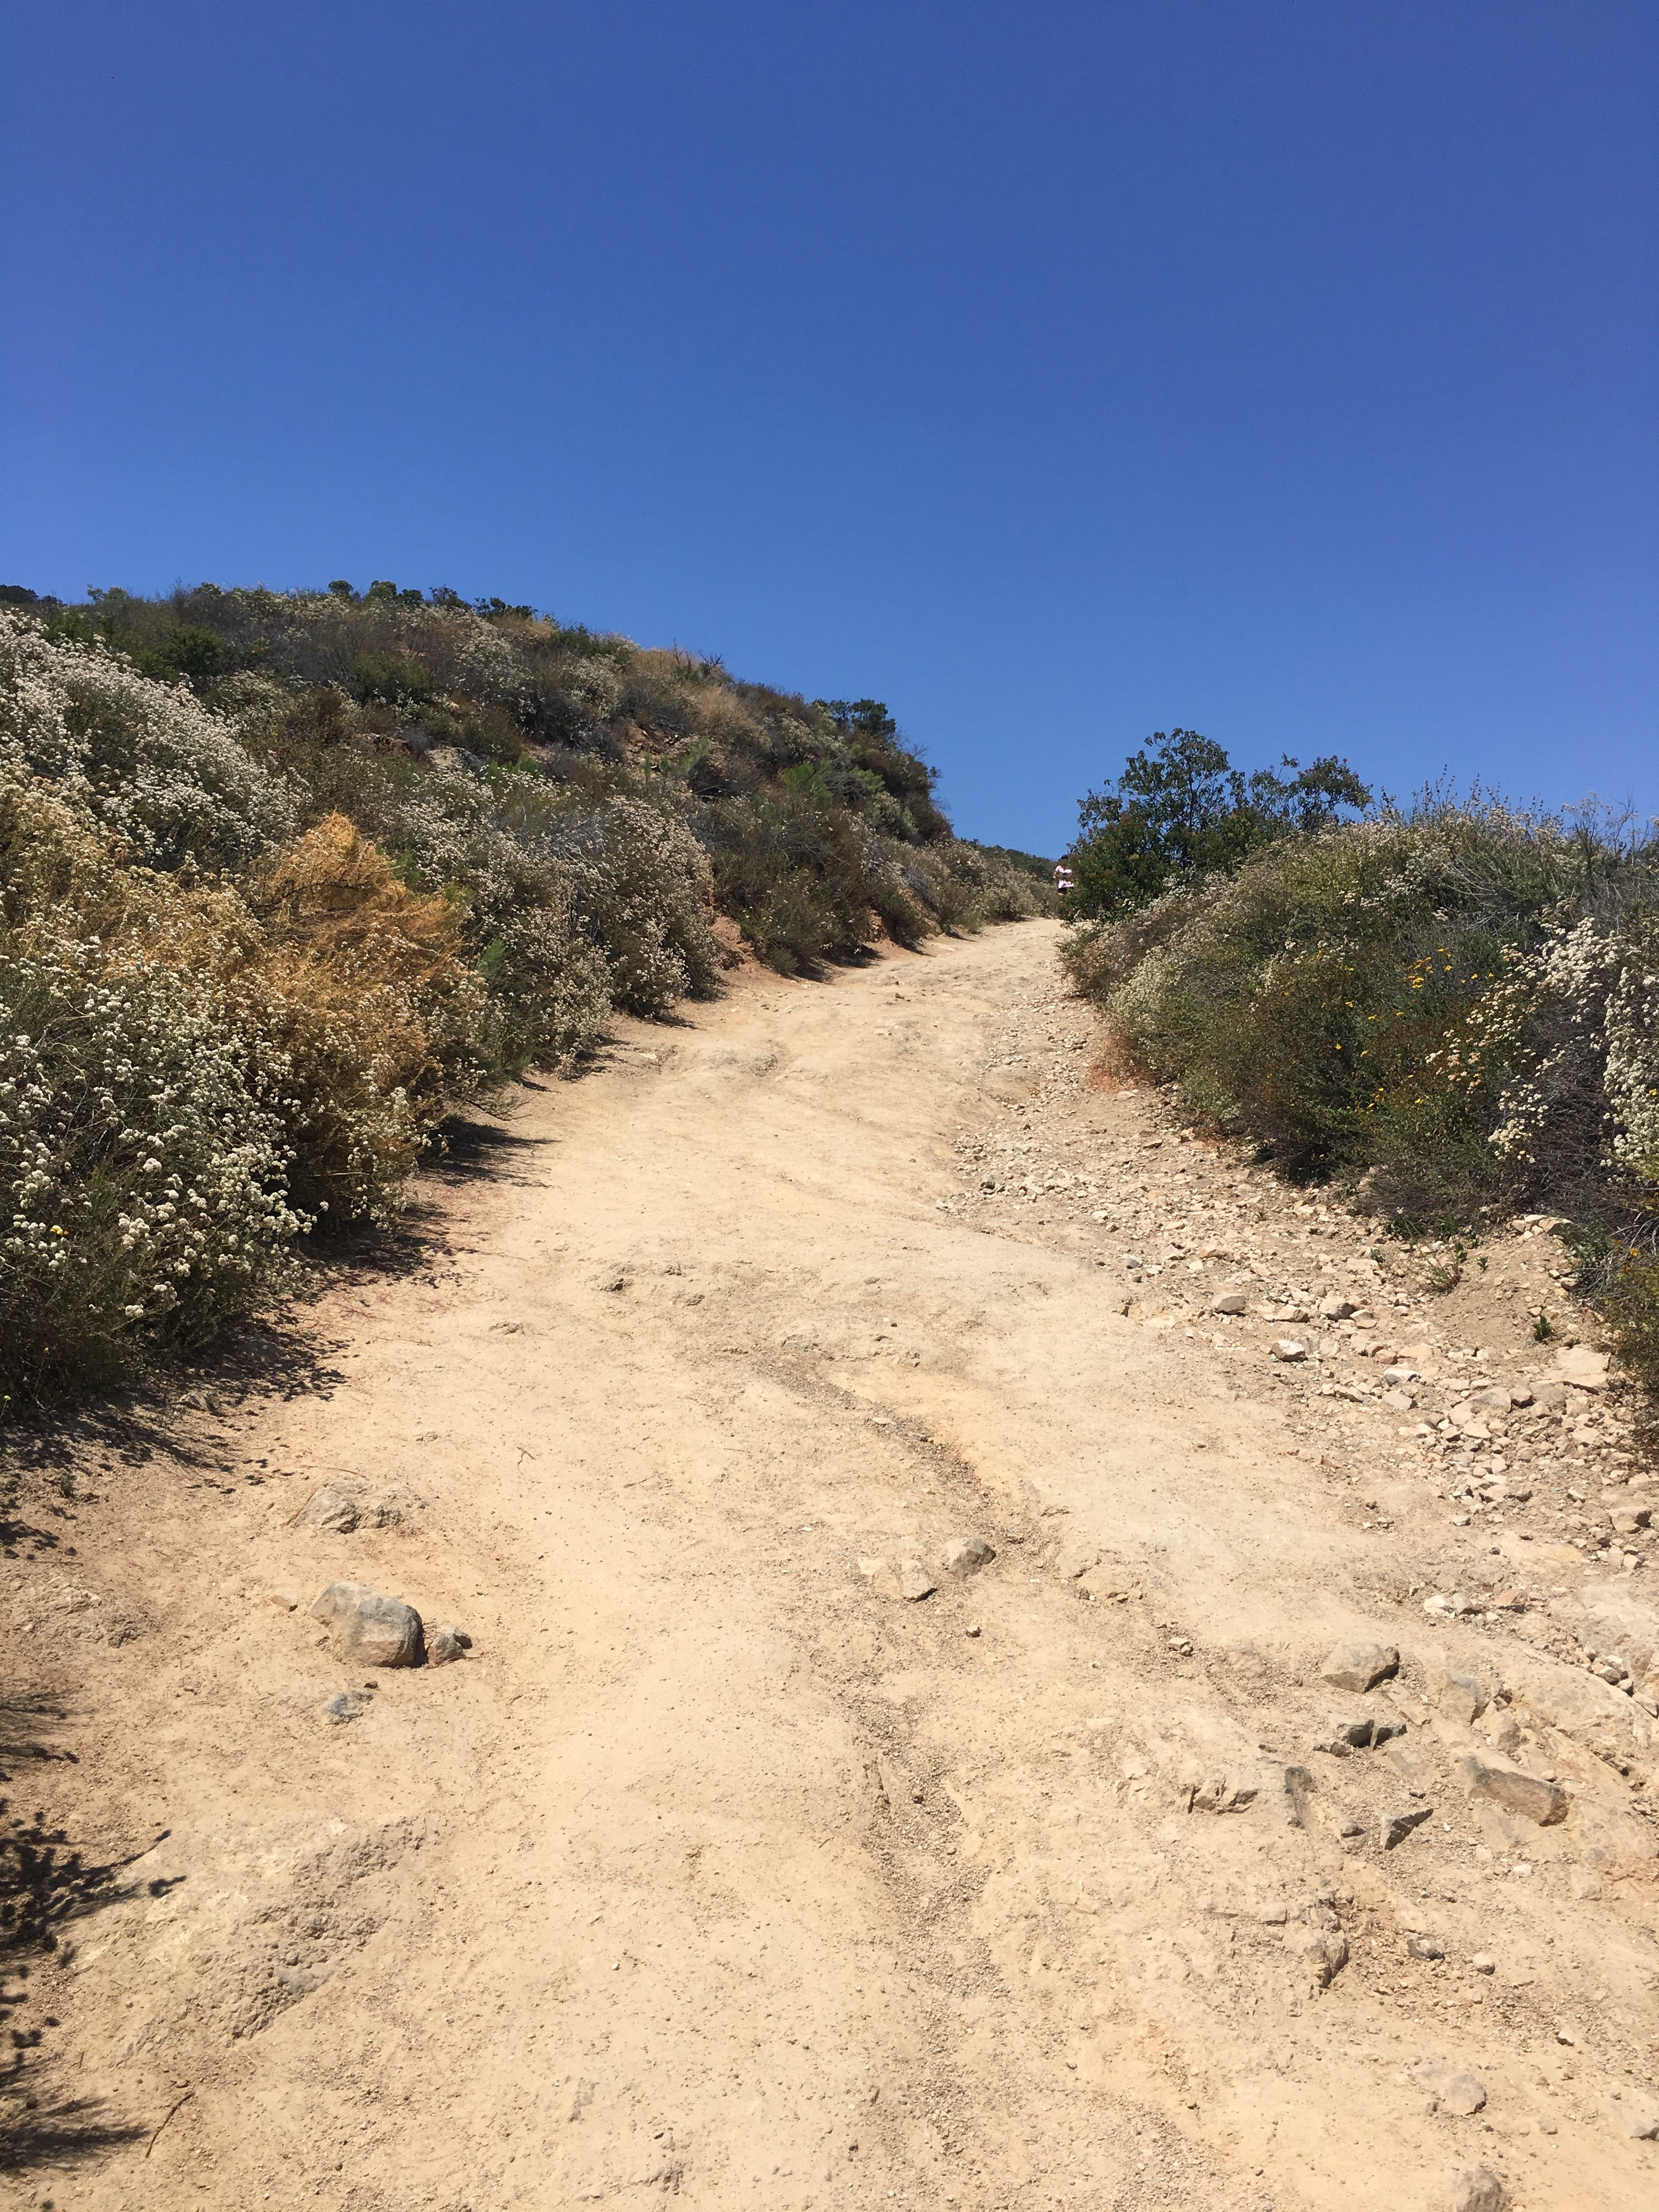
Barker Way to Cowles Mountain Service Road
The trailhead for this hike starts at Barker Way In Santee, CA. I like this start due to its less populated trailhead and easier parking. There are also restrooms here for convenience. The trail start is flat, sandy and wide. After 100 yards you will come to a sign that points you left and up towards Cowles, do not go left, continue on the trail as it veers right and up and on your way to the top of Cowles. The trail here starts to climb to the 3/4 mile, then plateaus for awhile then climbs the entire way.
Cowles Mountain Hiker Therapy
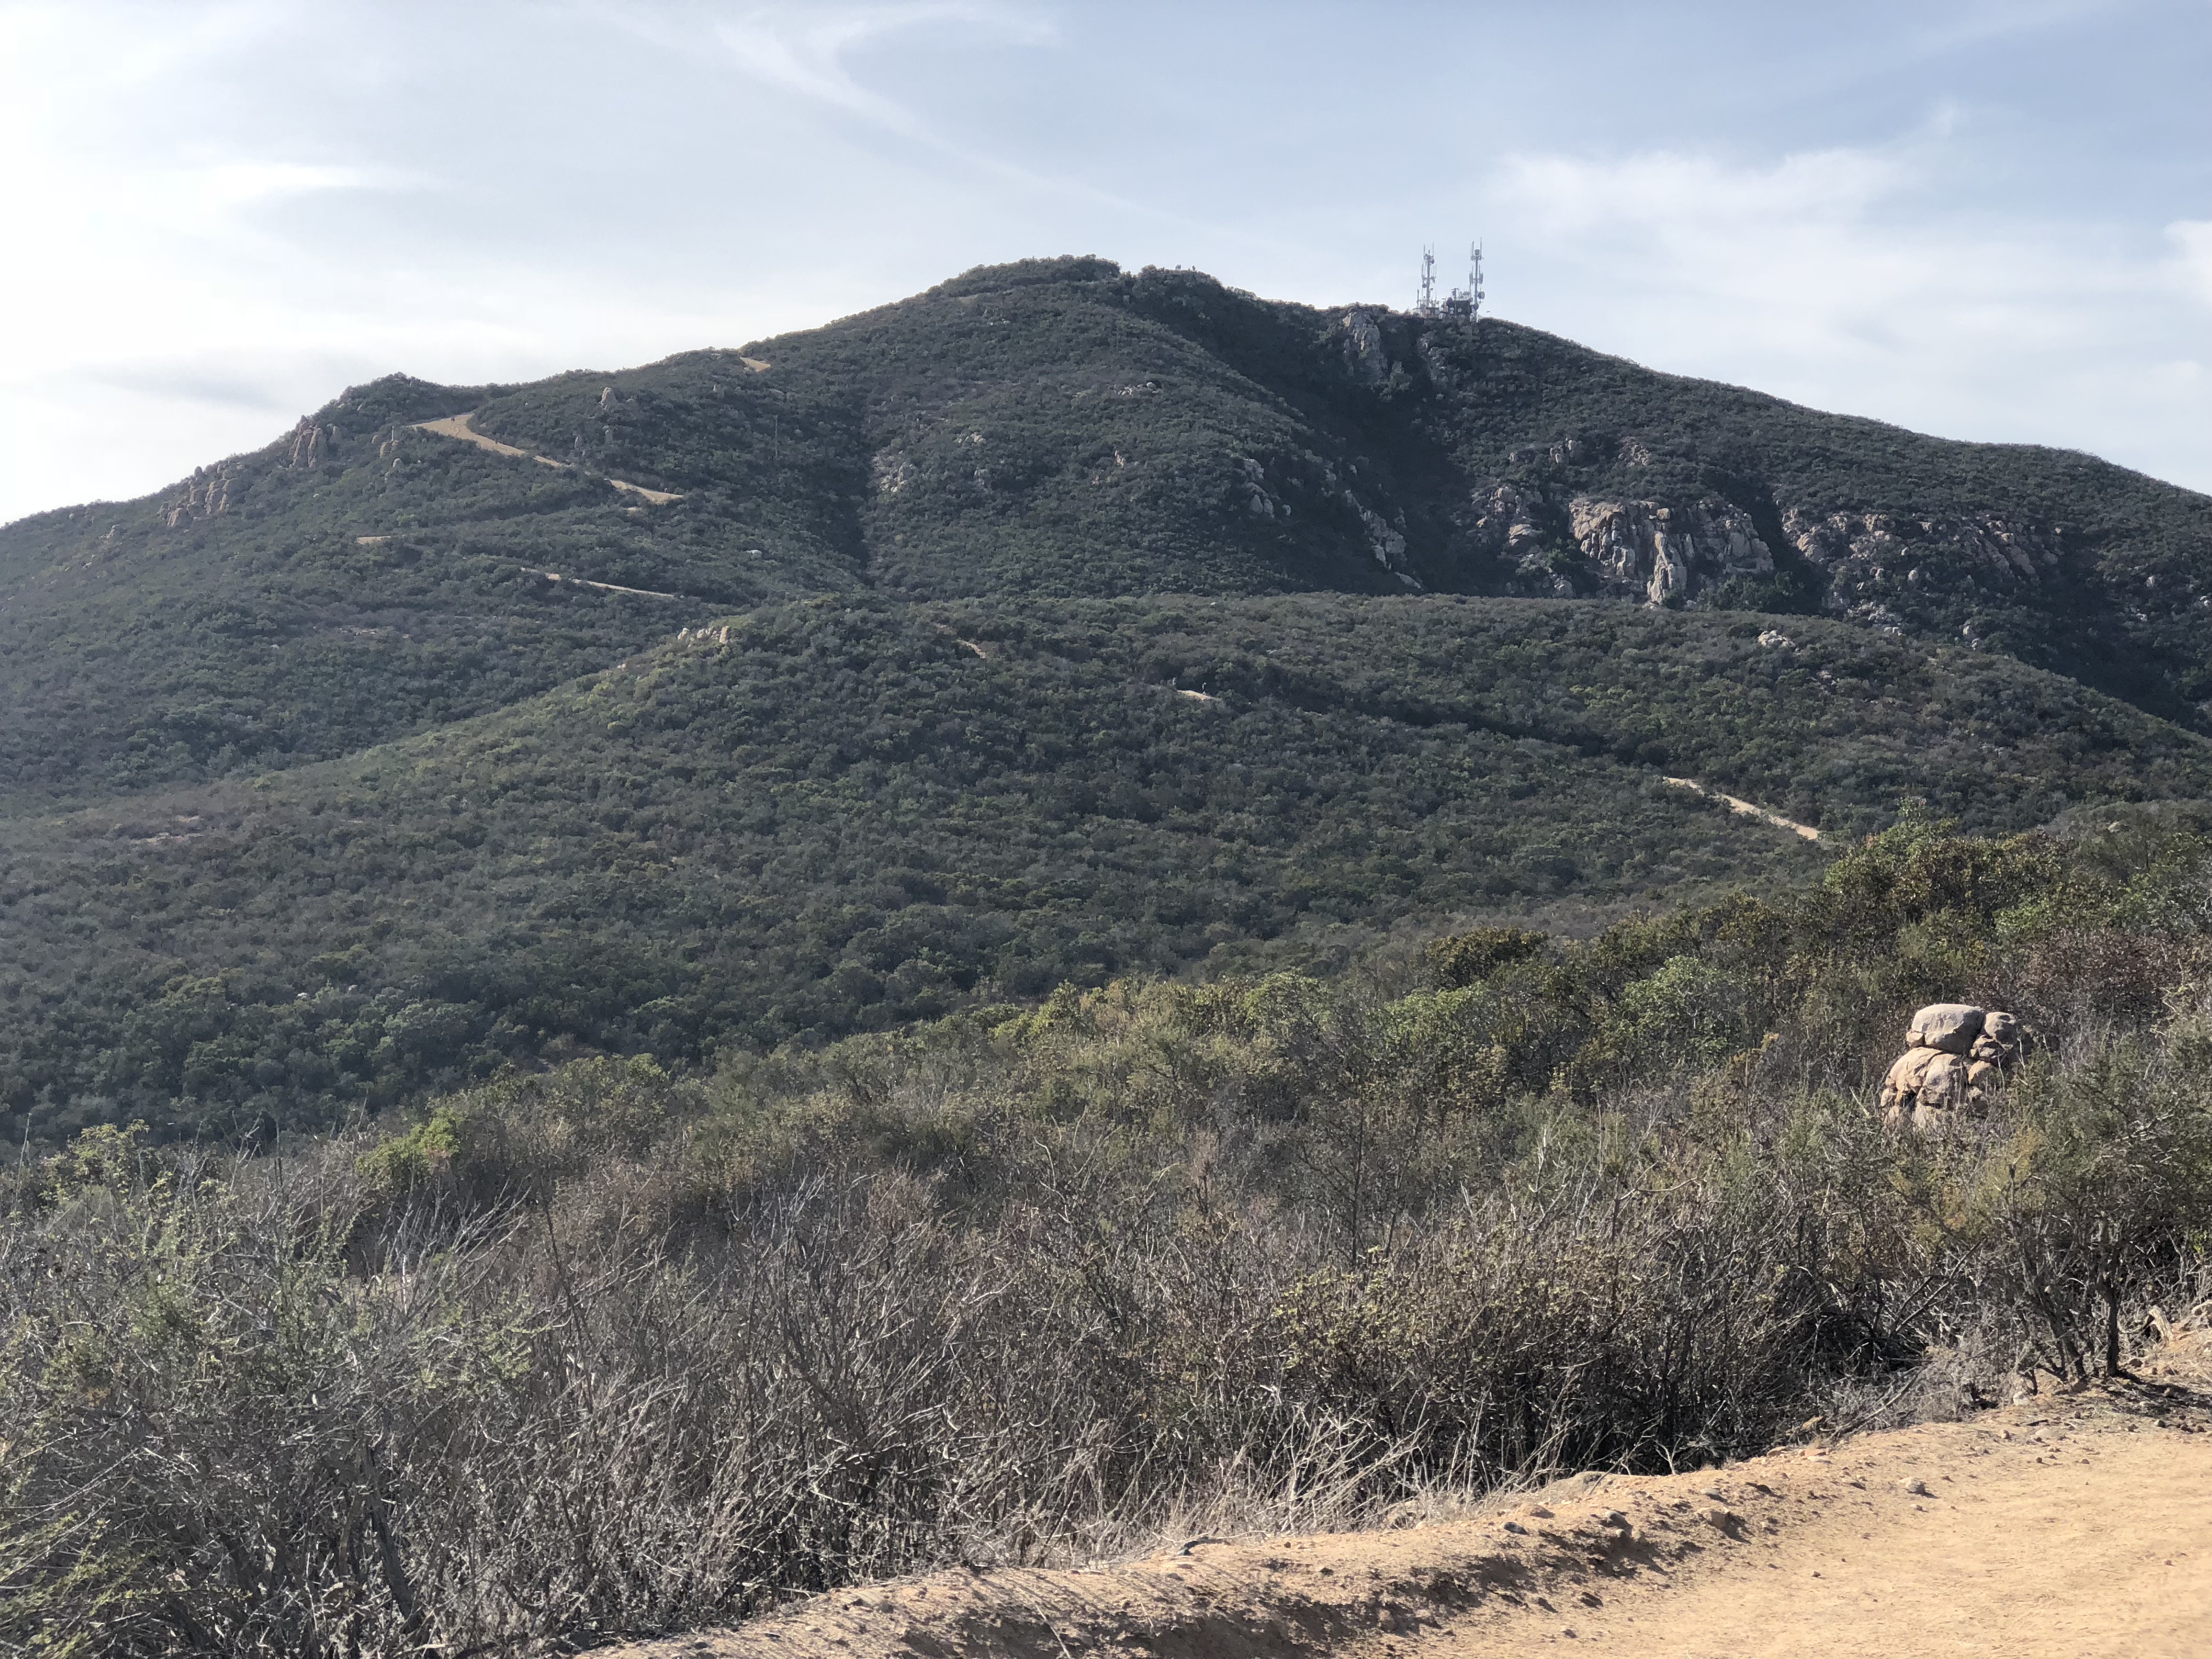
As you plateau at about the .75 mile mark you will look up and catch a glimpse of Cowles, the radio towers, and the trail will “snake” up the mountain to form an “S” pattern. From here to the Peak of Cowles the trail is rocky, and the steep ascent becomes more challenging and strenuous. Although you will see others along the way, compared to the more traditional Golfcrest and Navajo Rd trail, this section of trail in the Colwes system is the less traveled, quite and the most challenging of all the trails up. As you near the Peak of Cowles the trail will steepen dramatically the last 50 yards and then veer left. As you make the gradual left sweep, straight ahead you will see a sign marking the start to the trail over to Pyles.
Cowles Mountain Summit Hiker Therapy
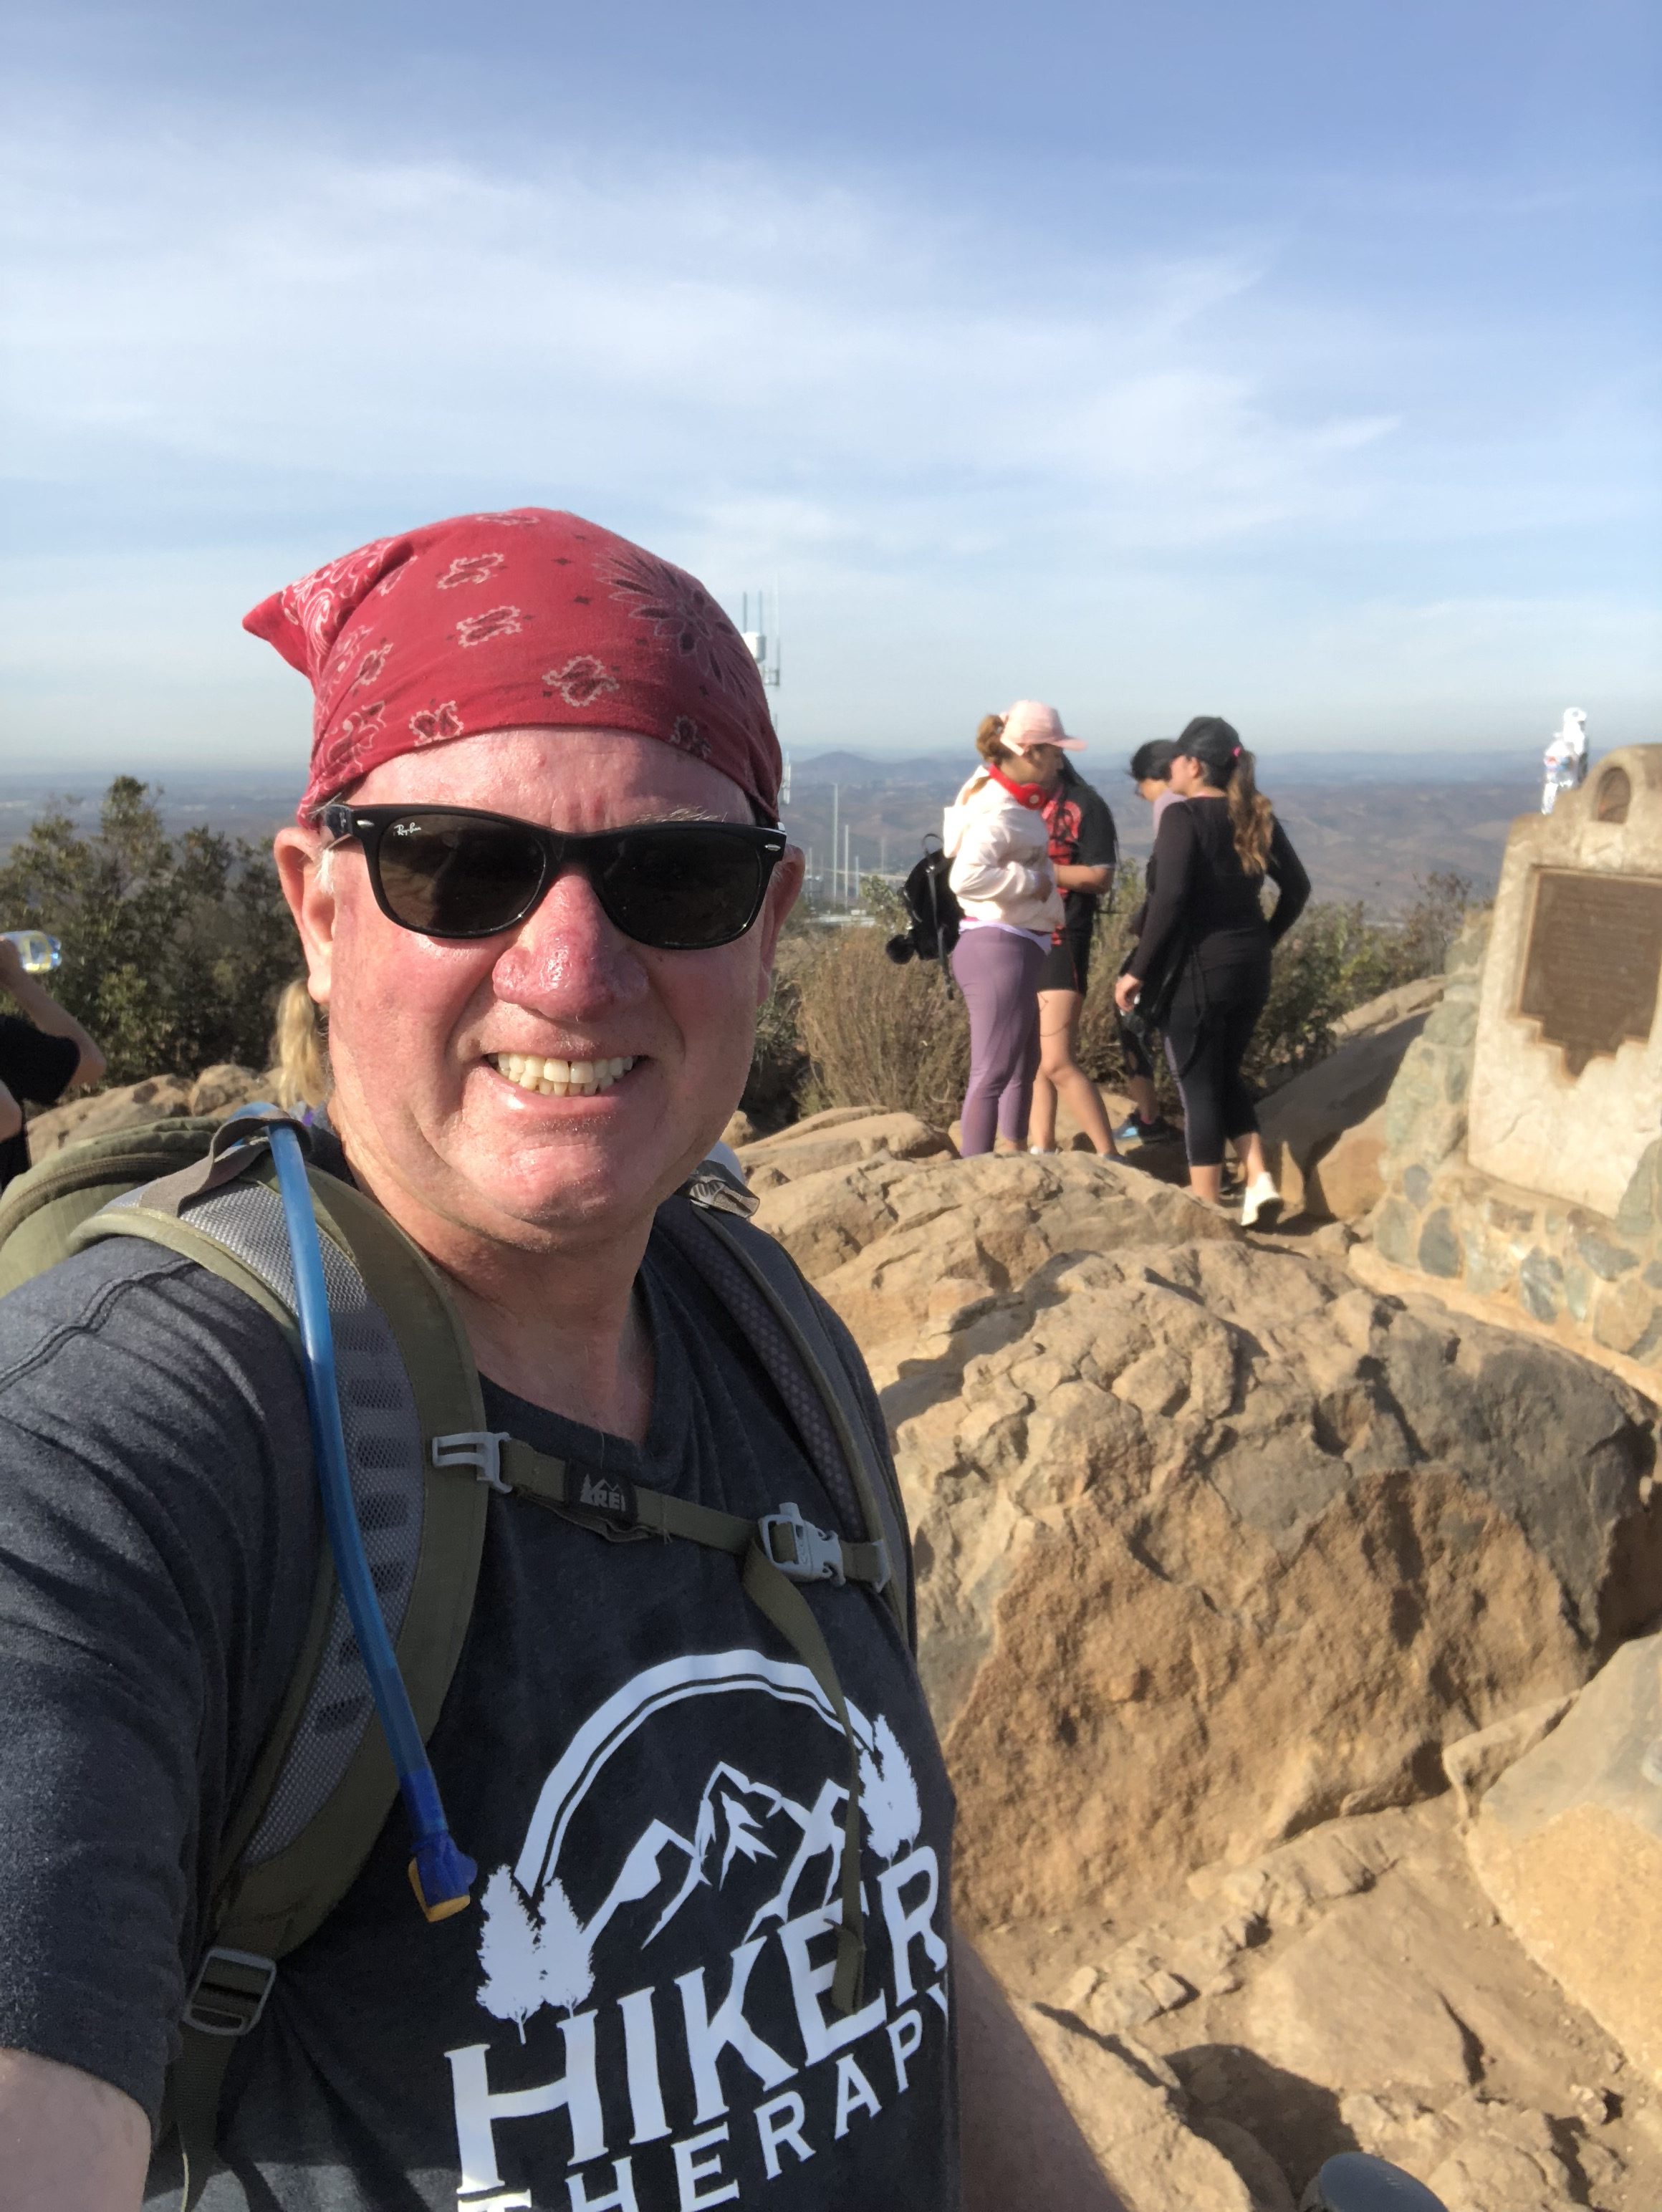
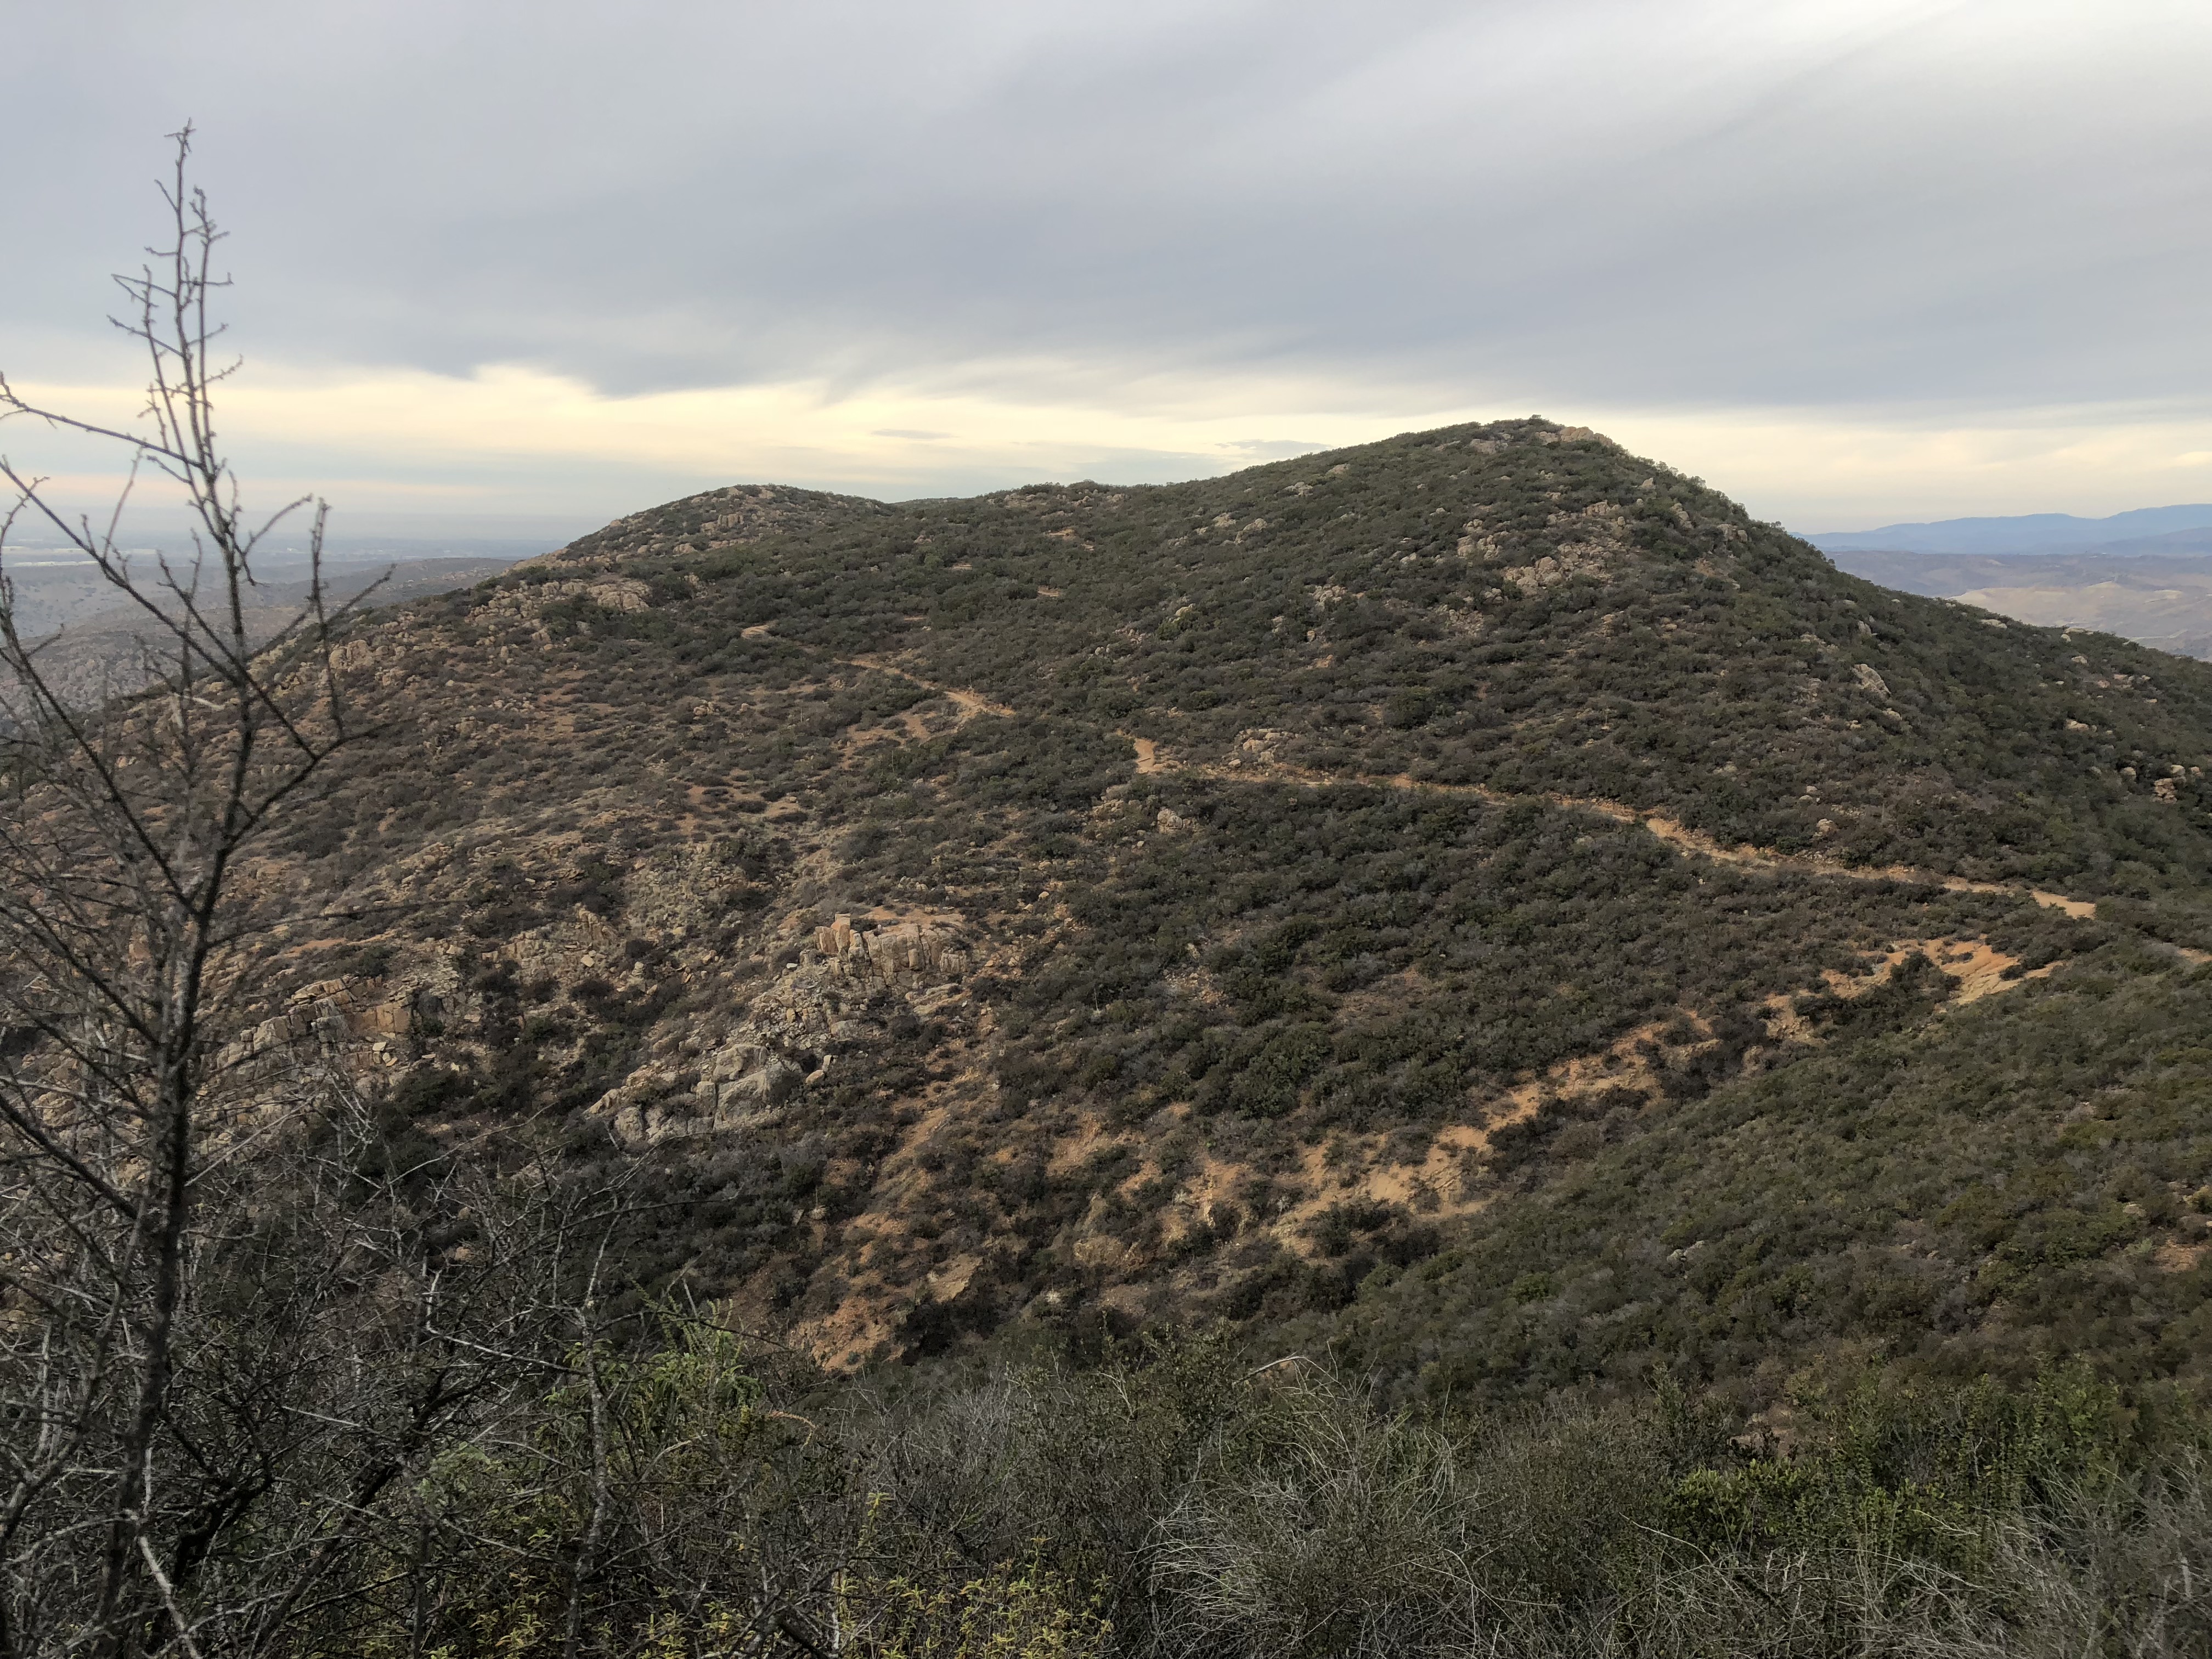
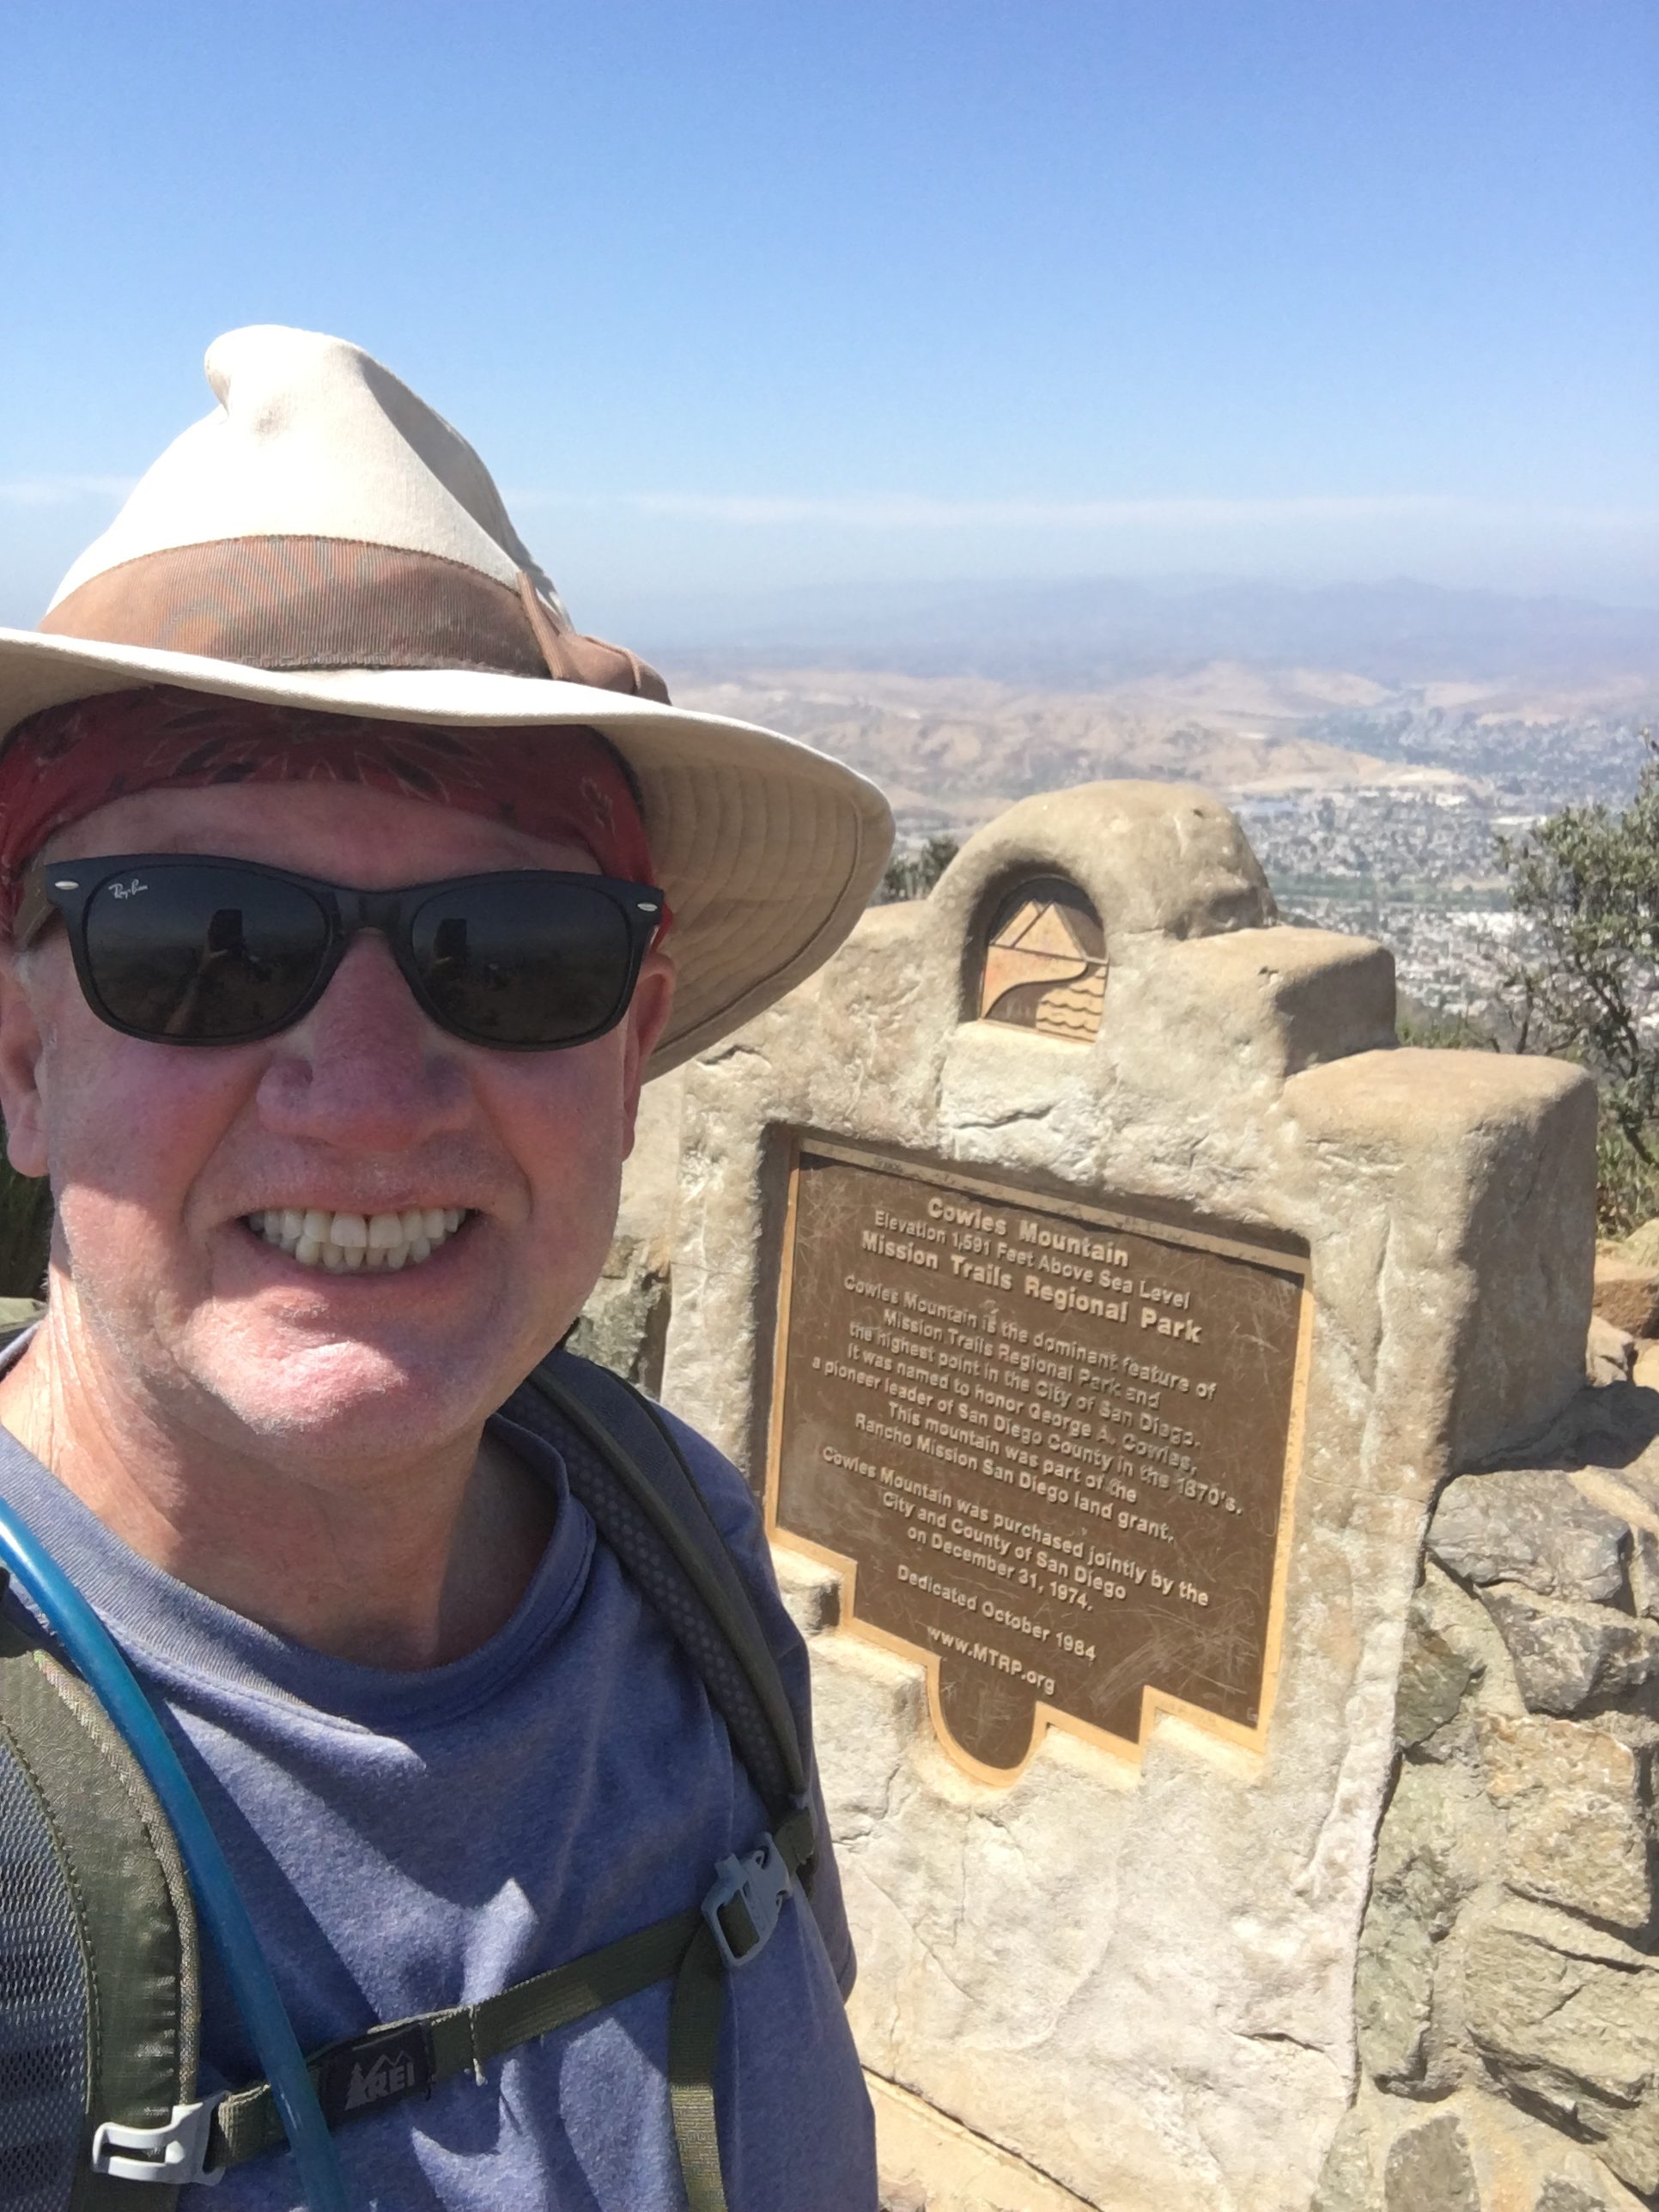
However, as you hike along you will see a set of wooden steps and as you do, make a left to get up to the rocky section of the Peak of Cowles and the path up to the monument. I always love the views from Cowles. Looking North east you see East County and El Cajon Mountain, looking South you can see Mexico, to the Southwest Pt. Loma and looking direct west some of the other peaks in our county including Iron Mountain, Mt Woodson, Black Mountain and on a very clear day the Pacific Ocean. At this point you will have climbed approximately 1.6 miles. I walked around a bit at the peak and added another .4 mile. You can directly see Pyles Peak, looking West from the summit of Cowles.
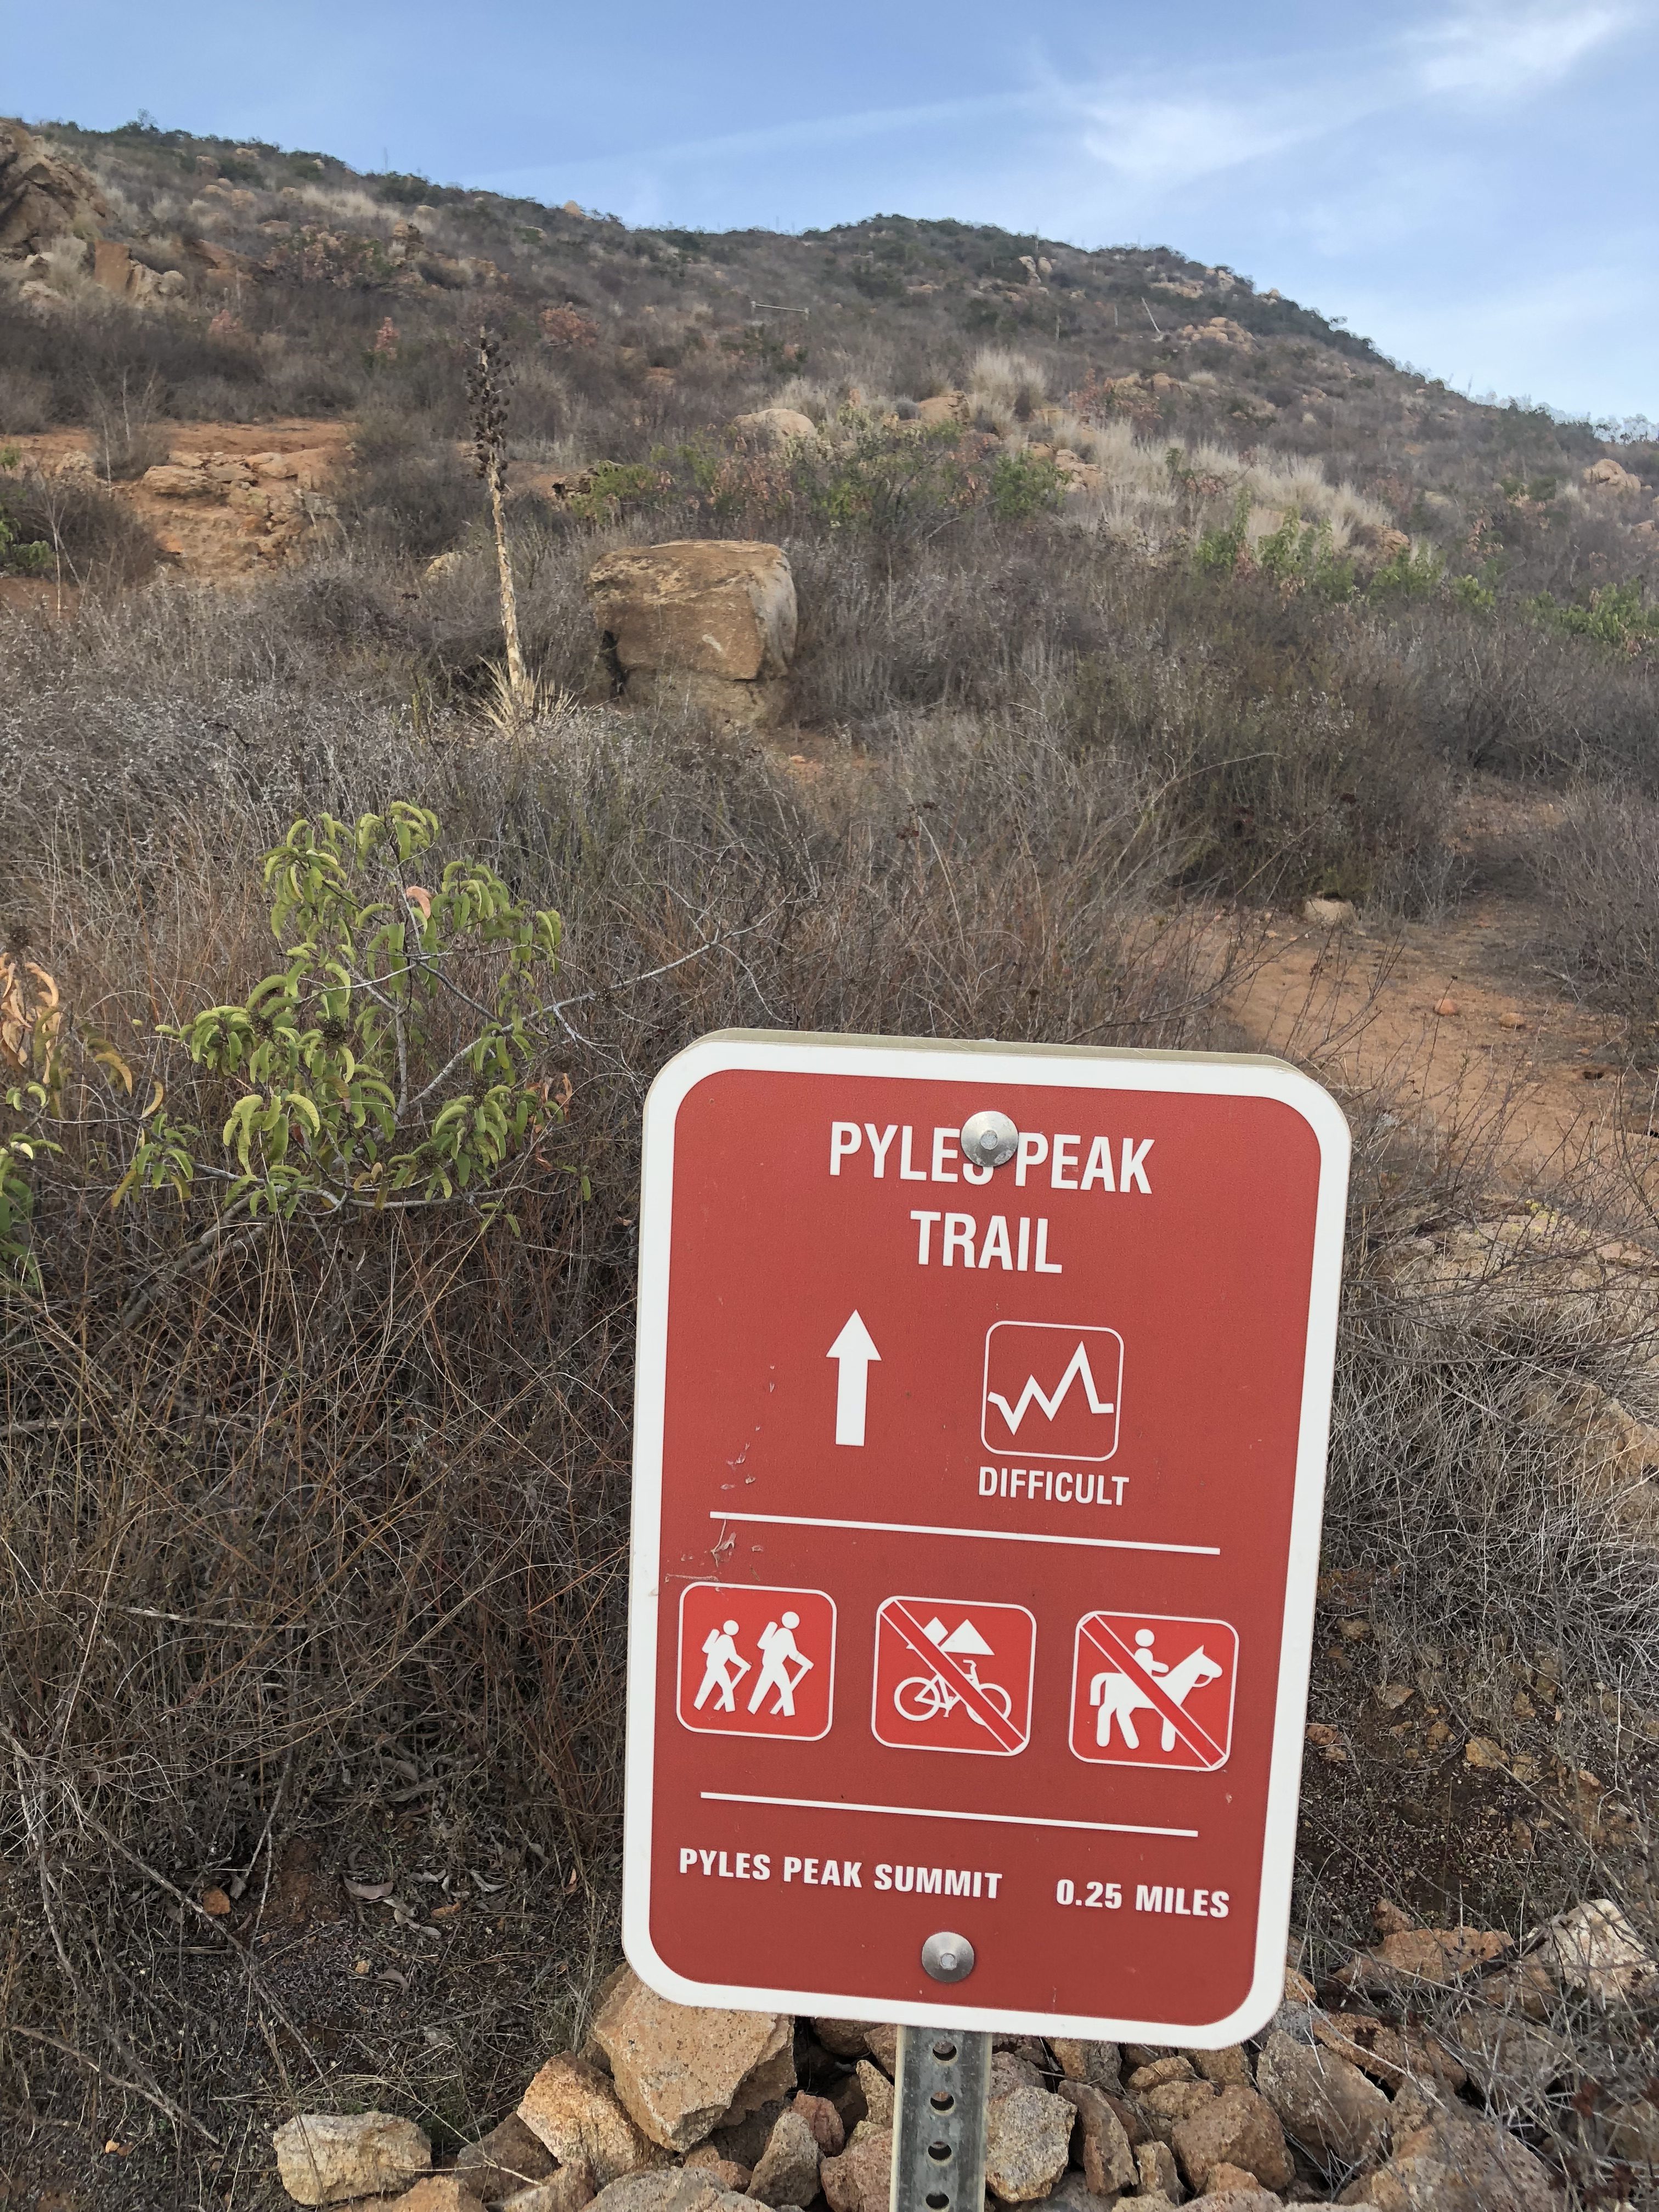
Start of Pyles Peak Trail Hiker TherapySign leading the way to Pyles Peak from Cowles Summit Hiker Therapy
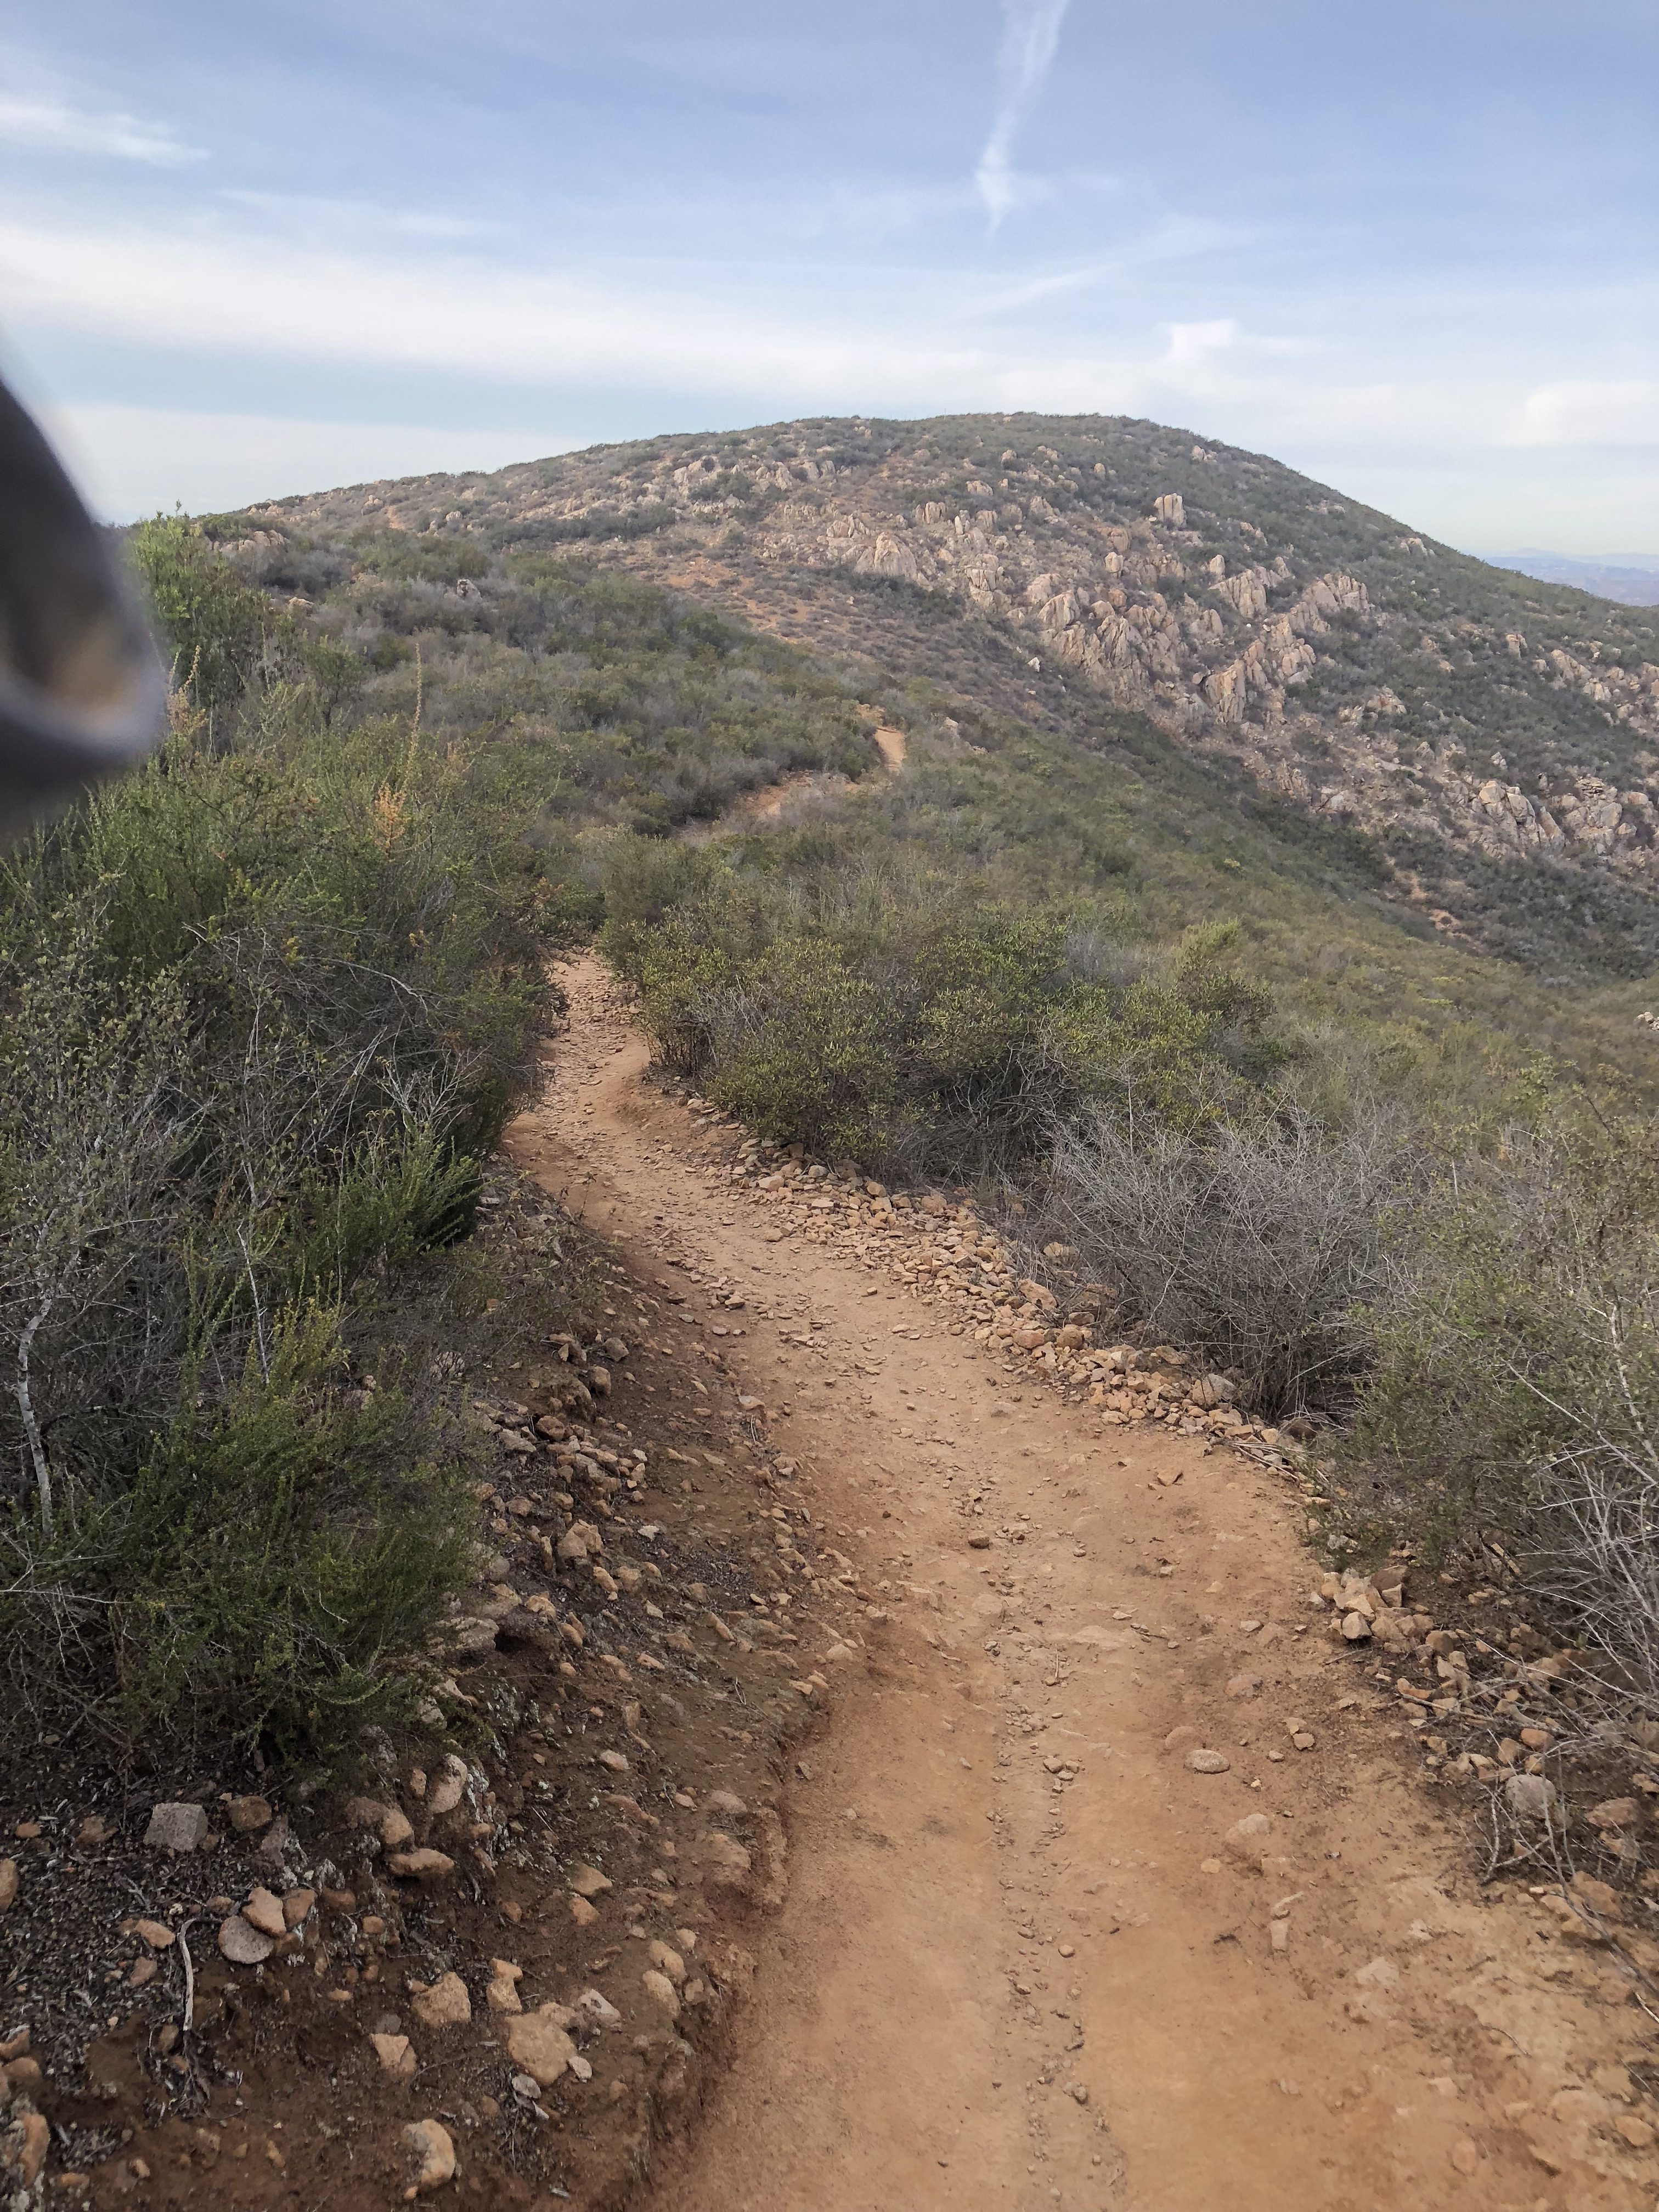
Retracing your steps you will head back down the same stairs you came up on, turn left and head to the marker sign that points you to the trailhead of Pyles Peak. Veering left here you will walk straight into a great view of Santee Lake and a row of greenery. The trail sharp turns right and starts the descent to Pyle peak. The interesting part of this hike is that since Cowles elevation is at 1600” and Pyles is at 1300’, you are spending most of this trail over to Pyles descending and winding in a broad loop to the final ascent back up to Pyles. The ascent to Pyles is the most difficult section of this hike and a very uneven rocky trail. The wide expanses out between Cowles and Pyles are beautiful and quiet. The journey over adds another 1.5 miles to your hike, give or take a few steps.
Trail over to Pyles Peak from Cowles Mountain Summit Hiker Therapy
The trail dips and bends on its descent into a flat section that takes you to the junction of the ascent up to Pyles Peak and the Cowles Mt. trail. This time of year the vegetation was somewhat green, not yet flowering. Ive done this hike in March and the flowers on the vegetation are popping then. The vast majority of those who hike Cowles do not continue on to Pyles, which is both a huge plus and a small minus. The minus being there is little contact with others on this trail so its best advised to hike with a partner in case of mishap of injury. Much of the trail is even, sandy, hard packed clay with section of rocky trail, especially on your final ascent up to the Peak of Pyles.
Climb up to Pyles Peak Summit Hiker Therapy
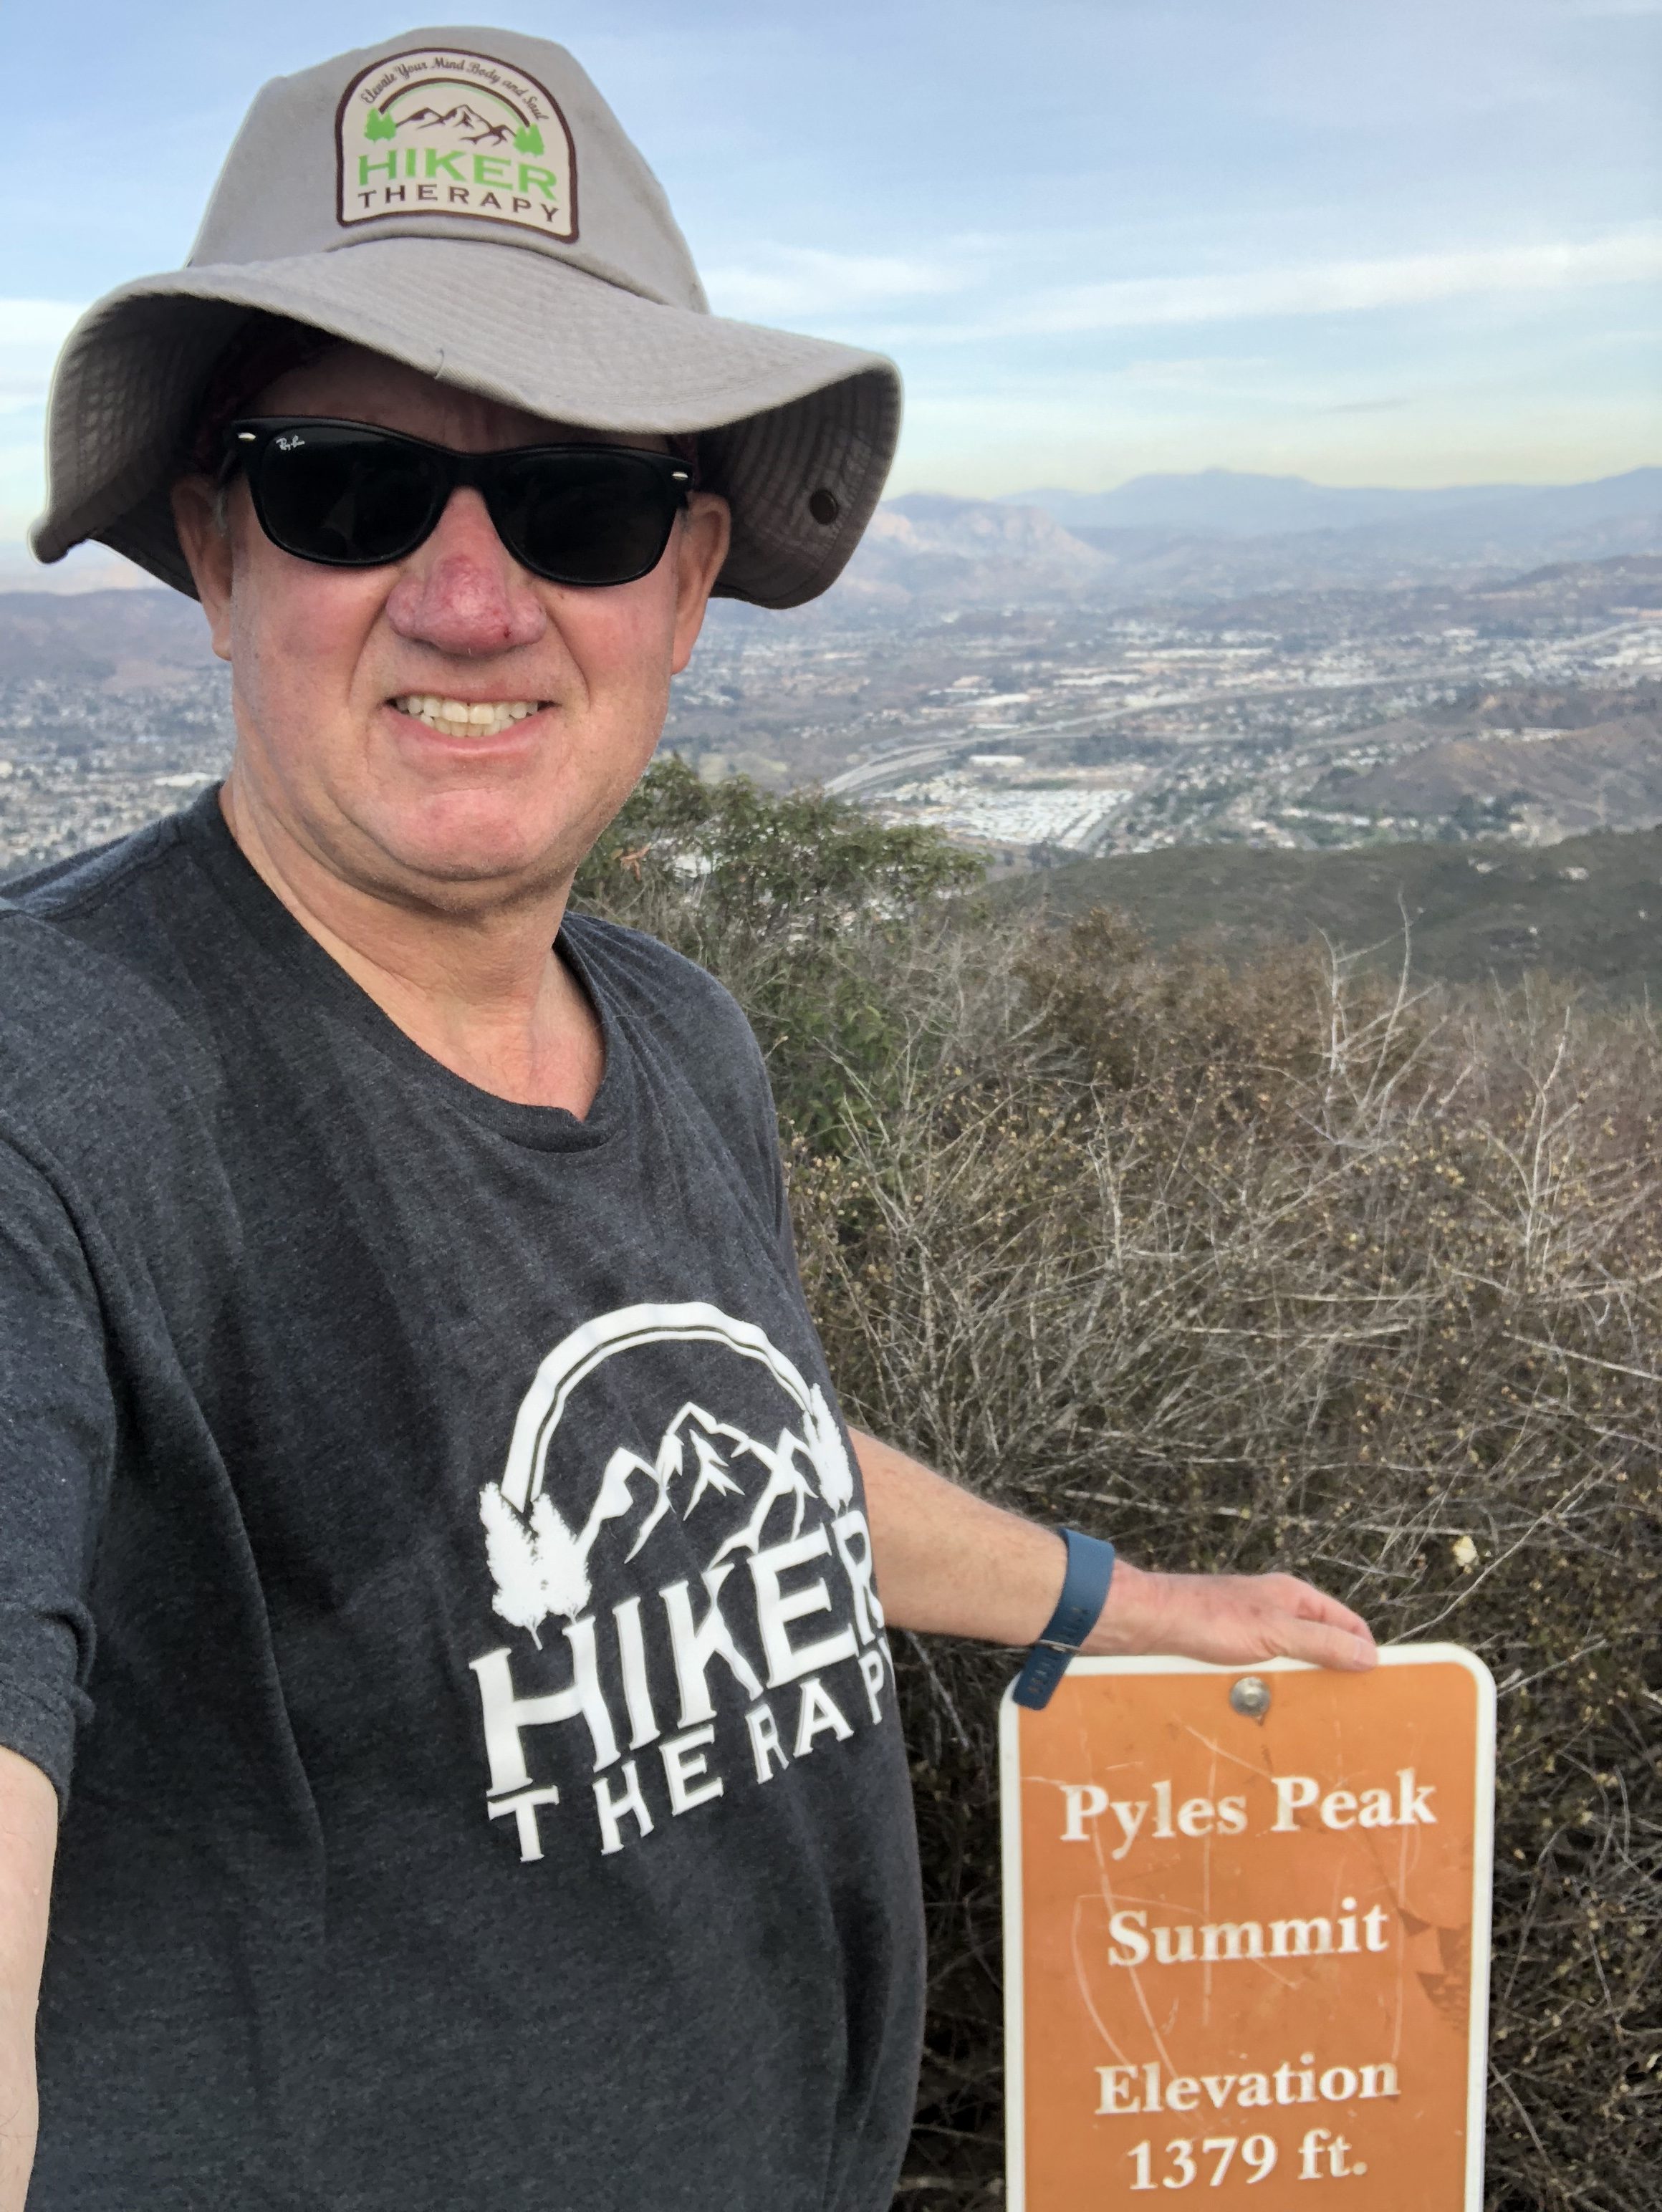
The ascent switchbacks up to the Peak and gets narrow and rocky in spots. Again this is the most diffocult part of the Hike over from Cowles. As you approach the “Pyles Peak Rock” marking your arrival to the summit you will be greeted by the Pyles Peak sign, indicating that you have made it to your second peak of the day. Take in the views, have another snack and scan the surrounding ares between and Cowles and beyond. Looking directly across south you can see the Peak of Cowles Mountain and the radio towers. Although this is a much smaller Peak than Cowles, it is less crowded and in fact for a good amount of my time at the Summit I was the only person there. Another couple came by and we talked. They had been to the other 3 peak in the Mission Trails system this day and just had come over from Cowles, thus making this their 5 of 5 peaks for the day. Nice work indeed! For me the descents challenge me more than the ascents and the descent down the trail from Pyles is challenging indeed. The trail down is about .25 miles and before you know it you will meet up with the main trail junction, go left and follow trail now mostly ascending, back over to Cowles, the radio towers and your journey back.
Summit of Pyles peak Hiker Therapy
Once at the return summit to Cowles you can decide to go back the same way on the service road down to Barker Way or you can descend down Cowles and meet up with the Barker Way trailhead spur about a third of the way down Cowles Mountain trail on your left. I started this hike at 1:15pm, I arrived back at 5pm right about at dusk.My total miles was 7.25 as I hiked around a bit besides the main distance up to Cowles over to Pyles back to Cowles and then down to the Barker Way Trailhead start. The miles achieved on this hike is anywhere between 6-7.5 miles using the Barker Way Trailhead.
View of Pyles Peak looking over from leaving Cowles Hiker Therapy
So there it is, for a challenging and less trafficked hike up to Cowles Mountain Summit and then over to Pyles Peak I highly suggest the Barker Way Trailhead and the Cowles Mountain Service Rd. trail. Not only do you join a minority of hikers who continue on to Pyles peak after summating Cowles you add 2 hikes in one day to your peak conquests and trail resume.
The mountain is named after George A. Cowles, (Cowles is pronouced like the store Kohl’s). a 1870s-80s rancher and early businessperson in southwestern San Diego County. For many years Cowles Mountain was locally known as “S” Mountain. In 1931, 500 students from San Diego State University (SDSU) painted a 400-foot-tall (120 m) letter “S” on the side of the mountain, after which it took on its popular name. In April 1942, during World War II, the local military ordered the S covered up for the sake of national security. After the war the painting tradition was resurrected. In the 1970s, the annual repainting tradition was ceased for environmental and habitat protection, but suffered a brief resurgence in the late 1980s. The “S” has not been repainted for nearly three decades. In the 1970s, the annual repainting tradition was ceased for environmental and habitat protection, but suffered a brief resurgence in the late 1980s. The “S” has not been repainted for nearly three decades. – wikepedia
Barker Way Trailhead, Cowles Mountain Service Rd trail stay right
This 3 mile round trip hike offers a more demanding route and although the trail does flatten out in spots, for the most part this trail is the more challenging of the 3 popular routes to the top of Cowles Mountain.The other two being the more traditional climb from Golfcrest and Navajo Rd, and the trailhead starting here, Barker Way.The fire road trailhead start is the same as the Baker Way trail.
“S” Section Hiker Therapy
As you start on the trail, go about 100 yards, the Barker Way trail will fork off to the left, the fire road trail will stay right.Continue along this trail/fire road until you reach the peak. The trail at this point changes from hard packed sand to a rockier composition.However, most of the trail up is hard packed sand, intermittent rocker trail. Right from the get go the trail starts to ascend rather steeply, though very doable, you will continue to climb, at the 3/4 mile mark you will plateau.The ascent will again continue to incline climb up to a point where the trail begins to take on an “S” pattern as you wind to the top and the peak.At the most steepest part of the trail near the peak you are going to vier right, this is this last climb to the top and after less than a 1/8 of a mile you will reach the Peak of Cowles Mountain.
“S” section of the trail, or the “Switchbacks” begin here Hiker Therapy
To your right great views facing west, and if you continue past the “steps” on your left you could venture on to the Pyles Peak trail section. Pyles ads another 1.5 miles or 3 round tripto the 3 mile round trip for a total of a 6 mile hike.I highly recommend venturing off to Pyles Peak, if not this day, on another, so you can get yet an added dimension, more miles and diverse scenery.
Near the Peak, last 1/4th mile to go Hiker TherapyThe “Monument” at the Peak of Cowles Mountain- Hiker Therapy
On this day I did take the steps on the left which leads you up to the final approach to the Peak and the famous Cowles Monument.Once Here, after you tap the monument of course,take your time enjoying the panoramic views of San Diego, Pt. Loma, Mexico and scanning east and the ominous Peak of El Cajon Mountain.Cowles is one of my favorite Peaks to be on as the 360 view of our county is more than impressive as well as at 1600’ this being the highest Peak in the City of San Diego. The trek to the top should take you about 45-60 minutes due to the continual ascending steepness of the trail.The descending return route is the same trail, for me the decent many times offers more of a challenge due to the slipperiness of the sand and the rockiness of the trail. Take your time, enjoy the views back and Hike on!
Cowles Mountain Barker Way Gallery
“S” Section
Near the Peak, last 1/8yth mile to go
The “Monument” at the Peak
I prefer the Barker Way start doing either this trail or the Barker Way trail up to the Peak.It is less traveled than the Golfcrest trailhead and in my opinion offers more scenic views, a quieter environment and more of a challenge.As always, bring more than you need water, a snack, know your limits, if hiking with another, which is always my suggestion, respect your partner’s limits as well.
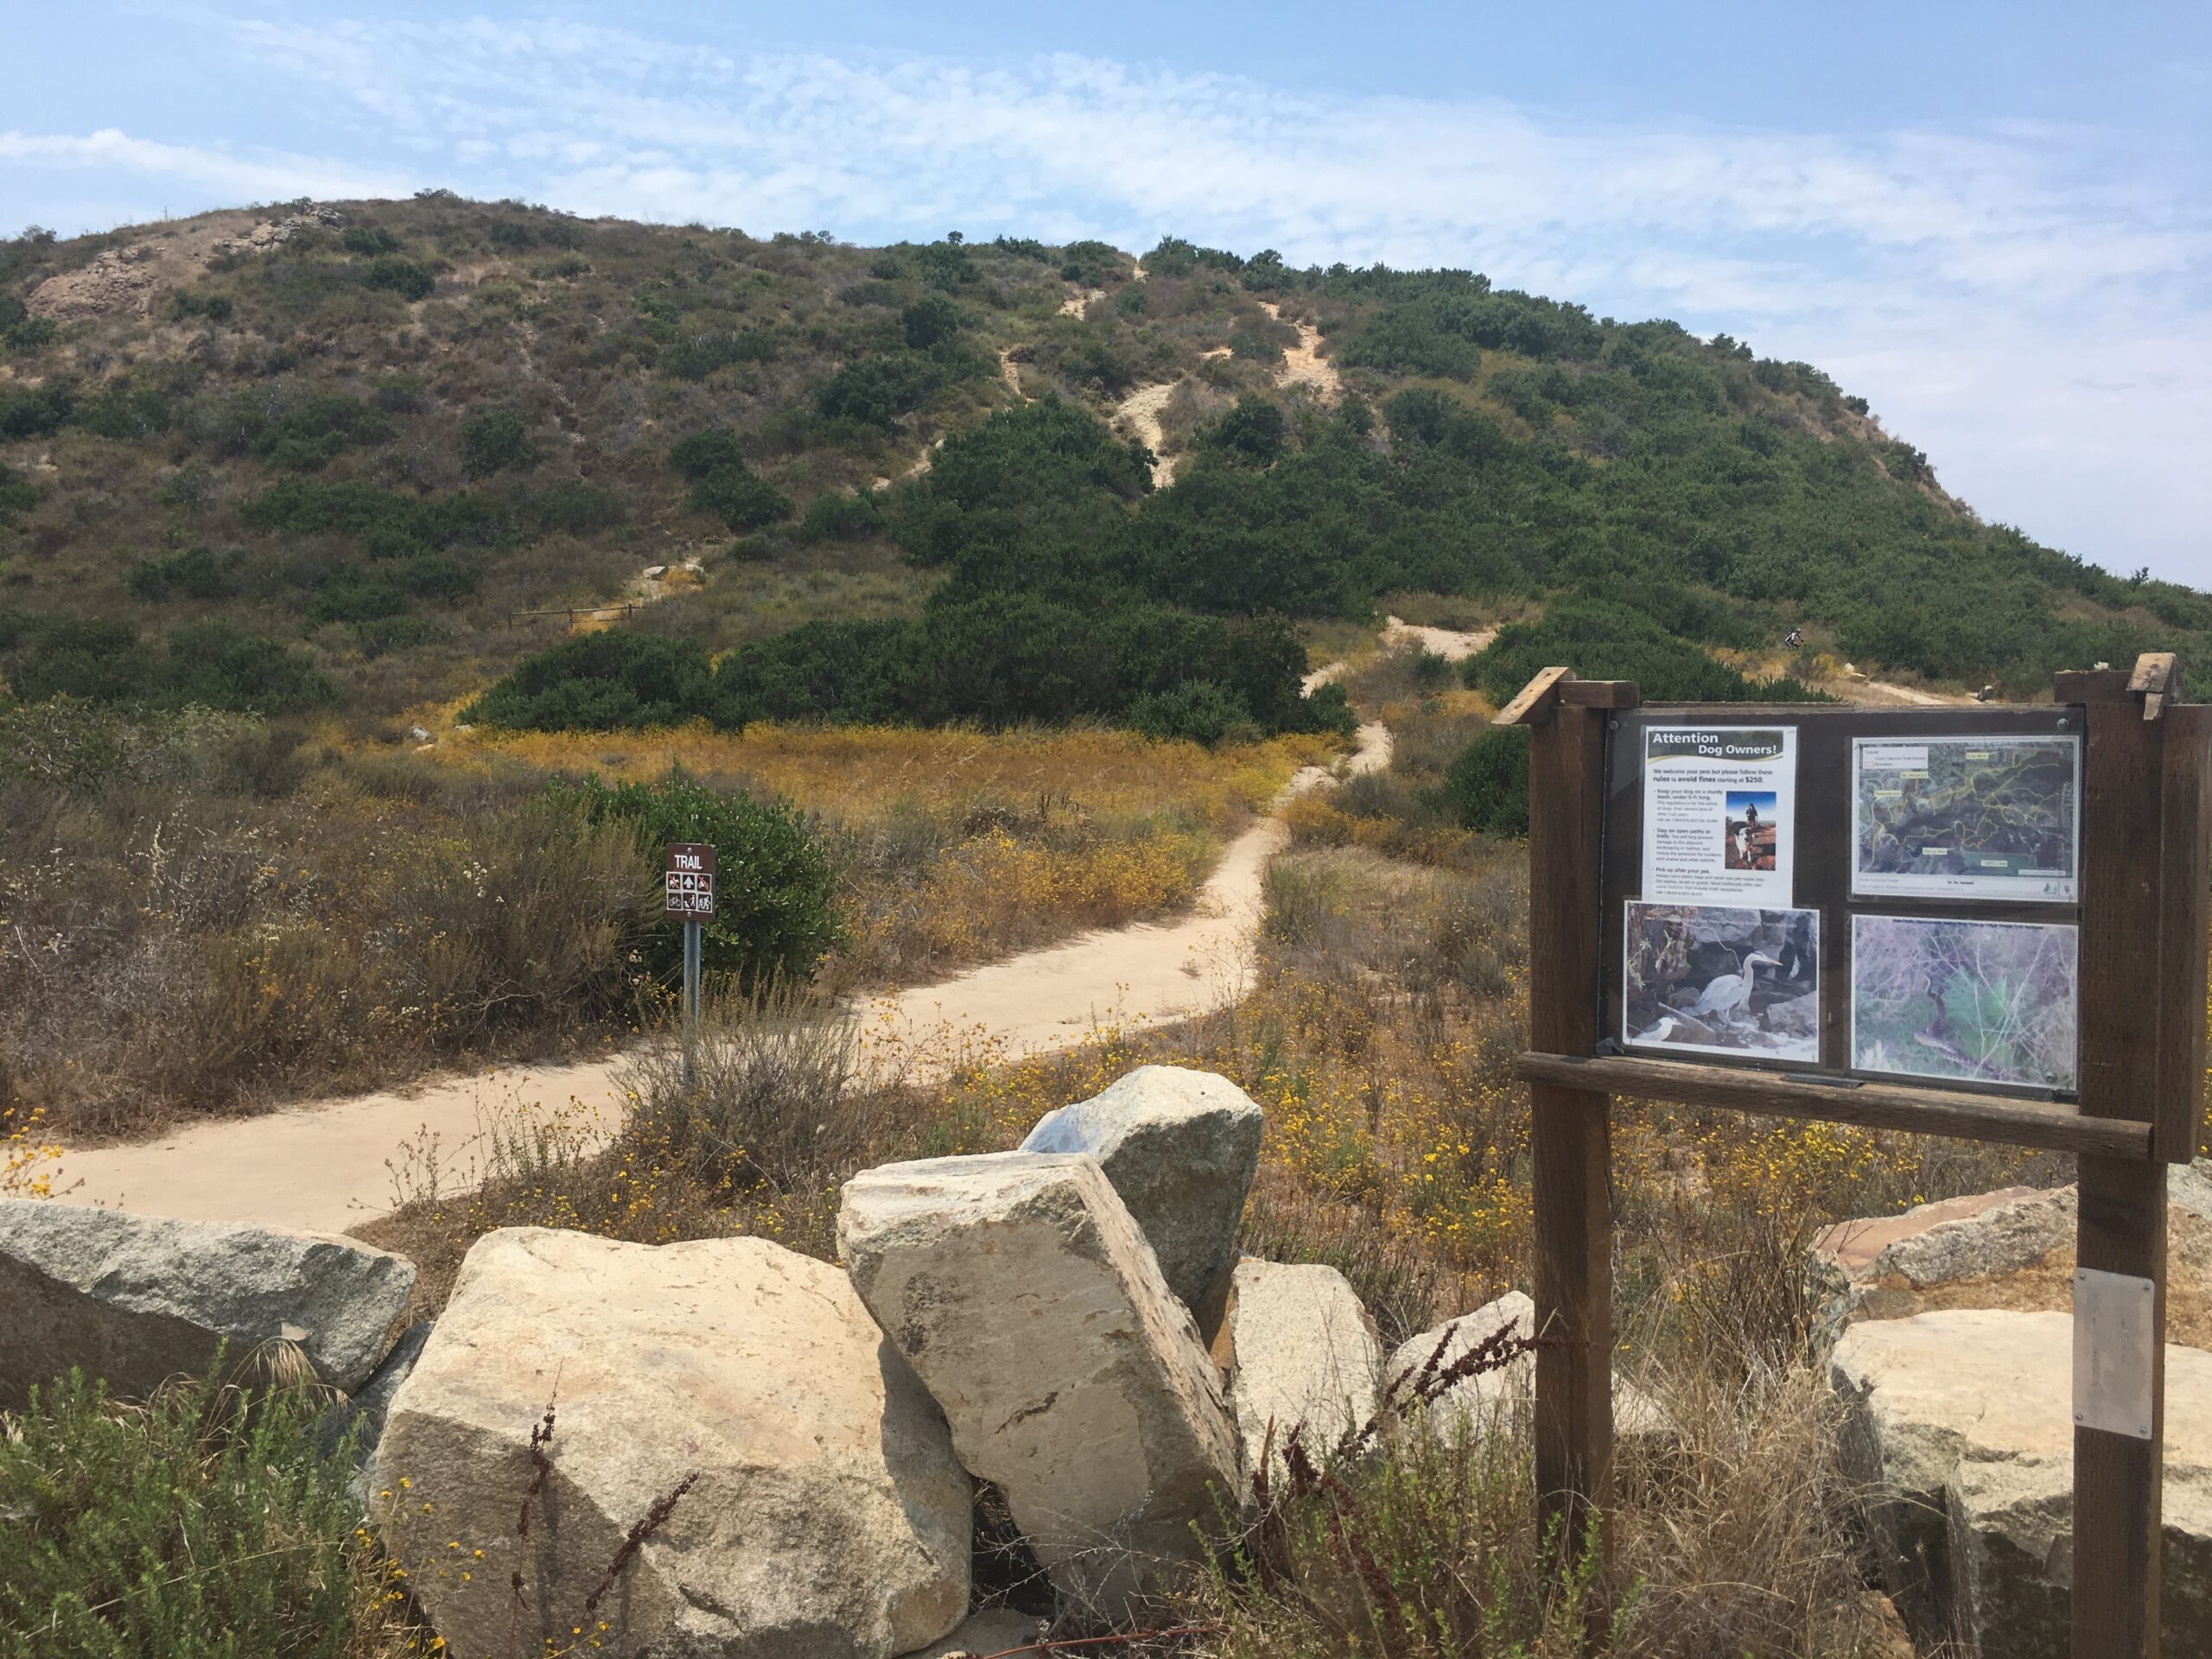
Trailhead Start:I entered the preserve at the Sky Haven West Trail head, which is actually in Oceanside on the northern edge of the preserve.From state Route 78, exit at College Boulevard, heading south. Turn left onto Lake Boulevard, then right onto Sky Haven Lane. Sky Haven dead-ends at Azure Ladd Drive; park here on the preserve’s side of the road.
The Volcanic Plug at Lake Calavera Preserve
Lake Calavera Preserve in the Tri-City North County area of Oceanside, Carlsbad and Vista is an ecological preserve and home to Calavera Mountain. The word “Calavera” means skull, which probably comes from the unusual shape of the area’s centerpiece, Mount Calavera. The 513-ft. Mount Calavera is not really a mountain at all but rather a 22 million-year-old volcanic plug.
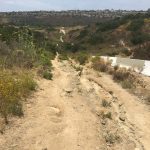
The trail system here is vast and much of it would be classified as easy to moderate. The trail composition for the most part is hard pcked sand and clay, however their are sections of the trail that get very rocky, washed out and unstable Any way you go you will have hard time getting lost in the 10 miles of trails in the Preserve.
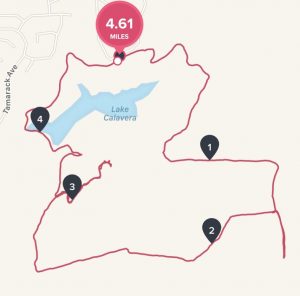
I mixed up the route this time but for the most part I head west towards the dam, cross the dam and head up towards the Volcano branching left, then going straight right or climbing left. Both will take you past Volcano. Climbing left will take you to the base, branching right and then heading straight will take you along side the Volcano.
I usually branch off to the right and circle around the back of the Volcano, head east, hike around out in the “Field” make a left at the trail intersect, then head north until I hit the trail along the fence. At this point I head west again until I hit the trail intersection with the Volcano right in front of me.
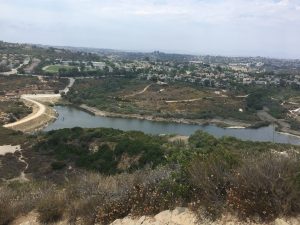
Once you are up on top, admire the view of the Pacific to the West, Oceanside to the North, Carlsbad to the South and Vista to the East. Great views of the bowl of the Volcano too!
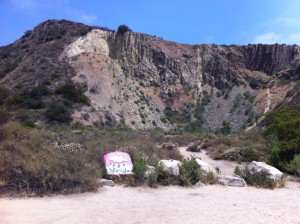
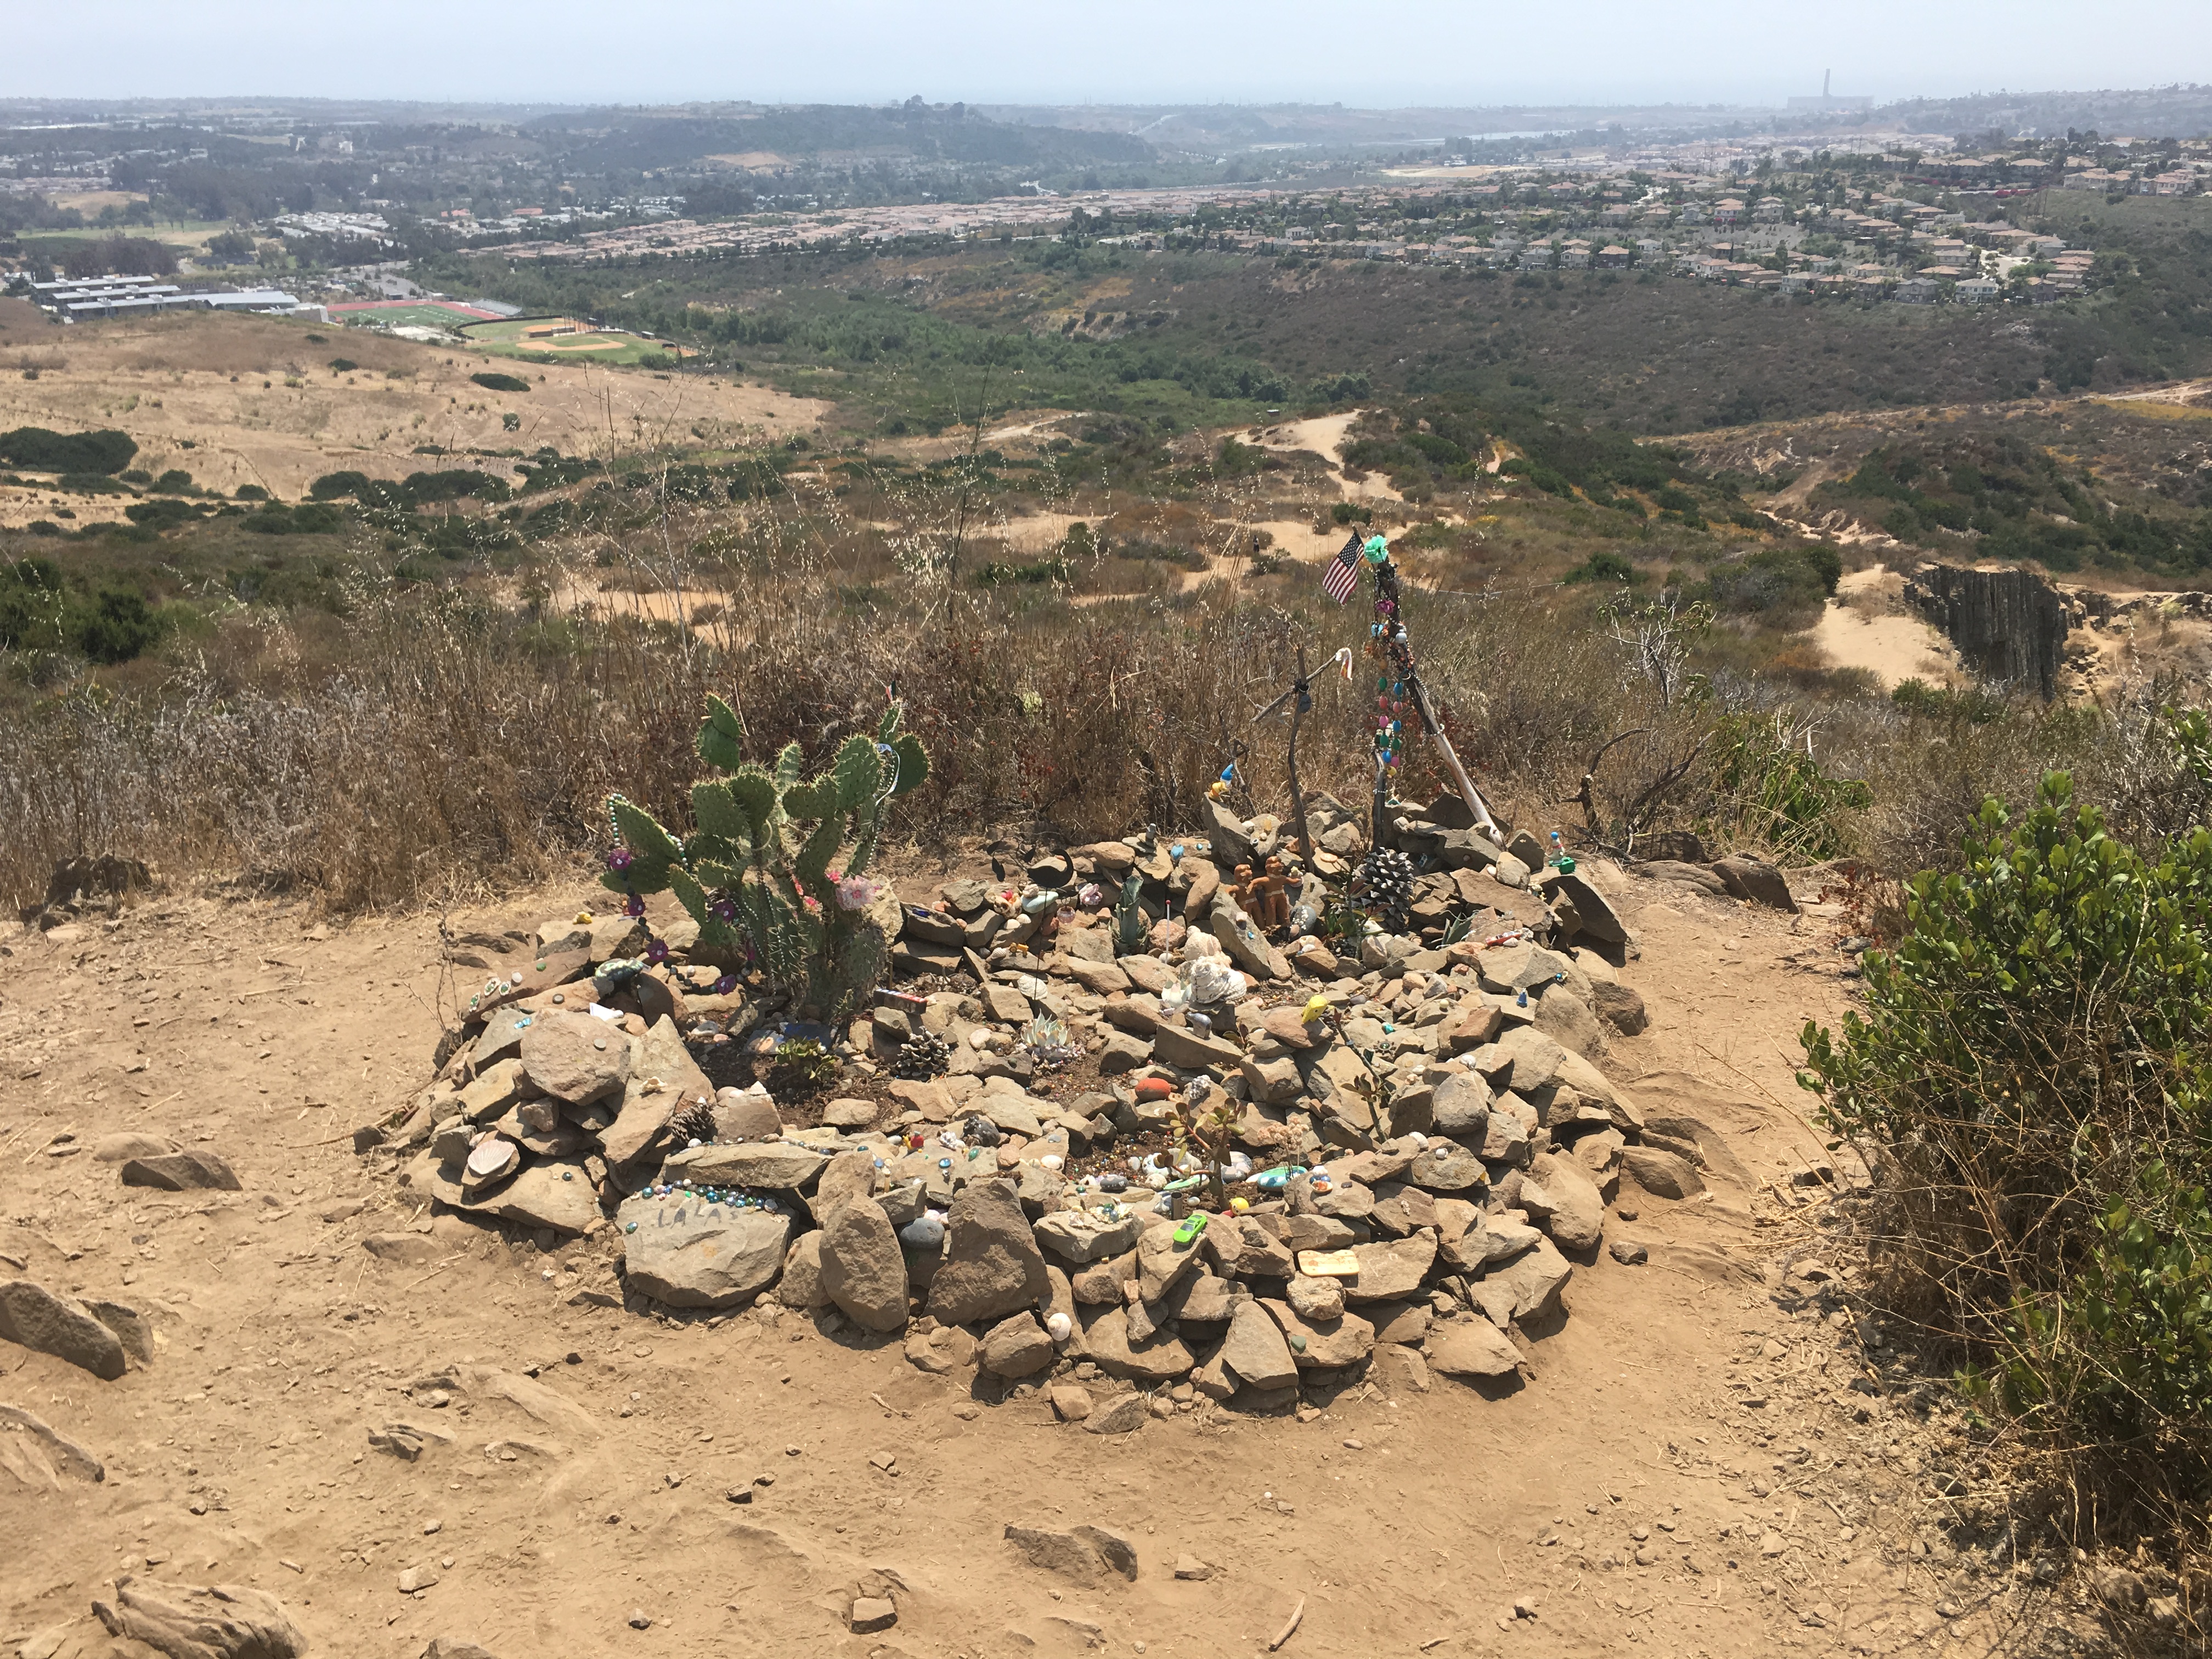
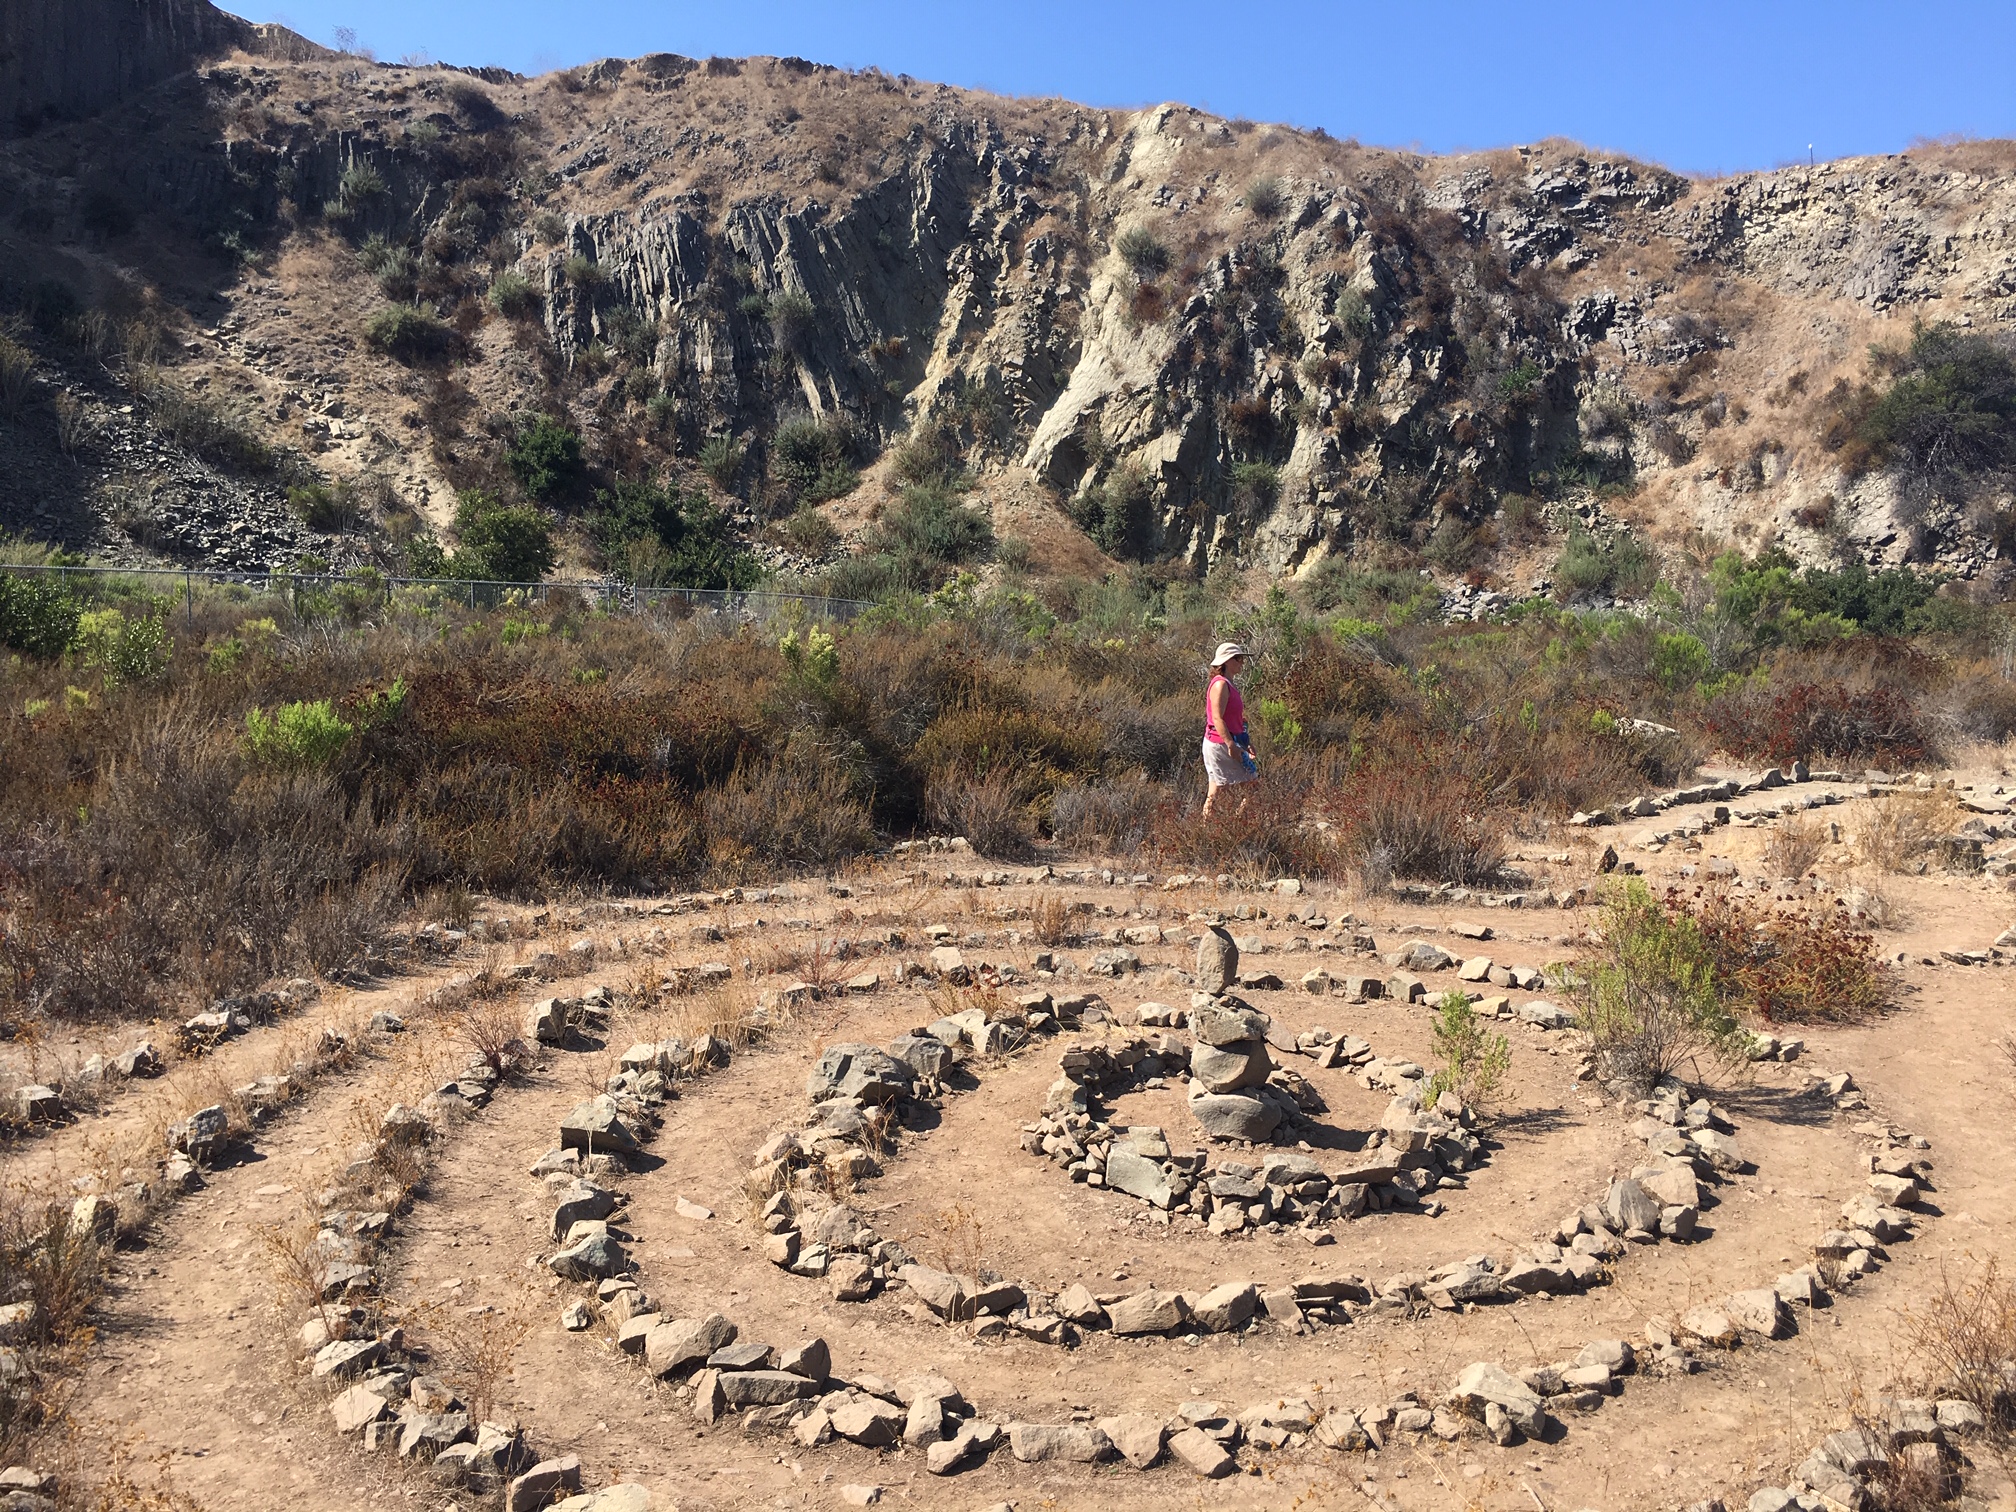
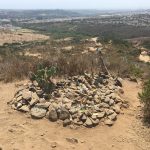
As you meander around the Summit you will come to the “Trinket Garden’ a nice memorial and keepsake place for the many who have hiked these trails. Looking down into the bowl you will see a Labyrinth, which is a maze offering yet more diversity to this Hike.
Labrynth at Lake Calavera
Once you descend down back to the base, visit the Volcano and walk all around in the area of the Labyrinth to get a sense of the Volcano and the spiritual feel of the area. This is a fun local trail offering a lot for such a “sububanized” parcel of land area.
This hike offers you: a Volcano, miles of hiking trails, a labyrinth, if you can find it a small cave, numerous ways to summit the Volcano, an ecological preserve, wetlands, and great views of the surrounding Tri-City area.
I call this one of my go to “Sunday” hikes in San Diego County and one I highly suggest for families and those looking for a good way to get a lot of miles in without burning yourself out and having to drive far if you are in the North County Area.
HIKER THERAPY FIREWORKS HIKE: See 6 different Tri-City and County wide Fireworks ShowsMEET: 7pm Discovery Lake Park Gazebo, Upper Parking Area 650 Foxhall Dr, San Marcos, CA 92078GROUP INTRO: 7-7:15 pm HIKE START TIME: 7:15 pm SIGN-UP: On welcome page use contact form or call me to let me know if you are interested in joining us! I hope to see you there!
Let’s celebrate Hiker Therapy’s first group hike by hiking Double Peak Mountain San Marcos, CA to see 6+ different Fireworks Shows throughout the County from the Peak. The 2.25 miles to the top is a well marked, well constructed trail that though challenging in spots is a very straight forward moderate hike taking 60 minutes to ascend. We will get to the Peak 8-8:15 pm in plenty of time to get a comfortable spot to view the Spectacular show! Wear layered clothing, since cooler temps are predicted. Bring water, snacks and a headlamp or flashlight as we will be descending in the dark. There are restrooms at trailhead start and at the Peak. This is going to be a Blast! Pardon the Pun.
Look for the Guy wearing the Red Banadana, standing near the gazebo! Please go to Welcome page contact form or call me (Mark) at 760-652-9275 so I can get an idea how many are coming. See you there and let’s go see some Fireworks
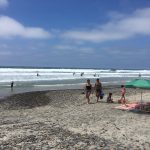
DISTANCE: 5.36 mi STEPS: 11,495 TIME: 3:10min, 1 hour break WATER: 2L FOOD: lunch and snacks TRAILHEADDIRECTIONS(google map) Torrey Pines State Beach parking lot, $15.00 to park or park along coast, walk to Beach steps head south. RESTROOMS: Yes this is a state park, so clean and numerous bathrooms at parking lot.
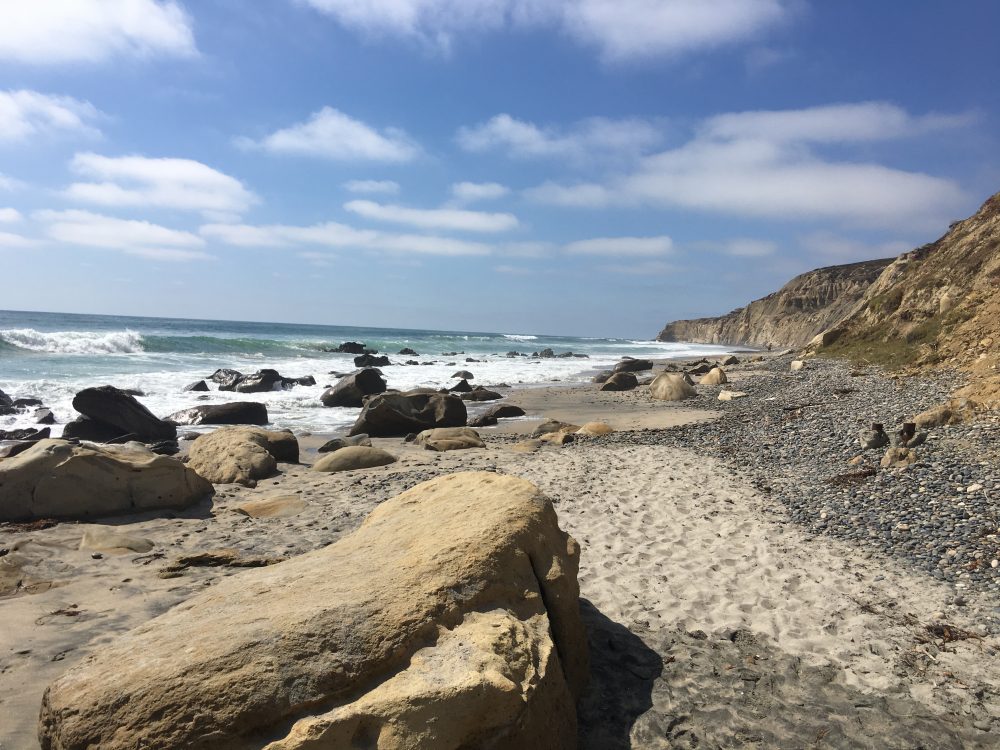
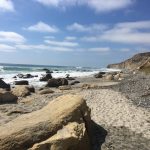
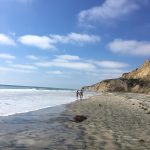
Torrey Pines State Beach to Blacks Beach Hike: Hiker Therapy
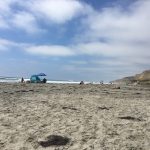
For a change of pace kinda hike, and one that is cooled by Ocean breezes, the Torrey Pines State beach to Black’s Beach trail is a refreshing change to the usually hiked trails of the mountains, hills and more traditional hikes in our county. I’m someone, who for most part, does not hike coastal, mainly the mountains, but due to recent hot tempatures inland I choose this 5 mile plus round trip “trail’ as an alternate excellent adventure.
After parking along coast or in the State park lot, trailhead starts at beach steps which leads to the sand. The hike south is pretty much straight, uneventful and all beach rocks and sand, and provides incredible ocean views to the right and the high sculpted cliffs of Torrey Pines to the left. The rocky shoreline adds to the beauty of this trail. The 2.25 mile hike south took me 46 minutes to get to Black’s Beach. You will know you are at Black’s beach by the overhead Hang Gliders, and Black’s famous or infamous designation as a clothing optional nude beach.
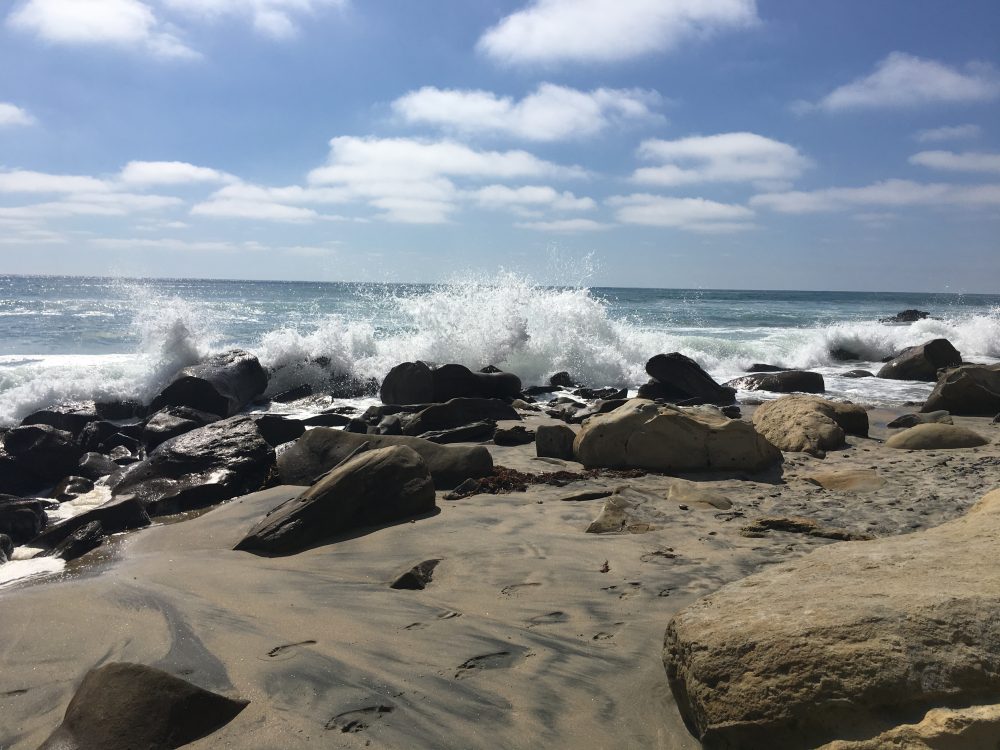
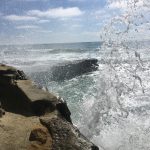
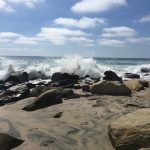
If you are comfortable with Black’s being a nude Beach, this beach is one of the most, if not the most gorgeous scenic beach’s we have along the San Diego Coastline. This is a good spot to stop, have lunch and cool off in the Ocean. Also, just by strolling up and down the beach once adds a half mile or so to your STEPS if you are looking to add to you count. An interesting added challenge to this hike is on the way back you may be wrestling, literally, with the high tides as they sweep back in.
Due to the tides the shoreline does shrink considerably but the adventure and challenge of getting through the waves made this an even more fulfilling hike for me and except for a few rough spots it is quite manageable. The 2 miles back goes pretty quick, and the variance of the rocky shoreline and “trail”offers enough diversity to make this 4 mile plus hike a rich change of pace to the more traditional trails we have in out county.
Torrey Pines Hike
Absolutely enjoyed this hike, and as always, any hike I do gives me a sense of accomplishment, offers a uniques challenge and is a physical and mentally theraputic way for me to connect to nature and myself. Being near water only adds to this the experience
As always, hike with a partner, respect your limits respect your partner’s limits, take more water than you need and have fun!
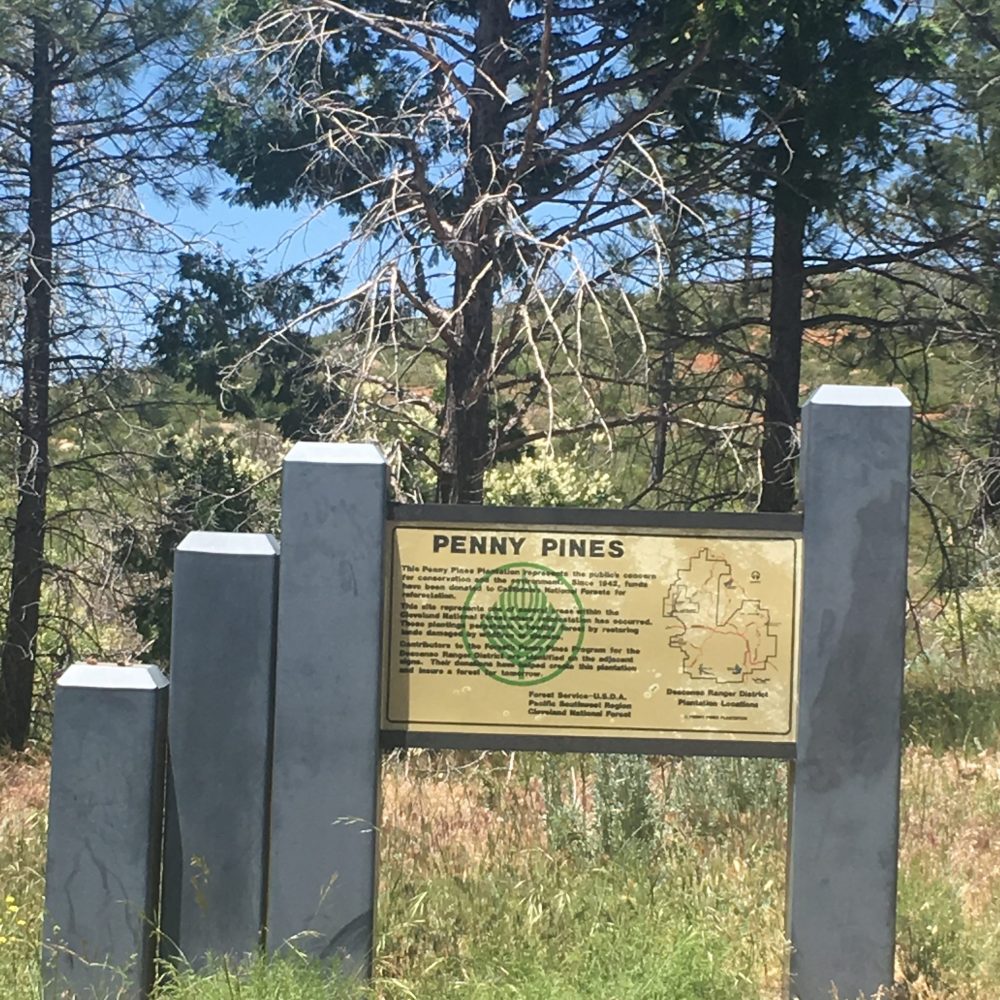
Elevation: 5900′ Calories Burned: approx. 2000 Restrooms: At Laguna Mtn. Lodge 4 miles south.
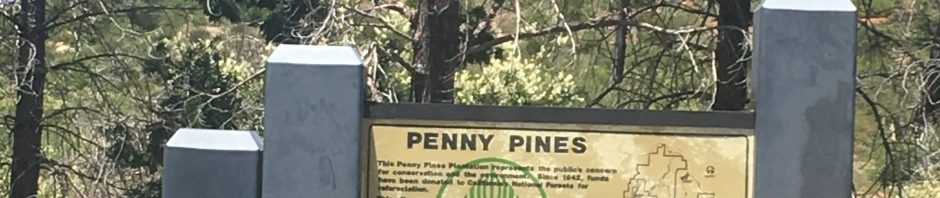
Driving Directions: From the I-5, I-15, and state route 67, travel east on I-8 and exit on the Sunrise Highway off-ramp. Turn left, and follow the sunrise highway up through the forest, past the village at Mt. Laguna, and park at the Penny Pines Trailhead. Parking is free.
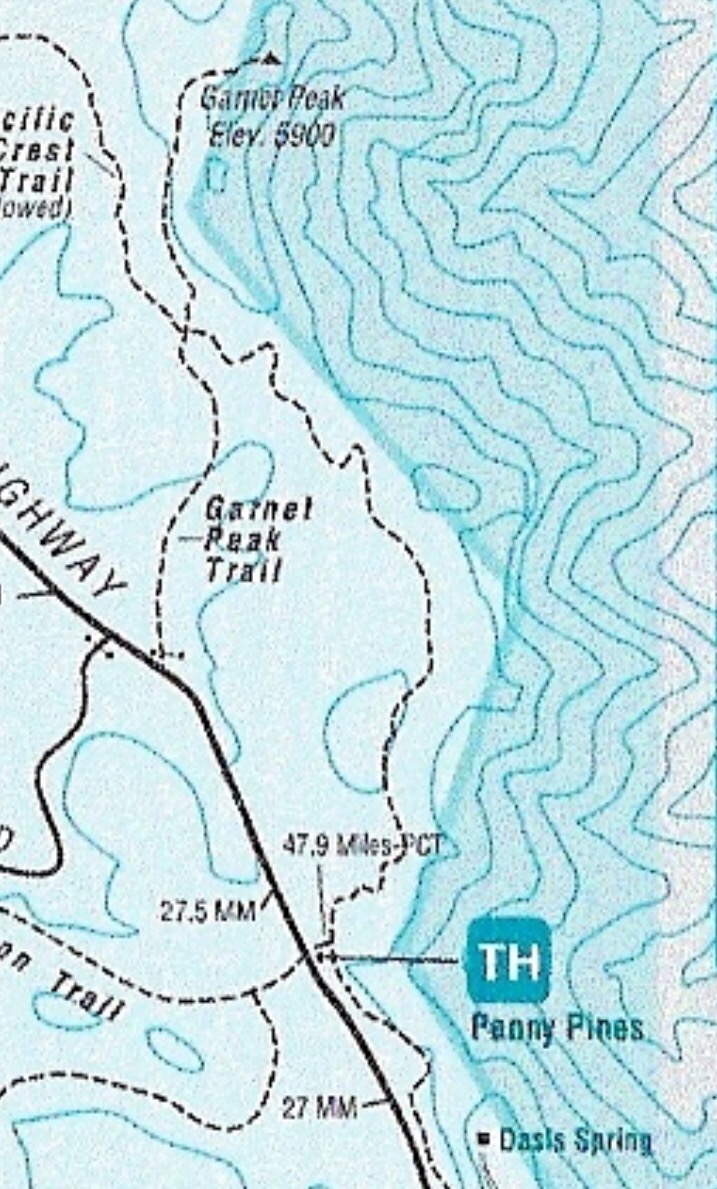
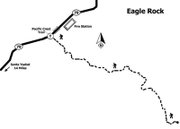
Garnet Peak Map
I love doing first-time hikes and Garnet is one I’ve wanted to do for a while now. Located out in the Beautiful Laguna Mountains Cleveland National Forest area, half the fun of this hike is getting there driving through the Curvy Sunrise Mountainous Hwy., through Pine Valley which is comprised of Jeffrey Pines, gorgeous mountain scenery and at every tune views to die for, literally, so drive safe.
You will pass the Laguna Lodge on the left, stop here to use the restroom and last-minute snacks and or liquids. Continue on about 4 miles and the trailhead starts to Penny Pines is on the right between the 27.0 and 27.5-mile marker. There is plenty of parking which is free with no need for an adventure pass.
The Penny Pines trail is the middle version of hiking Garnet Peak, as there are 10.4 (Pioneer mail) and 2.5-mile (Sunrise Highway 0.1 miles south of Mile Marker 28, near Deer Lake Park Road.), roundtrip trails.
I like this hike because the 4.7 miles offers a challenge, is not overwhelming and gives you enough trail to appreciate everything that the 10.4-mile trail offers and makes the drive out to the Laguna Mountains and Pine Valley worth your time and energy.
Penny Pines trailhead Start
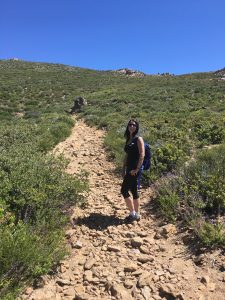
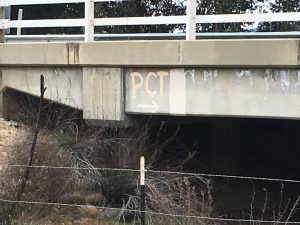
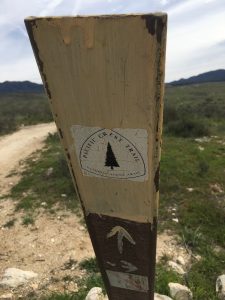
The trailhead is well marked with a large Penny Pines trailhead sign, you will see the Penny Pines Information board and the trailhead start. Pass by the sign onto the trail leading you to Garnet Peak along the Pacific Crest Trail. PCT blue shield markers denote the Pacific Crest Trail. Head northeast on the trail and you are on your way to the beautiful surrounding views of the desert before you and the rocky green landscaped mountain scenery all about you.
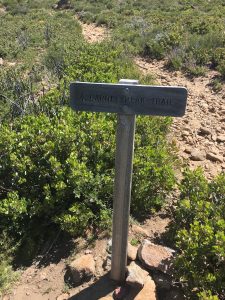
The trail along the PCT will meander north heading for the Garnet Peak junction of the PCT. Once you get to this point you will see a Garnet Peak Trail sign at mile mark approx. 1.85 miles, turn right and head east to Garnet Peak. You will start to see the Peak as you again angle north, don’t be intimidated by the Peak, it’s more intimidating looking than it is. You will come to a Garnet Peak sign, go right and head up the steep rocky trail to the Peak. you are now less than .50 mile from the boulder covered peak.
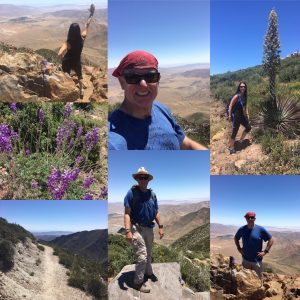
The last trek of this hike, you do some bouldering to the top. Take your time, before you know it you will have summited the beautiful peak of Garnet. Although the Peak is small, there are plenty of places to sit, rehydrate, eat and take in the vast beauty that unfolds before you; the desert floor below, the green covered mountains all around and the trail you left behind all enrich this beautiful visual experience. I love the Peaks!
The journey back is the same route and the 2.35 miles back are easy ones. I feel an added bonus to this hike is that the trail back, although of course the same trail, offers yet another variance to seeing the same you saw on the ascent yet a lot of what you did not see, again making this a totally fulfilling, challenging accomplishment of hiking Garnet Peak.
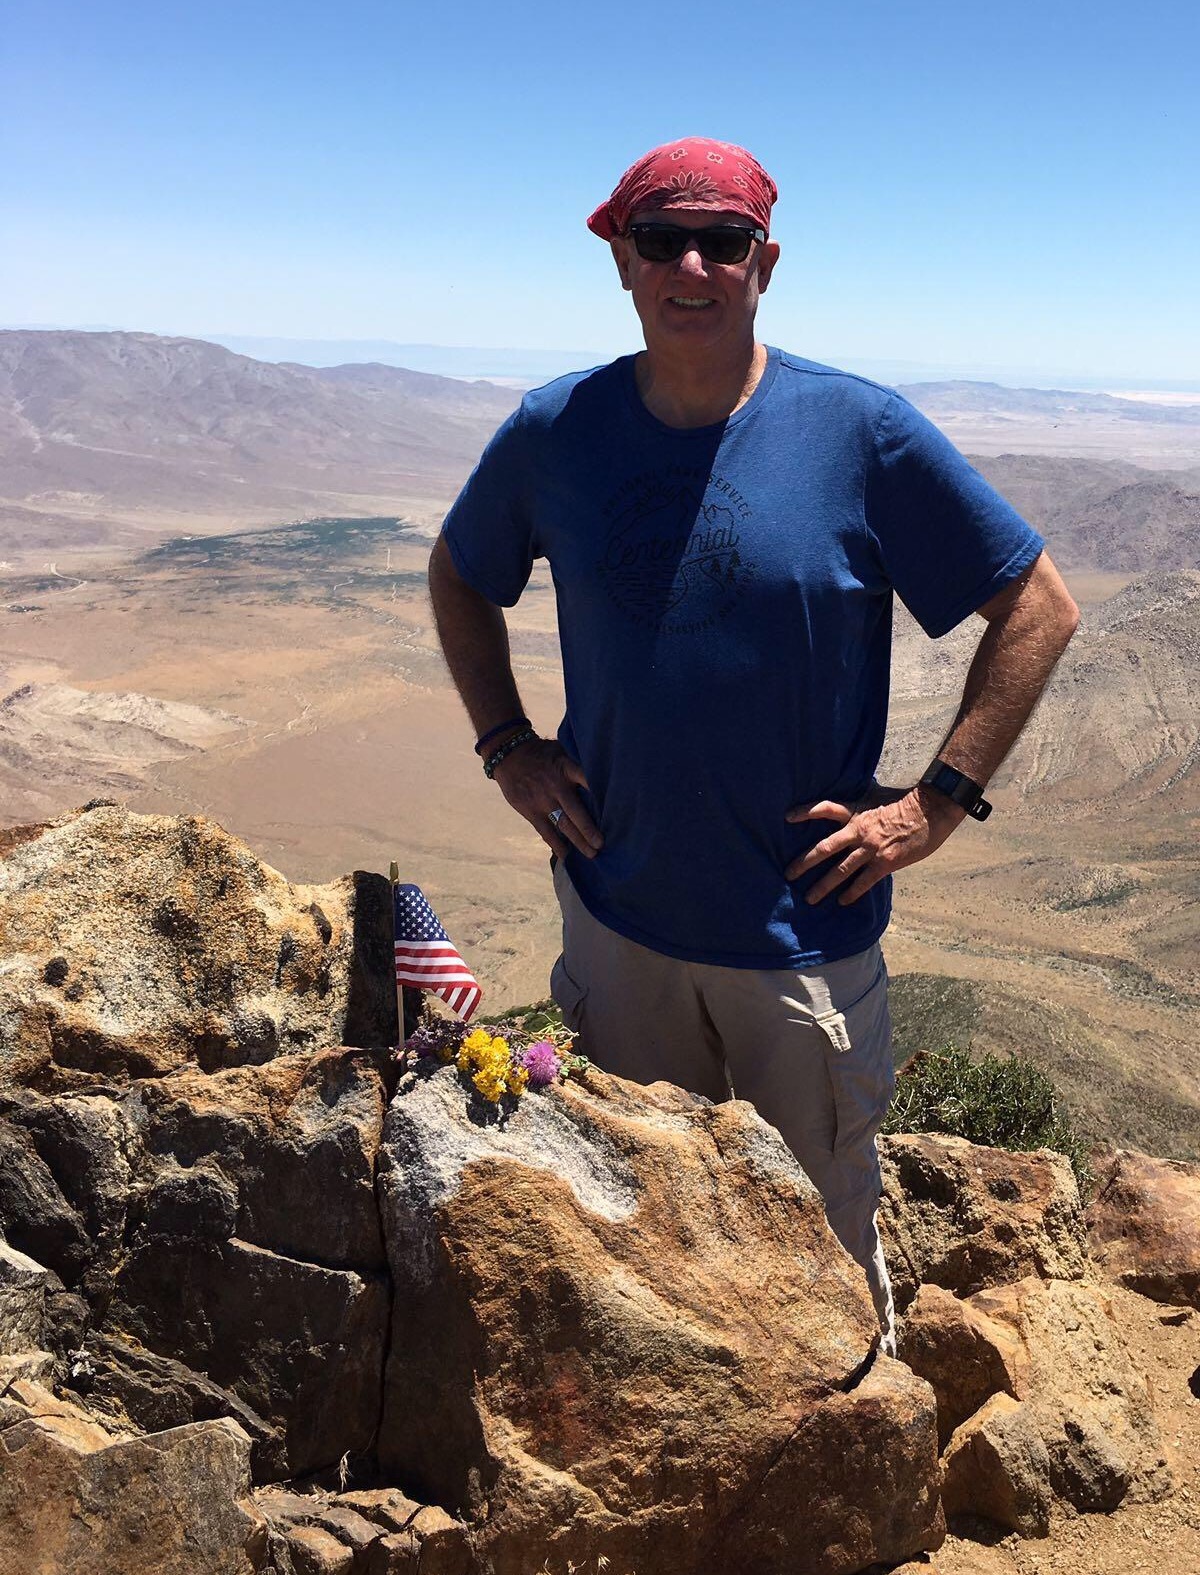
and the Flag at the Peak!
This is a must-do for any serious or not so serious hiker in San Diego County. You have a choice of 3 routes to get to Garnet Peak, each for every level of hiker. Also, the views at the Peak, as well as along the trail are breathtaking and I’d seriously rank as top5 views of any hike in San Diego County.
Have fun, be safe and as always; Hike with a partner, respect your limits, respect your partners limits, bring morewater than you need and be mindful where you step (snakes and rocks are plentiful on this hike) , one step at a time………..
After the Hike go to Alpine Beer Company for a well-deserved meal, drink and or both.
To get to the trailhead, 3200 Canyon Drive, Los Angeles, CA 90068: From Franklin Avenue, north of the 101 Freeway and Hollywood Boulevard, turn north on Canyon Drive (between Bronson Avenue and Van Ness Avenue) and drive 1.4 miles to the trailhead. There is a small parking area on the left past a larger lot on the right. map
Distance:6.27 milesTime: 2:52:07 Steps: 12,669
Water: Drank 1.5 ltook 3l Snacks: hard-boiled egg, Pro Bar
Trail Condition:Excellent flat, wide.service road some parts of trail Temp: 70’s (felt like the 80s due to exposure, not much shade on the trail)
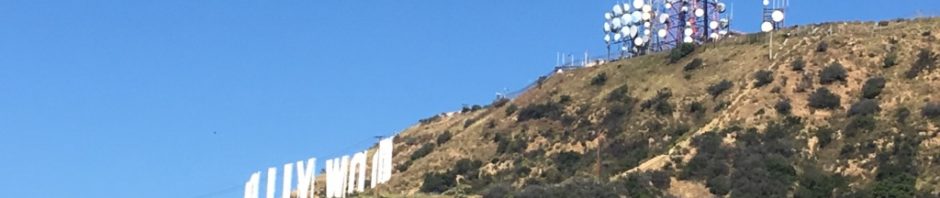
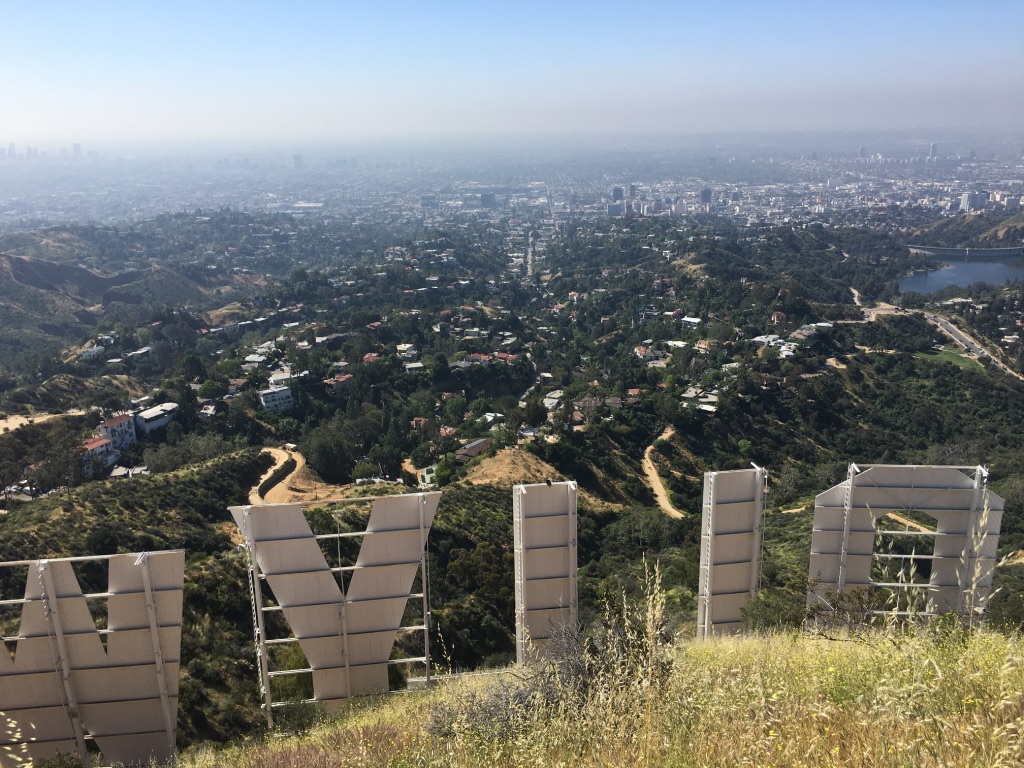
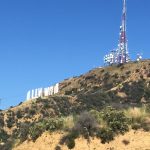
To add some novelty, adventure and glamour to your hiking menu not too mention hiking a iconic symbol representing movie stars, glitter and the ritz of LA, I highly recommend hiking the Hollywood Sign in the Hollywood Hills.
There are 3 ways to do this, each offering their own unique experience and adventure, from easy to difficult. Quite frankly these trails all cross or intersect with each other and many hikers create hybrid hikes out of the miles of trials and these 3 mentioned routes. That said I wanted a challenge, a workout and a bit of distance in reaching the sign, so I chose The Brush Canyon trail.
3 ways to Hike the Hollywood Sign
Brush Canyon Trail – 6.4 miles round trip with 1,050 feet of elevation gain
Hollyridge Trail – 3.5 miles round trip with 750 feet of elevation gai
Wonder View Trail – 3 miles round trip with 875 feet of elevation gain
The Basic Trail Directions of this Hike are:
Hike north from the end of Canyon Drive
Reach the top of Brush Canyon Trail, turn left onto Mulholland Fire Road @ 1.2 miles
Stay to the right past the top of Hollyridge Trail @ 1.9 miles
Turn right up Mount Lee Road @ 2.15 miles
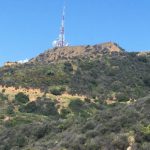
Reach the top of Mount Lee above the Hollywood Sign @ 3.1 miles
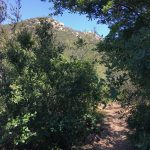
The Brush Canyon Trail starts out in shade wandering through a grove of tree cover and low lying brush. After .5 mile the trail starts its gradual incline ascent which for most of the 3.1 miles to the peak of Mount Lee, is consistently the same. There is a section of the trail between the 1.2 mile and 2.1 mile mile that offers a reprieve with a steady level flat piece of trail.
This is where you turn left from the Brush Canyon Trail onto Mulholland Fire Road, which is about the 1.2 mile mark. Keep left as the trail dips and winds and climbs again to the right. From here you get a great view of the sign off to the upper left. Stay to the right past the top of Hollyridge Trail @ 1.9 miles.
At this point you will come to Mount Lee Road. For the shorter trail view of the sign, go left, for a much more rewarding view and a strenuous workout stay right on Mount Lee road and began your climb to the back of the sign. From this point onward the trail is a paved access road that leads right to the peak.
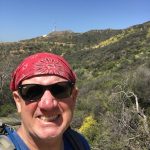
Not easy, but very doable. On this day I was surprised at the amount of people, (and horses,) hiking the trail. It was college and school Spring break so that could explain the crowds. yet I’m thinking even during non-holidays this trail is a popular one to hike.
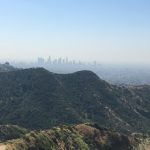
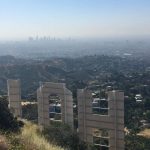
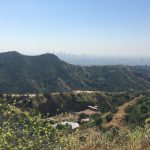
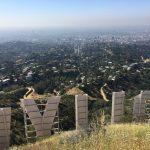
A thing to understand about hiking “The Sign,” is that where ever you are even when the sign is in view, you never really get a straight head on “Photo” view of the sign, In fact the route I took going up the Mount Lee access road offers you the best view of the sign, from behind, which offers great views up close of the over 6 feet tall letters and in the distance a great view of the skyline of LA.
Much of this hike is exposed to direct sun, there are certain sections of the trail that offer shade. That said, always bring more water than you need and sun protection.
The route back is the same one hiked up. I enjoyed the hike back as much as up due to the fact of the great views of Downtown LA as well as being able to take in the trail more as you are not as focused on “finding” the large white letters of the sign, as you are on the way up.
For a must do adventurous hike loaded with energy, glamour and the movie stardom of the Hollywood Hills, hiking the Hollywood sign is a must do on any serious Socal hikers bucket list of hikes to do!
As always, hike with a partner, respect your limits, respect your partners limits, lots of water….Be safe!……Have Fun!….
A hike I consider one of my go to hikes in our county is Iron Mountain in Poway, CA. No hike that I do consistently hikes like Iron does. Even though I know every inch of the trail after hiking Iron a dozen times or so, I still get that great sense of accomplishment when I Peak the summit. On this day the sky was an incredible blue, the flora and fauna of the area was an emerald green, as is most of the county during our ‘Super Bloom” time in San Diego.
Iron Mountain is considered one of the more popular hikes in the county as there are enough fellow hikers around to make you feel energized, yet it’s not a trail that is ever crowded like other popular trails in the county, ie; Cowles and Torrey Pines. Iron’s trail is always well marked, well kept, even the recent rains of this winter and with more erosion than Ive seen, the hard packed sandy trail was intact.
I consider Iron a challenging hike that offers enough climb to exercise you, enough distance to stretch you and a gradual ascent that gives you the feel that you are “up there” as you approach the peak. The trail is easy to follow, at the .5 mile mark you have the option of veering right, as it is marked, or continue straight ahead as most hikers do.
Either way by staying on the trail you will be lead to the same junction point and except for a “right turn” at the directions board, all you need to do at Iron is stay on the trail and it will lead you to the peak.
I can usually get the 3 miles up to the summit in 90 minutes and thats not rushing or dragging my feet, but at a comfortable pace The view from the summit offers a a nice wide-lens of many of the other peaks in the county, including Iron’s sister Peak, Mt. Woodson to the north, Eagle Peak Julian and Mt. Gower Ramona to the east and Cowles Mountain San Diego to the south.
Looking West you spot Black Mountain and a descent view of the coastline. San Vincente Reservoir to the south offers a shimmering blue of a lake only adding to the beautiful view from the top. On this day I spent about 20 minutes taking in the beauty then started back down and the 3 miles back to the trailhead. As noted in the beginning the 6 miles took me 3 hours 15 minutes to the summit with a 20 minute break at the top.
Always love hiking Iron as this hike never disappoints no matter how many times you hike it…. as always hike with a partner, respect your limits, respect your partners limits take more water than you need, and have fun!
STEPS: 13, 073 DISTANCE:6.54 miles ELEVATION GAIN: 990 ′ HIKE TIME: 2:53 minutes including 30 minute stop at Eagle Rock PARKING/RESTROOMS; No facilities, park on road across from fire station. WATER: 1.5 liters used, brought 3L SNACKS: Sandwich, Pro Bar TEMP; at Hike Time 10:30am was 68 degrees
I love Hiking the Back Country and Desert areas of our county and now consider these areas my new favorite place to hike. The recent winter rains have had have turned the landscape a vibrant green and filled the creeks and falls with flowing water.
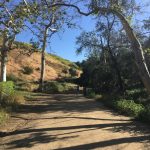
Like many of the hikes in the eastern part of our county, the drive out there provides a visual richness and stimulation of its own. The route out to Eagle Rock trailhead is easy to get to where ever you are coming from.. The trailhead starts just south of the Warner Springs Fire station on HWY 79 and is marked red sign pointing you in the right direction.
Eagle Rock Trailhead Hiker Therapy
Eagle Rock Hike Hiker Therapy
Eagle Rock Hiker Therapy
PCT Hiker Therapy
From the trailhead start, follow the well-marked PCT signs south and east up Canada Verde Creek, which on this day was full of fast flowing water. The trail to the “Rock” is approximately 3.5 miles and in the beginning cuts through a forested woodland of huge old coast live oaks engulfing you along the trail.
Eagle Rock Trail Hiker Therapy
PCT Eagle Rock Hiker Therapy
PCT Hiker Therapy
Eagle Rock Trail Hiker Therapy
Notice that some of the oaks are marked as bee trees. The trail is flat, well made and very easy to navigate. There are a few dips and climbs, but for the most part I would grade this hike as easy to moderate, moderate based on distance. As you climb, the trail continues to follow the creek, which slowly disappears from view as you hike out of the woodlands.
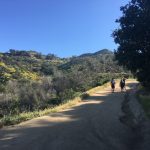
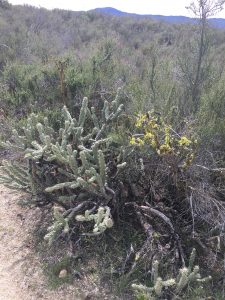
The trail climbs rising above the creek and opens up to what you would expect the Pacific Crest Trail to look like, lots of open spaces surrounded by rolling hills and the distant mountains of the local area. As you near the half-way point of this trail, the landscape becomes more desert like with low lying vegetation, cactus, chaparral and brush.
This section of the Pacific Crest Trail cuts through the Los Coyotes Indian reservation and is well marked with the legendary Pacific Crest Trail marker.
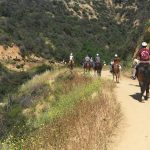
On this morning, there were others out on the trail, however, you do not feel like you are competing for trail space. The interesting part of this section of the PCT, are the “through” hikers who have started their journey of hiking the PCT in Campo and are headed north to tackle whatever goal they have set on this 2300+ trail that goes up to the Canadian Border.
PCT Hiker Therapy
Eagle Rock Hiker Therapy
Eagle Rock Hike Hiker Therapy
Eagle Rock Hike Hiker Therapy
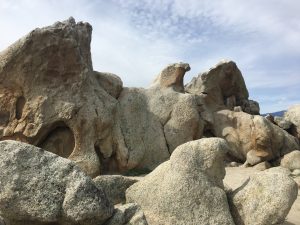
The 2.5 mile section of this trail now becomes dotted with boulders and as you approach Eagle Rock the trail climbs a bit but never to the point of strenuous or an overwhelming challenge. Before you know it you are faced with a “Fork” in the road, go right or left you will still be guided around to the the face of ‘Eagle” and suddenly realize, Man!, this rock does look like an Eagle.
The GPS miles to this point read 3.38 miles and on this day we were just over 1 hour on the trail. There is a calming beauty to this trail, and my hiking partner surmized that since this is an Indian reservation there may be a sacred meaning to this section of the PCT and Eagle Rock.
As you enjoy that peace, have a snack or lunch and enjoy the vastness of the area as well of course Eagle Rock.
The return journey is the same as the trail that got you to Eagle Rock. This time back we stopped and enjoyed the flowing water of Canada Verde Creek and the surrounding Oak Woodland. As you approach Hwy. 79, the sounds of the flowing creek give way to the traffic noise of the road, thus letting you know you have made it back to your starting point.
Great Hike that gives you a chance to experience hiking a section of the Pacific Crest Trail, feeling the Peace and Calm of an Indian reservation and Eagle Rock, that really does look like an Eagle carved out of Rock!
As always, bring lots of water, more in heat, hike with a partner, respect your limits and those of your partner…….


